

Ever feel like your phone pics just don't capture the beauty of everyday moments? You don't need to be a pro to take great photos. Using simple tricks like shooting with natural light and turning on your grid can make your images pop. This guide shows you easy ways to keep your phone steady and avoid using digital zoom, which often ruins a shot. Try these tips and watch your everyday scenes come to life in a whole new way.
Essential Phone Photography Tips for Clear, Impactful Shots
Natural light is your best friend. Early morning or late afternoon light gives your photos warmth and detail, while harsh midday sun can wash out your image. Activate your camera's grid overlay (found in Settings > Camera > Grid) to help line up your shot. Positioning key parts of your image at the grid's intersections can make your photos feel balanced and thoughtful. For example, try aligning a tree along one of the grid lines to create a natural, pleasing setup.
Keep your phone steady for sharper shots. Using a stand or simply supporting your phone can cut down on blur caused by shaky hands, especially in low light. Avoid digital zoom, it cuts into your image and loses vital detail. Instead, move closer to your subject or capture a wider shot and crop it later during editing. After snapping your photo, take a moment to review and compare what you captured. Quick edits with brightness or contrast sliders can help you see what works and set up your next shot even better.
Before splurging on new gear, check out real-world reviews like the google pixel 9 review. A good phone not only records quality images but also runs editing apps smoothly. By choosing wisely, you can trust that every shot will be clear and impactful.
Mastering Composition in Mobile Photography
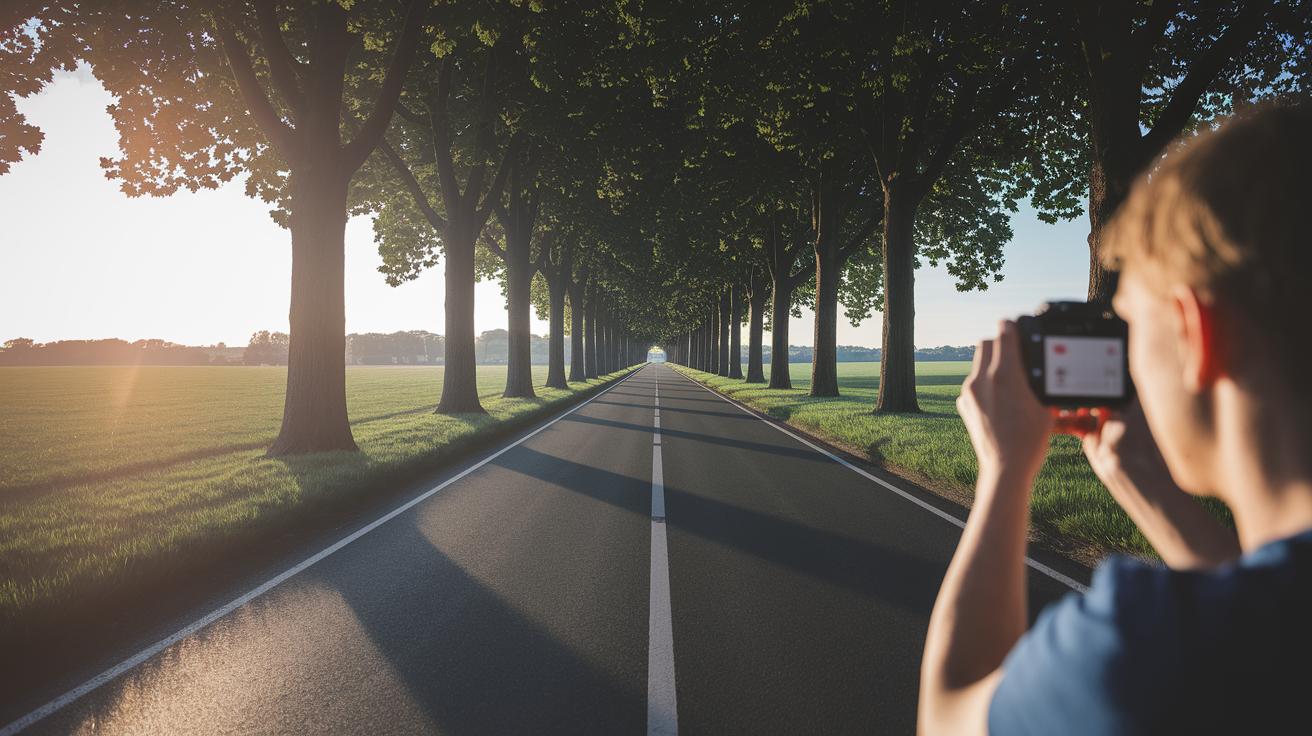
First, open your camera settings and turn on the grid (Settings > Camera > Grid). This simple step lets you use the rule of thirds (placing the main parts of your shot on the grid intersections) to make your images more balanced. It also guides the viewer's eyes toward the important parts.
Next, try lining up natural elements in your scene with the grid. For example, a curvy road or a winding path can lead the viewer’s eyes directly to your subject. This adds a natural flow and direction to your photos.
Keep these quick tips in mind to improve your shots:
- Rule of thirds: Place your subject off-center to create balance.
- Leading lines: Use natural lines to steer the viewer’s attention.
- Framing: Use natural borders like windows or trees to surround your subject.
- Perspective: Experiment with different angles to add depth.
Now try this exercise: Take several photos of the same subject using different techniques from the list above. Compare the results to see how each method changes the story your image tells.
Lighting Strategies for Mobile Photography
Sunlight is a handy tool for outdoor photos. During the golden hour, when the sun is low, your images get a warm glow that highlights natural details. Using natural shade also helps even out strong contrasts, keeping your shots crisp and true to life. You can even try backlighting your subject to craft a striking silhouette that adds character and drama.
When the light is low, your phone might add grainy noise or blur your shot. A steady hand or a simple tripod can make a big difference during longer exposures. Tweak settings like ISO (the sensor's light sensitivity) and exposure to balance brightness and detail. Check each photo right afterward so you can see what works best in different lighting.
Advanced Phone Camera Settings and Modes
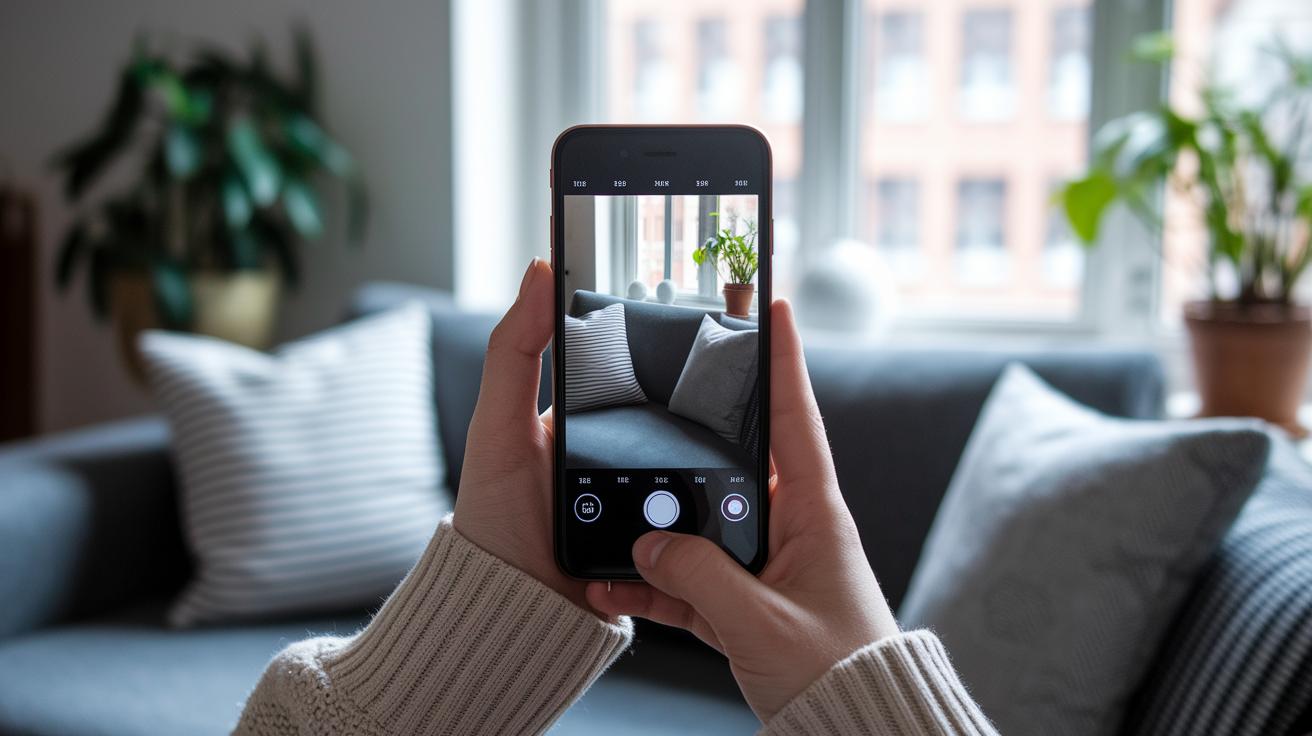
Your phone comes with smart camera modes that can turn everyday photos into shots that look like they came from a pro. Modes such as Portrait, HDR, and Burst are built in to adjust for different lighting and movement without needing extra gear. Shooting in RAW keeps all the details for heavy editing later, while manual settings let you control ISO (a measure of the camera's sensitivity) and exposure (brightness) so you can balance light and shadow. These tools work well for capturing fast action and adding creative flair. Experimenting with each setting can open up neat creative options, helping you choose the best mode for any scene.
| Mode | Best Use | Access Steps |
|---|---|---|
| HDR | Balanced details in high-contrast scenes | Select HDR from camera modes |
| Portrait | Smooth backgrounds that make subjects pop | Swipe to Portrait mode |
| RAW/Burst | Quick action and detailed editing later | Enable RAW in pro settings; Burst for rapid shots |
| Manual | Full control over ISO, shutter speed, and exposure | Find it in Pro or Manual settings |
Choosing the right mode is key. Use HDR when the light is tricky and details need to be balanced. Try Portrait mode if you want a nice, soft blur in the background to highlight the subject. RAW/Burst mode is great for fast-moving scenes or when heavy editing later is on the agenda. Manual mode gives you the power to adjust settings exactly how you like them. We’ve seen phones like the samsung galaxy s25 ultra review pack in solid shooting tools. Test these modes in your own settings, and you might be surprised at how much your mobile photography can improve.
Top Editing Apps and Techniques for Mobile Images
Mobile photo editing can turn a decent snap into something special. Many apps let you adjust brightness, contrast, and color. For example, Snapseed is great because its manual LUX slider lets you set brightness precisely (like 50 for a natural look). Apps like VSCO and Lightroom Mobile also give you fine control over effects like depth-of-field and color tweaks. The trick is to try different tools until you find the one that fits your style.
Once your photos are taken, dive into manual adjustments. Instead of using one-click filters, start by tweaking the brightness and contrast. Open Snapseed, move the LUX slider, and see how setting it to 50 can highlight details without making things too bright. Then, adjust the color balance and saturation to keep your image both natural and lively. These hands-on steps help keep your editing genuine without going too far.
Build a regular editing routine that works for you. Find a few settings you like and stick with them, but don’t be afraid to experiment with manual adjustments. Relying only on presets might not give your photos the personal touch they need. With some practice, your edits will get sharper and more true to your creative vision.
Must-Have Accessories and DIY Hacks for Mobile Shooters
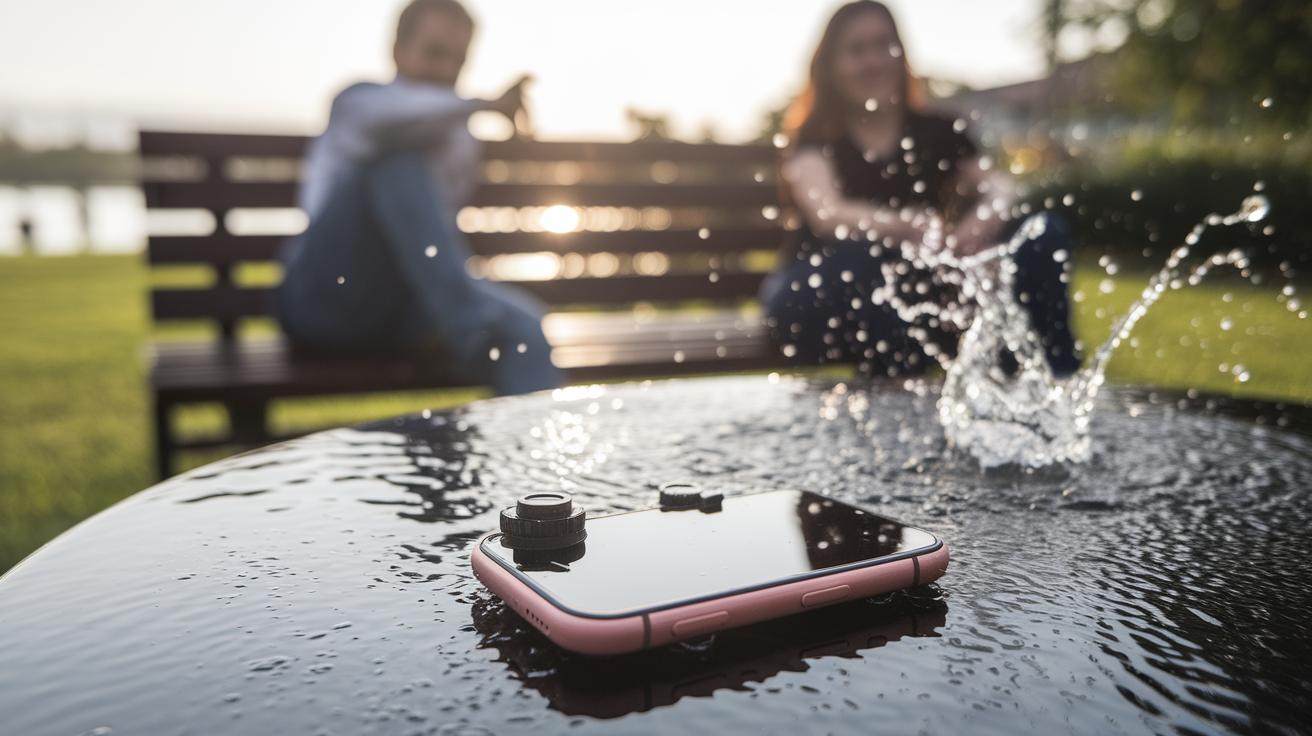
You don't need expensive gear to get great mobile photos when you add a few smart accessories. Clip-on lenses like Olloclip give you fun options for fisheye, wide-angle, and close-up shots without carrying heavy equipment. These DIY lens hacks let you try fresh angles that make your photos pop. For a budget-friendly pick, test a waterproof case by dunking it in water for 30 minutes to see if it leaks. This simple check helps you shoot confidently even in wet conditions.
Staying charged and steady is key to never missing a moment. An Anker PowerCore portable charger keeps your phone ready to snap. And using a remote shutter or self-timer cuts down on camera shake, so each photo comes out clear and sharp. These handy recommendations let you expand your creative toolkit without breaking the bank.
Don’t forget to care for your gear. Wipe your phone’s lens daily with a proper lens cloth to avoid scratches and keep your photos crisp.
Practice and Workflow Optimization for Mobile Photographers
Reviewing your images after each shoot can really change the game. Instead of letting every photo stand alone, take a look at them with a critical eye. Group similar shots from the same scene and note changes in composition, light, or focus. This hands-on method shows you what works and what you might need to adjust. For instance, pick a daily theme like "golden hour" or "urban textures" to push you to capture more intentional, story-driven images. Over time, this simple routine builds a solid visual library that reflects your growing skill set.
Keeping your photos organized can also make your work smoother and boost your creative growth. Set up a digital archive where you tag each image with notes on its location, lighting, and mood. This makes it easy to track your progress. Regularly sharing your photos on social media, like Instagram, not only keeps you consistent but also brings helpful feedback from others. Use that feedback to spark new projects or try different storytelling styles. Simple routines like these turn casual snapshots into a rich, intentional art portfolio.
Final Words
In the action, our guide walks you through practical mobile photography tips. The article covers shooting in natural light, solid composition using grid lines, advanced camera modes, editing with apps, and even DIY gear hacks. Each section offers clear steps to boost your confidence when capturing great images. We tested these strategies so you can see immediate improvements. Enjoy the process and watch your phone photos come alive with creativity and clarity.
FAQ
What are some top mobile photography tips for beginners and pros?
The mobile photography tips for beginners and pros focus on using natural light, enabling grid lines for composition, keeping a steady grip, avoiding digital zoom, and quickly reviewing images for best results.
Are there accessible resources like PDFs and courses for mobile photography?
The mobile photography PDFs and courses offer detailed, easy-to-follow tutorials, making it simple to learn key techniques, from composition to editing, regardless of your skill level.
What mobile photography ideas can help spark creativity?
The mobile photography ideas suggest experimenting with different perspectives, using leading lines, exploring unique angles, and capturing everyday details to bring fresh creativity to your images.
What does the 20 60 20 rule in photography mean?
The 20 60 20 rule in photography is not widely recognized as a standard guideline; many enthusiasts instead rely on traditional composition rules such as the rule of thirds.
What is the rule of thirds (or 1/3 rule) in photography?
The 1/3 rule, known as the rule of thirds, involves dividing the frame into a grid so that placing the subject along the intersections naturally balances and enhances the overall composition.
What are the essential rules and tips for quality mobile photography?
The essential rules include shooting in natural light, using stable support, enabling grid lines for proper framing, avoiding digital zoom for better detail, and regularly comparing shots to improve your technique.
What are seven useful tips for taking good photographs?
The seven useful tips include focusing on natural light, applying good composition, stabilizing your device, avoiding digital zoom, capturing in RAW when possible, reviewing your shots promptly, and refining them with minimal editing.