
Have you ever wondered if your liquid cooling setup might be holding your PC back? Skipping regular checks can make your system overheat or even fail without warning. By refreshing your coolant mix, cleaning fans and radiators, and checking all the fittings, you keep the cooling loop running smooth and steady. In this guide, we break down simple steps to keep your system in top shape and help it cool better. Even small, regular checks can mean the difference between smooth performance and expensive repairs.
Overview of Liquid Cooling Maintenance Process
Keep your system running smoothly and avoid costly repairs by sticking to a regular liquid cooling service routine. Here’s what works:
- Change the coolant every 6 to 12 months based on the type you use.
- Clean the radiators and fans every three months so air flows freely.
- Check and tighten all fittings once a month to stop leaks.
- Flush, drain, and refill the cooling loop each year or when needed.
- Look over the pump, tubing, and water blocks twice a year to spot any wear.
- Test for leaks after every maintenance cycle to catch issues early.
See the sections below for more details and helpful tips.
Optimal Coolant Replacement Scheduling for Liquid Cooling Maintenance
Coolant degradation is a real risk for your liquid cooling system. As the fluid ages, it loses its heat transfer power and picks up debris that may clog your setup. This can lead to pump cavitation (air bubbles that harm the pump) and increase system pressure, stressing your parts and lowering cooling performance.
Here are some guidelines to follow:
- For standard distilled water mixes, replace your coolant every 6 to 12 months.
- If you use colored or UV-reactive fluids, swap them out every 6 months because they break down faster.
- Manufacturer-approved premixed solutions should be replaced on a 6 to 12-month schedule.
- For specialty coolants, check the product instructions for the exact replacement timing.
Keep an eye on your coolant level every month. Too little fluid can make the pump work harder, leading to cavitation, while too much fluid raises pressure in the loop. Always refill with a distilled water mix or an approved premixed solution. Watch for changes in color or clarity; these simple signs could mean your coolant is failing and a full flush might be necessary.
Radiator and Fan Cleaning Techniques for Liquid Cooling Maintenance
Keeping your liquid cooling system dust-free is key to good airflow and steady performance. Dusty radiators and fans can trap heat, stress your components, and slow down your computer when it’s working hard.
- Blow off surface dust every three months with compressed air. Hold the nozzle about 2–3 inches from the fins so you don’t damage the delicate aluminum.
- For a deeper clean, take the radiator out and flush its channels with distilled water. This helps clear particulates that air alone can’t remove.
- If you don’t want to disassemble, spray air filter cleaner on the fins. Let it dry completely, then use an air-blast to push out any lingering dust.
- Use a soft-bristled brush to gently remove stubborn dust on the radiator and fan blades. This extra step makes sure nothing is left behind.
- Check both the fans and radiator regularly for signs of wear or damage. Replace any parts that seem worn out to keep your system cooling well.
Keeping your radiator and fan clean is a simple habit that makes a big difference. Clean every three months to keep airflow smooth and your system running cool. For more tips on safe cleaning methods and products, look at the electronics cleaning guide.
Leak Inspection and Fitting Tightening in Cooling Loop Maintenance
Even a tiny leak can turn a smooth cooling loop into a real headache. Over time, small drips can stress components, lead to corrosion, and even cause system failure. That's why it's smart to inspect every part of your coolant path to avoid unexpected shutdowns when you're pushing your system hard.
- Check the tubing for any wear, discoloration, or tiny cracks that might let fluid escape.
- Make sure all fittings are secure by tightening them with a firm finger-tight plus an extra quarter-turn.
- Look over water blocks for any residue around the seals that could point to a leak.
- Inspect the reservoir for cracks or signs of moisture buildup.
- Examine the radiator for stains or drips along the fins that might mean coolant is escaping.
- Listen to the pump and check for odd noises or any damp spots near the connection points.
Using the right torque on compression fittings is key. A gentle finger-tight plus a quarter-turn usually gives you enough pressure without harming delicate parts. Always check O-rings for cracks or wear and consider replacing them once a year. These simple steps help keep your cooling loop balanced and prevent small issues from turning into costly repairs. For a deeper dive into these routines, check out our desktop maintenance best practices at the link provided.
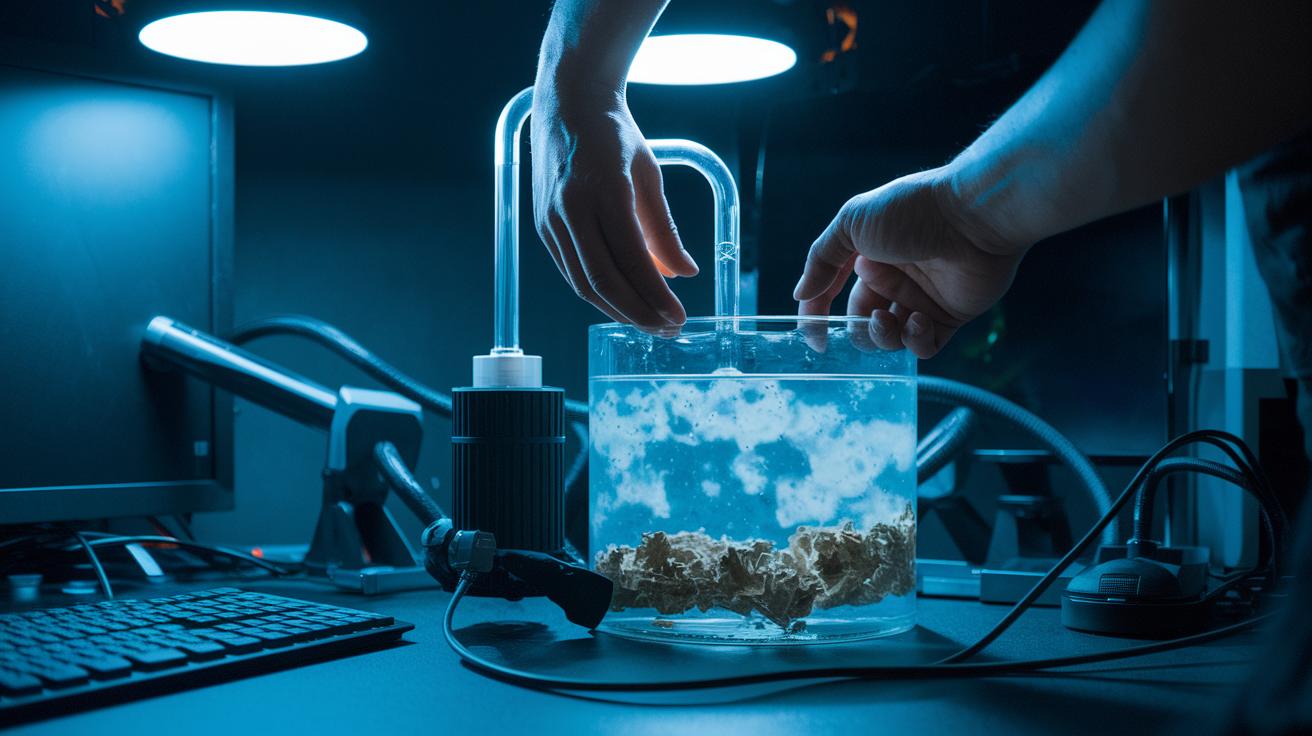
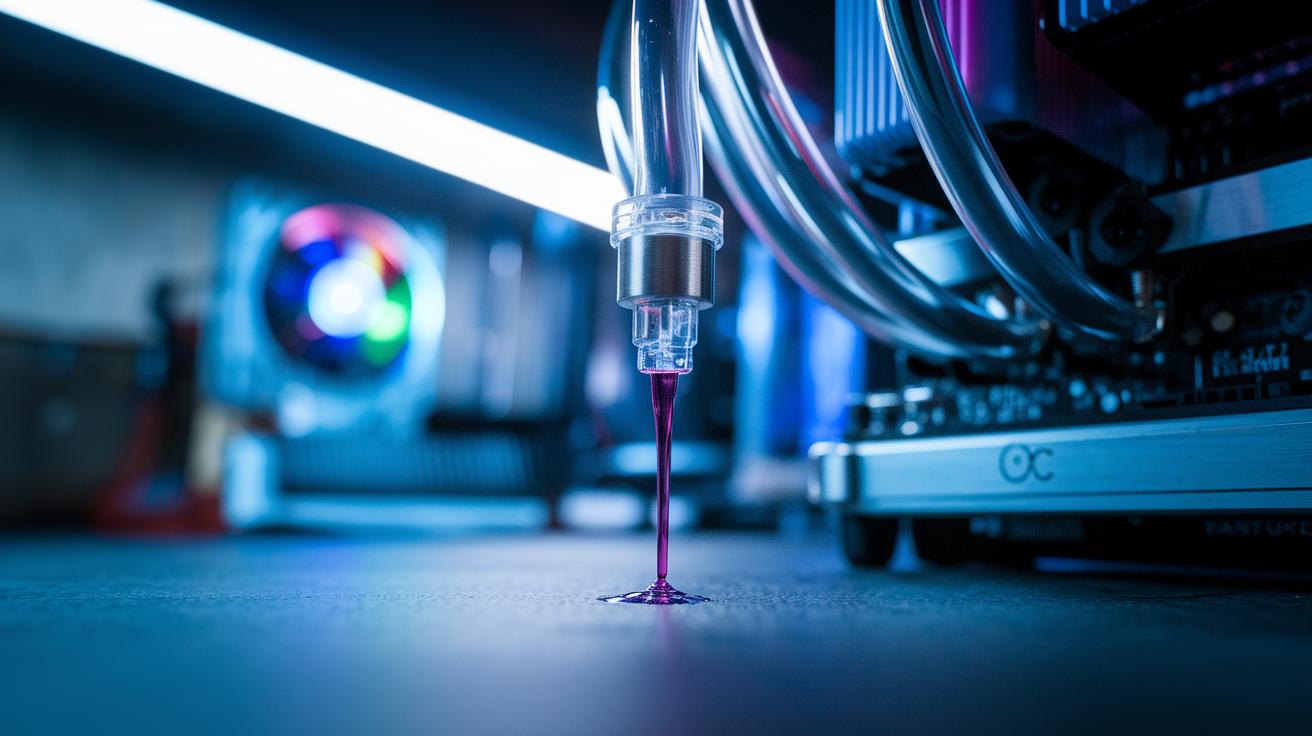
Flushing, Draining, and Refilling Liquid Cooling Systems
Before you start, grab a container that can hold all the old coolant safely. Place it near your PC case so that when you tip the case or open a valve, the fluid goes straight into the container without spilling.
- Turn off your PC and unplug it.
- Carefully drain the coolant by either tipping the case or using a quick-release valve. Let the fluid flow into your catch container.
- Run a cleaning solution through the loop for about 5 minutes. This helps clear out any buildup. Then drain the solution.
- Rinse the loop with distilled water. Keep the water moving until it runs clear, without any dirt left.
- Fill the loop with your new coolant mix. Be sure all reservoirs and tubes get filled.
- Remove any trapped air. Use the reservoir fill port and tilt the case slightly. Run a short system test to check for leaks.
Once the new coolant is in and the air is out, make sure you dispose of the old coolant properly. Follow your local rules for hazardous waste to keep the environment safe. This careful process helps your liquid cooling system run smoothly over time.
Pump, Tubing, and Water Block Inspection and Care
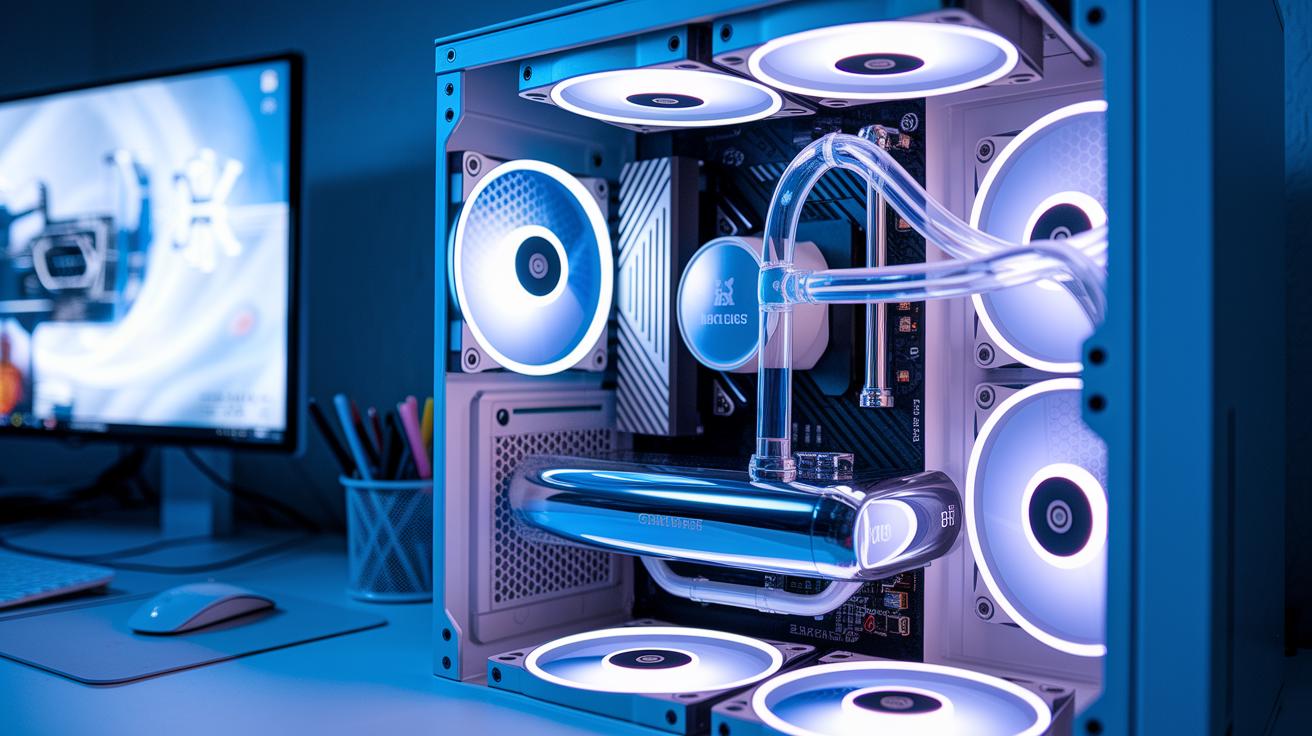
Your liquid cooling system works hard to keep your PC cool, and the pump, tubing, and water block are the key parts that make it run smoothly. They move the liquid to cool your components and prevent overheating. Keeping these parts in good shape is essential for low temperatures and smooth performance.
- Listen for unusual pump sounds. Check how the pump works at idle and when your PC is busy. This helps you catch signs of wear early.
- Lubricate top-mount bearing pumps every six months, following the maker's instructions, to keep them running smoothly.
- Look over your soft tubing often. Check for any kinks or color changes. If you see any issues, replace the tubing, ideally every two years.
- Remove the CPU and GPU water blocks and soak them in a vinegar solution for about 30 minutes. Then, gently brush the micro-channels to clear out any buildup.
- Check all the fittings and connections to make sure they are tight and free of residue or leaks around the water blocks.
Choosing sturdy tubing from well-known brands can save you from frequent replacements. When your tubing holds its shape and stays clear, it lowers the risk of clogs and leaks. Following these care steps helps your system keep cool, even under heavy use.
Troubleshooting Common Liquid Cooling Issues
When your liquid cooling system isn’t working right, start with some simple checks to spot the problem. These tests help you decide whether you need to bleed the loop, clean out any gunk, or tighten loose fittings.
- Temperature spikes might come from trapped air pockets. Bleed the system slowly until it’s completely filled.
- If the pump makes a constant noise, worn bearings or cavitation (when bubbles form due to low fluid) might be the culprit. Check your coolant level and listen for any changes.
- A change in coolant color or a build-up of algae-like sludge shows that the liquid is breaking down. A full flush with an anti-microbial additive should fix it.
- Reduced coolant flow or uneven cooling may point to clogged filters or blockages in the cooling block. Cleaning these parts usually restores proper flow.
- Leaks or damp spots around fittings could be a sign of vibrations or loose connections. Tighten all the fittings to see if that stops the leak.
If these fixes don’t help and your system still performs oddly, it’s time to ask a professional. They have the right tools and know-how to look for hidden blockages or internal wear. And if problems keep coming back after a flush or cleaning, a technician can check that no small issue has turned into a bigger risk for your system.
Essential Tools and Safety Precautions for Liquid Cooling Maintenance

Working on your liquid cooling system takes careful handling so you don't hurt yourself or damage your gear. Using the right tools and following simple safety steps helps reduce spills, corrosion, and breakages. It’s a good idea to work in a spot with fresh air and to wear your safety gear.
Here’s a list of must-have items:
- Funnel with filter (to keep debris out)
- Catch basin (to collect any drips)
- Distilled water spray bottle (for a gentle clean)
- Torque wrench (to tighten parts correctly)
- Soft brushes (to sweep away buildup without harm)
- Nitrile gloves (to protect your hands)
- Eye protection (to keep your eyes safe)
When you’re working with cleaning chemicals or old coolant, it's important to get rid of them the right way. Follow your local guidelines to protect the environment. Using fluids or additives approved for copper and aluminum also helps keep your cooling system in good shape. These careful steps make sure your liquid cooling setup lasts longer and stays safe to maintain.
Liquid Cooling Maintenance FAQ
For a quick guide, check out these pointers that link to more detailed help:
-
How often to replace coolant?
See the coolant replacement section for advice: change your coolant every 6 to 12 months. -
What should you do if the pump fails mid-session?
Head over to the pump and system diagnostics section for steps on how to safely shut down and inspect the system. -
Can different coolant formulas be mixed?
The coolant replacement section explains why it’s best to stick with the approved formula. -
Which maintenance tools are recommended?
Look at the cleaning and hardware inspection sections for a list of the essential tools. -
How should maintenance be scheduled?
The leak inspection and hardware guidelines sections cover the timing and checklist details for proper maintenance.
Final Words
In the action, this guide walked through key tasks from coolant refresh and radiator cleaning to leak testing and component care. We broke it down into clear steps so you can handle coolant swaps, air filter cleaning, and pump checks with ease.
Following these liquid cooling maintenance tips will help keep your system running steady and safe. Stick with regular checks and proper tool use, and you'll enjoy reliable, hassle-free cooling for your setup.
FAQ
How often does liquid cooling need to be changed?
The replacement interval for liquid cooling systems is typically every 6 to 12 months. Regularly changing coolant prevents buildup, maintains efficient heat transfer, and protects your system from performance drops.
Should I replace my AIO liquid cooler after 5 years, and how long does liquid cooling last?
The lifespan of AIO liquid coolers usually ranges from 5 to 7 years. Routine upkeep can extend performance, but replacing them around 5 years helps avoid potential pump issues and reduced cooling efficiency.
What does liquid cooling maintenance involve?
The maintenance process covers cleaning radiators and fans, replacing coolant, tightening fittings, inspecting tubing and pumps, and running leak tests. Following the manufacturer’s manual ensures your system stays in top shape.
How do I handle liquid cooling maintenance for a CYBERPOWERPC?
The CYBERPOWERPC liquid cooling setup follows similar care routines. Check coolant levels, clean the components, inspect fittings, and run leak tests, all as guided by the specific manual for your model.
Do water coolers require regular maintenance?
The upkeep of water cooling systems is critical. Regular cleaning, coolant replacements, and system inspections ensure that your water cooler works efficiently and lasts longer.