

Ever get stuck when your ultrabook battery dies right when you need it most? We know that sudden power drop can really cut your work short. In this guide, we show you a clear, step-by-step way to swap out your old battery for a fresh one. This DIY fix is simple and can save you both time and money compared to expensive repairs. Stick with us and learn how to keep your ultrabook powered up.
Ultrabook Battery Replacement Tutorial: Step-by-Step Guide
-
Start by turning off your ultrabook and unplugging the adapter. This simple step stops any electrical mishaps before you begin. Before you open your laptop, make sure it’s completely powered down to avoid short circuits.
-
Check your battery type. If it exits with a latch, it’s removable. If you have to remove a back panel with screws, the battery is built-in. For example, many older HP or Dell models let you slide out the battery quickly.
-
Get your workspace ready. Use a flat, non-conductive surface and gather your tools, a precision screwdriver, a plastic spudger (a tool for prying gently), and a small tray to keep screws safe. An organized area helps avoid losing parts.
-
If your battery is internal, remove the back panel. Unscrew about 6 to 8 screws and carefully lift off the panel. Work slowly to prevent any damage to the casing or cables.
-
Snap a few photos of the battery connection before you disconnect it. This way, you’ll know exactly how everything fits together when it’s time to reassemble.
-
Gently remove the battery. For internal batteries, unplug the cable from the motherboard with care. If it’s removable, simply slide the battery out using your fingers.
-
Lay the old battery beside the replacement. Double-check the model number, capacity, and voltage. A drop from around 5 hours to 1–2 hours of battery life is a clear sign that it’s time to replace it.
-
Insert the new battery by aligning the connector properly. Press it gently into its socket. Don’t force it, if it doesn’t click into place, adjust it until it fits easily.
-
Secure the battery by putting the back panel back on and screwing it in with the original screws. If it’s a removable battery, slide it into the slot until it sits snugly.
-
Finally, power up your ultrabook and calibrate the new battery. Charge it fully to 100% and then let it drop to about 5% over two or three full cycles. This process helps the system learn the battery’s true capacity.
Tools and Safety Precautions for Ultrabook Battery Replacement
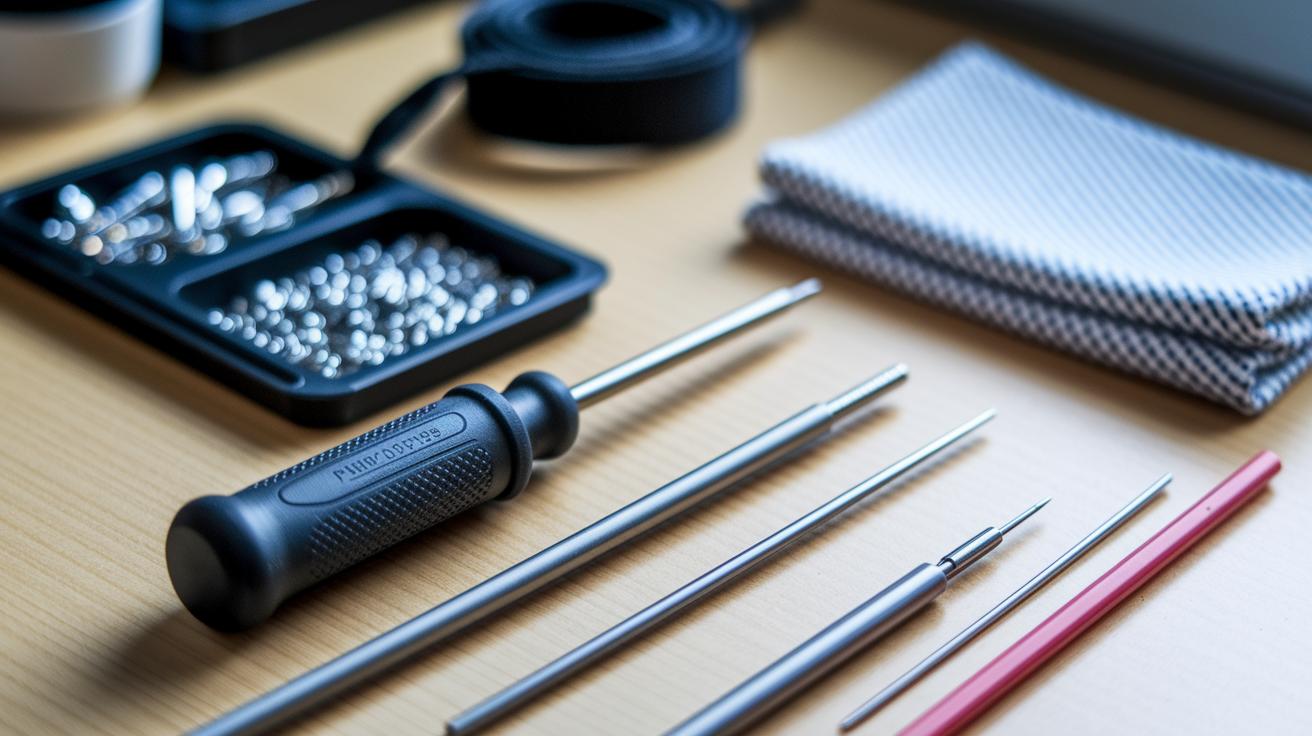
Before you start replacing your ultrabook's battery, make sure you have all the right tools. You’ll need a precision Phillips screwdriver, a Torx screwdriver set for those tiny screws, and an anti-static wrist strap to keep static electricity at bay (which can harm sensitive circuits). Also grab a plastic spudger for gently prying open parts, a soft microfiber cloth to wipe off dust, and a non-metal tray to keep your screws in order.
Next, set up a safe workspace. Unplug the power adapter and remove the AC power so that no current is running. Keep your wrist strap on at all times, and if you can, wear nitrile gloves for extra hand protection from sharp edges or any leftover battery chemicals. Work on a non-conductive surface like a wooden table and keep liquids far away from your area.
Remember: always assume that any remaining charge is dangerous. Double-check that your power source is disconnected before you begin. With your tools ready and these safety steps in place, you’ll be set for a smooth and secure battery replacement.
Identifying and Removing Your Ultrabook’s Old Battery
Need to swap out your old ultrabook battery? We put together a clear, hands-on guide that shows you how to spot the aging battery and remove it safely. Follow our easy steps to get your ultrabook running smoothly again.
Installing the New Battery Module in Your Ultrabook
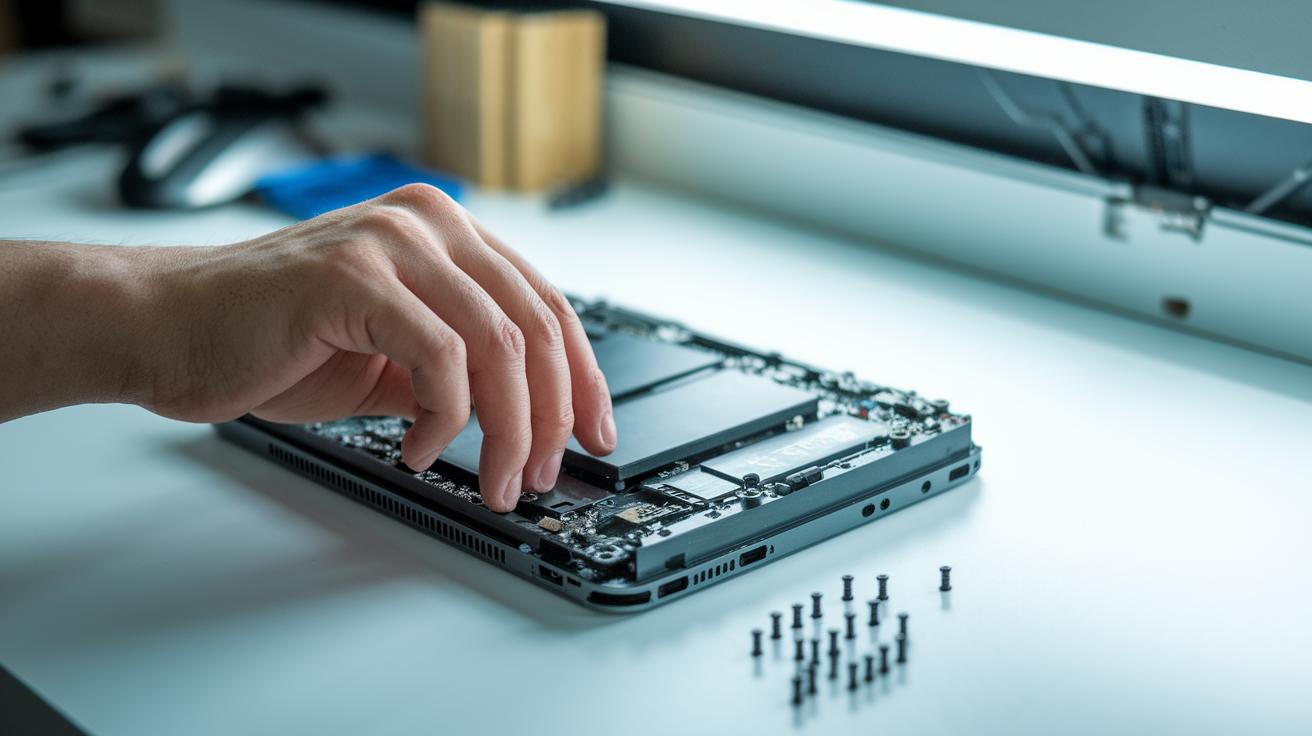
First, remove the old battery. Then, line up the new battery’s connector with the slot on the motherboard and gently slide it in. If it doesn’t fit easily, stop and inspect for any misalignment or debris.
Next, use the original 4 to 6 screws to secure the battery. Tighten the screws in a star pattern, fix one corner, then its opposite, to spread the pressure evenly. We suggest using about 1.2 kg·cm of torque. This helps keep nearby parts, like the flex cable, safe.
Finally, make sure the connector is firmly in place and the battery sits evenly in its compartment. Confirm everything is secure before turning on your device.
Calibration and Post-Replacement Testing for Ultrabook Batteries
After you install a new battery, proper calibration is key. This step helps your ultrabook see the battery's real capacity. First, charge the battery fully to 100% in one go. This uninterrupted charge lets the battery controller set its baseline. Next, let the battery drain down to about 5%. Doing this full cycle two or three times helps fine-tune the calibration. For example, start at full charge, use your laptop until it nearly dies, then recharge it without any breaks.
Some modern ultrabooks may still keep old battery profiles in their BIOS or UEFI settings (basic system firmware). Resetting these settings helps your system read the new battery accurately. Check your device manual for steps on how to do this when needed.
Using the Windows Battery Report Tool
On Windows 7, 8, or 10, open an elevated Command Prompt (run it as administrator) and type "powercfg /batteryreport" to generate an HTML report. This report shows key details like the cycle count (number of times the battery has been charged), full charge capacity, and usage history. Reviewing this data confirms that your calibration is complete and that your ultrabook's firmware now reflects the new battery’s true performance.
Troubleshooting Common Ultrabook Battery Replacement Issues

If your ultrabook doesn't see the new battery or won't charge, start by checking the battery connector. Remove the battery gently and plug it back in. A loose connection can affect voltage and cause odd behavior.
Next, peek into your BIOS settings. Some ultrabooks show battery profiles that may not update right away after a swap. Restart the laptop and enter BIOS to see if the new battery appears. If it still shows the old battery or nothing at all, try resetting the BIOS battery settings.
After that, update your power-management drivers. Outdated drivers can mess with charging and detection, sometimes draining the battery even when it looks full. A quick driver update can clear up these issues.
Also, use a known-good AC adapter to check the power supply. If your laptop only runs when plugged in, the battery or its connection might be the culprit. Removing the battery to test on AC power alone can help pinpoint the problem.
Lastly, run a battery health check with your ultrabook's diagnostic software. This test can flag issues like sudden power drops or unusual discharge rates.
- Reconnect the battery properly
- Check BIOS battery settings
- Update power-management drivers
- Test with a reliable AC adapter
These steps should help you zero in on the issue without unnecessary disassembly or returns.
Procuring the Right Replacement Battery for Your Ultrabook
First, check your ultrabook. Look for the model number on the bottom label, in the user manual, or inside the battery compartment. This simple step stops any mix-ups and makes sure you get the battery that fits. Also, note the capacity and voltage (how much power the battery outputs) to match your device.
Prices can vary. OEM batteries run from about €65 to €250. They fit perfectly and come with a full warranty. Certified third-party batteries cost around €50 to €120 and claim to match OEM specs, though the quality can sometimes differ. If you're on a tight budget, used or aftermarket batteries are available for less than €50, but they might not last as long and could even be unsafe.
For the best results, buy your battery from an authorized reseller. This keeps your warranty intact and ensures the battery has proper UL (safety certification) approval.
| Source | Pros | Cons |
|---|---|---|
| OEM | Guaranteed fit; full warranty | Highest cost |
| Certified Third-Party | Moderate price; OEM-compatible specs | Varied quality |
| Used/Aftermarket | Lowest price | Shorter lifespan; safety risks |
Eco-friendly Recycling and Disposal of Old Ultrabook Batteries

Disposing of old ultrabook batteries the right way helps protect our environment and supports community efforts. Taking them to a certified e-waste drop-off or a retailer take-back program is a smart, eco-friendly choice. Many towns even host free battery recycling events to stop heavy metals from building up in landfills.
Recycling batteries this way cuts pollution and keeps nature safe. In some cases, working battery modules are re-certified and donated for emergency power in community projects. This not only helps those in need but also keeps electronics out of the waste stream.
Be sure to check with local authorities for collection events or approved e-waste centers. By choosing proper recycling methods or donation initiatives, you play a part in creating a cleaner, healthier planet. Every small effort counts, so act now and lead the way in green practices.
Final Words
In the action, we walked through each step, from identifying your battery type to safely installing your new one. The guide covered everything, from prepping the right tools to testing your ultrabook after the swap. It clearly explained when the battery needs replacing, how to work without damaging delicate parts, and even tips on recycling the old unit responsibly.
Use our ultrabook battery replacement guide to boost your confidence and save money with a hands-on, DIY approach. Enjoy a smoother, longer-lasting ultrabook experience.
FAQ
What is the ultrabook battery replacement guide for 2021 and Windows 10?
The guide explains a 10-step DIY process to safely replace your ultrabook battery, covering both internal batteries (which require unscrewing the back panel) and removable ones with a sliding latch.
How do I remove a battery from an HP laptop or HP laptop 15?
The removal process starts by disconnecting power and unscrewing the back panel. Then, gently pry and disconnect the battery cable while keeping track of where screws and connectors go.
How does the HP laptop battery finder by serial number work?
The finder uses your laptop’s serial number to locate the exact replacement battery information, ensuring you purchase a model that fits your device correctly and maintains warranty compliance.
How do I remove a battery from a Lenovo laptop?
The process involves using a sliding latch or unscrewing the back cover, then carefully disconnecting and removing the battery while avoiding any damage to the connectors.
How do I find my HP laptop battery model number?
The model number is usually printed on a label on the battery itself, and you can also check system information or documentation provided with your laptop for verification.
What should I know about HP ProBook battery replacement?
The replacement guide for the HP ProBook outlines careful removal of connectors and screws while ensuring the new battery is seated correctly to maintain proper electrical connections and device function.
Can I replace a laptop battery myself?
Yes, replacing a laptop battery yourself is possible if you follow a detailed guide, use the right precision tools, and take safety precautions to prevent damage to the device.
Do I need to reset my computer or calibrate the replacement battery after installation?
The new battery may require a BIOS reset to clear old profiles. Calibrate by charging to 100% and then discharging to around 5% for a couple of cycles to help the system recognize true capacity.
Is it worth replacing a laptop battery?
Replacing a laptop battery can extend your device’s usable life and performance, especially when the old battery’s charge drops significantly. DIY replacement can save you money compared to professional service.