
Ever wonder if setting up your router can be simple, even if it’s your first time? It might seem tricky at first, but a clear plan makes all the difference. We start by matching the power adapter with the router's numbers and then move on to connecting the right cables for internet access. Our friendly guide breaks down each step so you can steer clear of common mistakes and get online fast and safe.
Step-by-Step Router Installation Tips for Beginners

Connecting Your Router to Power
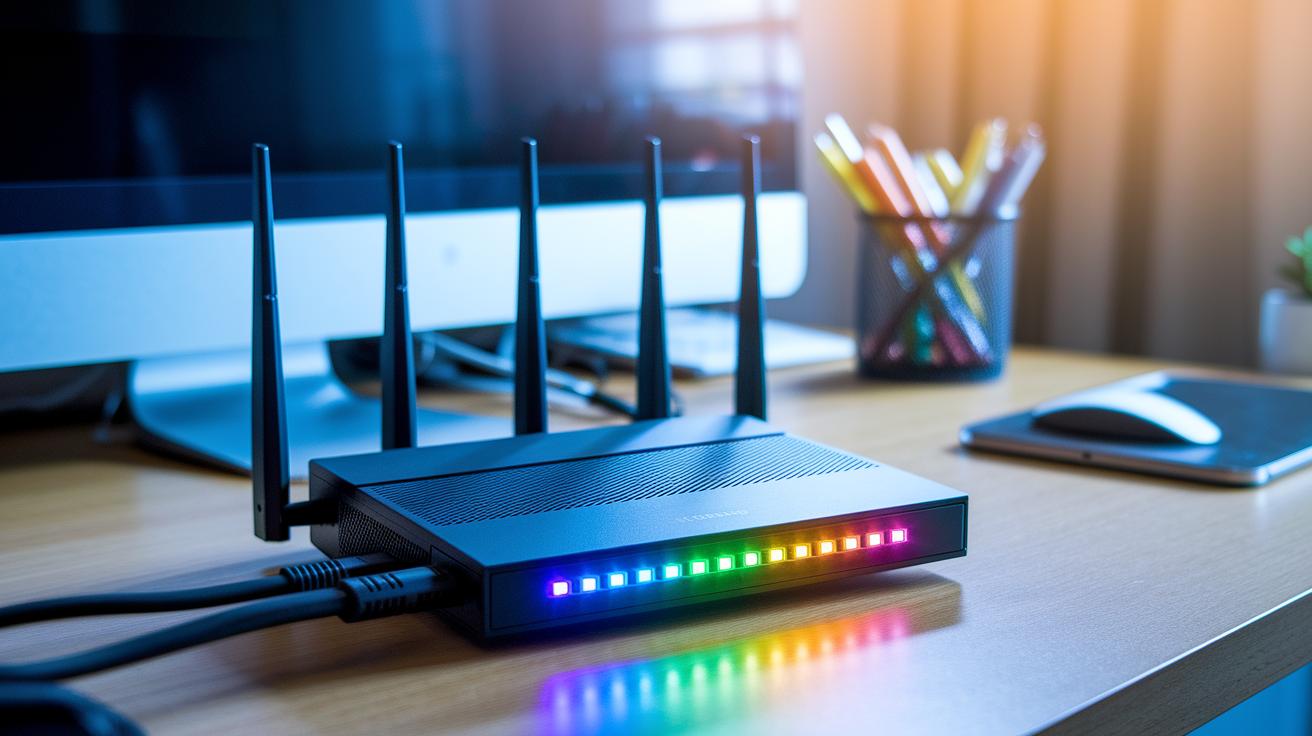
Before plugging anything in, take a look at the back of your router. Find the numbers that show the voltage and amperage and match them with your power adapter’s specs. For example, if your router says 12V 1A, make sure your adapter gives 12 volts and 1 amp. Once you plug in the adapter, check that the power LED stays on steadily. A steady light means your router is getting the right power. If you need extra help, the “getting started guide” has more details.
Linking the Router to Your Internet Source
After your router has power, it’s time to set up your internet connection. Use an Ethernet cable to connect your router to your modem or internet source. Look for a port labeled “WAN” or “Internet” on your router. If your setup uses cable, DSL, or fiber, use the right port, often clearly marked, to avoid mistakes. Make sure the cable clicks into place firmly, so you don’t run into connection problems.
Accessing the setup wizard or web interface
Now connect your computer or mobile device to the router. You can use another Ethernet cable or connect over Wi-Fi. Open your web browser and type in the router’s default IP address (usually 192.168.1.1). When the login screen pops up, follow the setup wizard instructions. You’ll be asked to change the default password and set up basic network settings. This process is simple and helps secure your network for everyday use.
Selecting the Right Router: Hardware and Compatibility Tips
When picking a router, start by checking what kind of traffic it can handle. Most routers move data over Ethernet, Wi-Fi, and sometimes even Bluetooth (a short-range wireless signal). This keeps your network steady. Think about the speed you need and whether your home uses wired devices or mostly Wi-Fi.
Look at dual-band and tri-band models. Dual-band routers use two channels: 2.4 GHz, which covers more distance, and 5 GHz, which is faster. Tri-band routers add an extra 5 GHz channel, which is handy if you often game or stream video. For example, one router might be around $299.99 while another budget pick comes in at $99.99. Even with a limited budget, you can find a reliable option.
It’s smart to check if the router works well with your ISP equipment. Verify that its hardware and firmware match up with your internet service. Reading customer reviews and detailed specs can help guide you. Don’t skip over these compatibility checks.
Before you buy, list your top features like the number of bands, speed, and extra connection options. Choose a router that blends solid performance with the features that fit your home network needs.
Router Installation Tips: Quick and Simple Setup
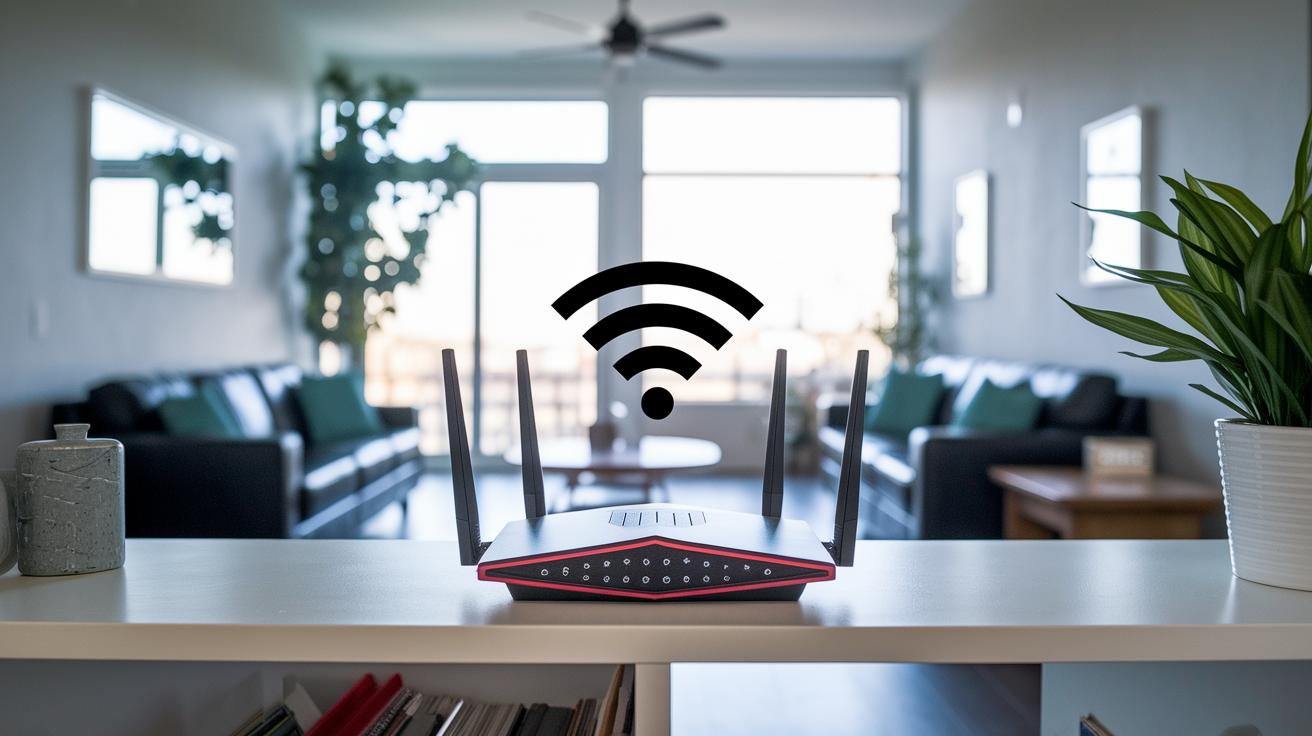
Place your router in the center of your home so it can cover up to 1,500 sq ft under ideal conditions. A central spot lets the signal spread evenly. Avoid hiding it in a corner or near thick walls. Materials like metal, glass, brick, and concrete can block the signal and lower its reach.
Keep the router in an open space away from clutter. If you live in a multi-floor home or have large rooms, try putting the router on a shelf instead of the floor. This elevation helps the signal lift and spread out. Placing it near the center rather than tucked behind furniture can really improve coverage. Have you ever noticed how a room feels brighter with better lighting? The same idea applies to your wireless signal.
If some areas still lack good coverage, mesh extenders can fill in the gaps. They boost your network where the signal drops off. For homes with many connected devices, like a smart home hub, check out this advice for better coverage: smart home hub. This extra step keeps your network running smoothly in every room.
Configuring Router Settings: Security and Performance Practices

Applying Firmware Updates
When you log in to your router’s admin panel, head straight to the update section. Most routers let you pick between a manual update or an auto-update. Back up your settings first so you can easily restore them if needed. If you see your firmware is old, click “Check for updates.” Updating your firmware not only improves performance but also fixes important security holes. Old firmware can leave your network open to risks.
Securing Admin Login and SSID
Once your firmware is updated, it’s time to secure your login. Change the default admin username and password to ones that are strong and hard to guess. When you go through the setup, skip common names like “admin” and choose a mix of letters and numbers for your password. Next, rename your SSID (your network name) to something unique. A custom name makes it tougher for outsiders to guess your network details. Also, enable WPA2 or WPA3 encryption with a strong key, for example, use a network name like "Home_WiFi_2023" and a password that blends upper-case, lower-case letters, and numbers.
Enabling QoS and Guest Network
To get the best from your router, dive into the advanced settings. Turn on Quality of Service (QoS) to help manage traffic. This feature lets you prioritize activities like gaming or streaming, which keeps your online experience smooth even when many devices are in use. Then, set up a guest network to keep visitors’ devices separate from your main network. This step protects your personal data while still letting guests use the internet, which is especially useful during gatherings or when friends need temporary access.
Troubleshooting Router Installation: Common Issues and Solutions
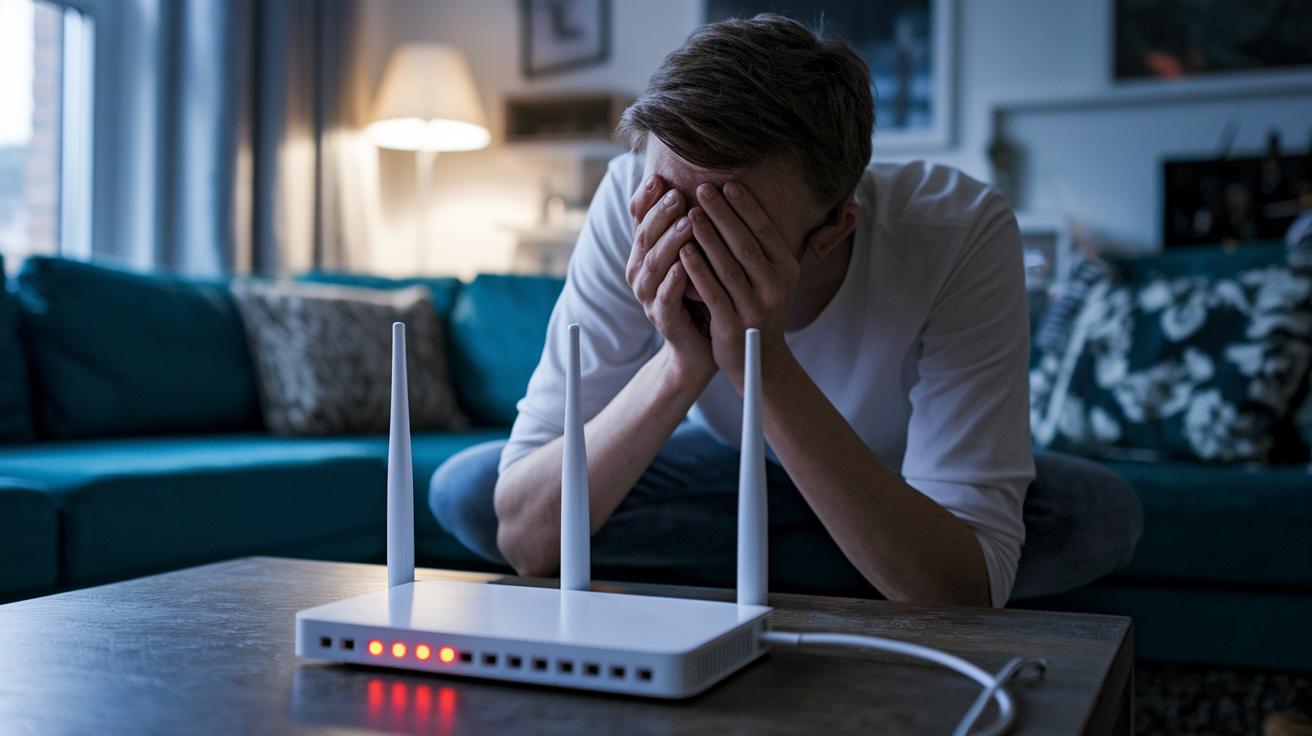
When you set up your router, a few problems can pop up. First, check the power LED. A dim or off light usually means the router isn’t receiving enough power. Make sure your power adapter meets the router’s voltage and amperage needs. If the light stays steady, power isn’t the issue.
Next, if the WAN port light is off, the Ethernet cable might be loose or faulty. Unplug the cable, then firmly reconnect it. If that doesn’t work, try a different cable or port as the wrong cable or setup might block your connection.
If your devices can’t access the internet, run a ping test to see if the problem lies with the router or your internet service. Open a command prompt and type "ping 8.8.8.8". If the ping fails, review your router settings or give your ISP a call. Keep in mind that some ISPs use special methods like VLAN tagging (adding a tag to your network data) or require unique login details, especially for fiber or DSL. Follow your provider’s instructions closely.
| Issue | Likely Cause | Quick Fix |
|---|---|---|
| No power indicator | Incorrect adapter voltage or wiring | Verify adapter specs and inspect power LED |
| WAN light off | Loose or faulty Ethernet cable | Reseat cable or try another cable/port |
| No internet connection | Wrong settings or ISP issues | Run ping test and check network configurations |
| Intermittent connectivity | ISP authentication or VLAN issues | Follow ISP guidelines on setup |
Performance Optimization and Routine Router Maintenance
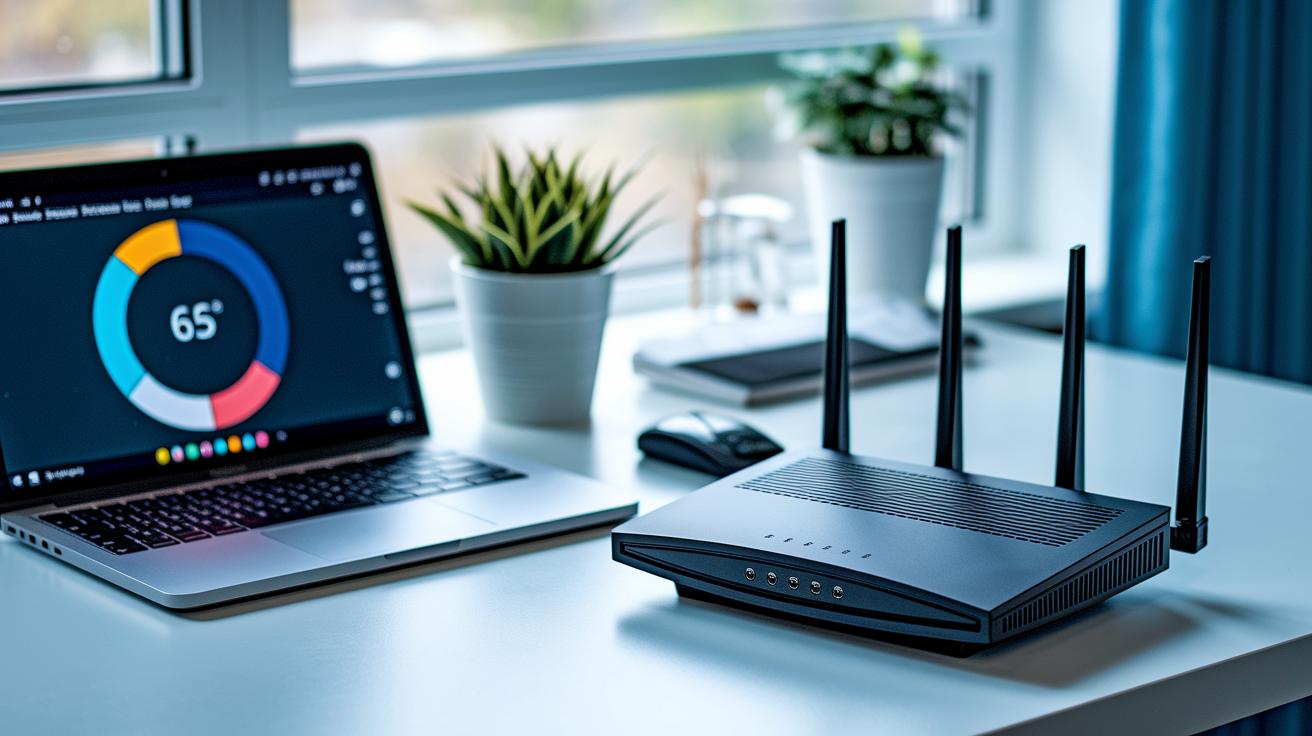
Test your router's speed every month. Use websites like Ookla or Fast.com to see if you're getting the speeds your ISP promised. This helps you spot issues early, such as slowdowns during busy hours.
Switch your wireless channel to lower interference. Routers often run on 2.4 GHz for longer range and 5 GHz for faster speeds. If one channel feels crowded, try another one. For example, we once moved from channel 6 to 11 and noticed a clearer signal.
Check for firmware updates every three to six months. Updating helps fix bugs and boosts security. A monthly reset can clear the router's memory, much like restarting a slow computer, giving it a fresh start.
If your home spans more than one story, consider signal boosters or powerline adapters. They help deliver a strong and steady signal even in the farthest corners of your house.
Final Words
In the action, our step-by-step guide showed how to connect your router to power, access the setup wizard, and make smart hardware choices. We walked through placing your router for optimal coverage, securing settings, and handling common issues. These router installation tips help streamline your DIY network setup. Follow the guide closely, test your setup regularly, and enjoy smoother wireless performance. Happy networking, and here's to a stable connection every time!
FAQ
How do I configure my router step by step, including TP-Link, Cisco, or Packet Tracer setups?
The process to configure your router involves connecting it to power, using an Ethernet cable to connect to your internet source, and accessing the setup wizard via a web interface (e.g., http://192.168.1.1) to update firmware and change default settings.
What are some WiFi router installation tips and precautions to take before installing a new router?
WiFi installation tips include verifying voltage, connecting the correct Ethernet ports, and reviewing the setup wizard instructions. Precautions include checking power indicators, confirming cable connections, and securing the admin interface from the start.
How does a phone help connect to or manage a WiFi router?
Using your phone, you can download the manufacturer’s app or access the router’s web interface. This allows you to manage settings, complete initial configuration, and monitor your network conveniently.
How can I connect my router to the internet wirelessly or to an existing network?
To connect your router to an existing network, plug an Ethernet cable into the router’s WAN port or use the wireless setup option if provided. Follow the on-screen prompts to link it with your internet service.
Are routers better placed upstairs or downstairs for optimal coverage?
Placing a router centrally and, if possible, upstairs can spread the WiFi signal more evenly across multiple floors, reducing interference and ensuring stronger wireless coverage throughout your home.
Do I just plug in my new router, or is there more to the setup?
Plugging in your new router is only the first step. After power-up, you must complete the configuration process, which includes connecting the WAN, accessing the setup wizard, and securing the admin settings.
What precautions should I follow while installing a router?
Installation precautions involve matching the power adapter’s voltage with the router’s requirements, using the correct Ethernet port (WAN for internet), and promptly updating default login credentials to secure your network.