
Ever feel like setting up new tools just takes more time than it saves? Installing PowerToys might seem hard at first, but it doesn't have to be. In this guide, we share two clear ways to install PowerToys on Windows. You can choose the simple Microsoft Store method or download it directly from a trusted source. Both options come with step-by-step tips to make the process smooth. Stick with us, and you'll have PowerToys up and running in no time.
2 powertoys install Tips for Easy Setup
This guide shows you five easy ways to install PowerToys on Windows. It works on Windows 10 (version 1803 and later) and Windows 11. Choose the x64 build for modern systems or x86 for older ones. Also, check the getting started guide to get your Windows setup ready. (Guide updated July 23, 2025)
Microsoft Store method
Using the Microsoft Store is the simplest way to install PowerToys. Press Win+S, type "PowerToys," then click the blue button that says "Get" or "Install PowerToys." The store automatically takes care of updates and checks that your system meets the requirements. It’s a great choice if you like clear, on-screen instructions. I tried this once and it felt like the computer was guiding me every step.
GitHub releases method
If you need an offline installer or prefer a hands-on download, go to the official PowerToys GitHub releases page. Pick between an executable or an MSI file based on your needs. Once downloaded, run the installer and follow the on-screen instructions. This method is useful if you want to keep a copy for use on several devices or for troubleshooting later.
Using winget in Command Prompt
For those who are comfortable with the command line, winget is a fast option. Open an elevated Command Prompt (run it as an administrator), then type:
winget install Microsoft.PowerToys
Press Enter and let winget handle the download and installation automatically. This method works well in environments where you need to deploy PowerToys on many devices at once.
PowerShell module method
Another command-line solution is using PowerShell. Open PowerShell as an administrator and run this command:
Install-Module -Name Microsoft.PowerToys
Follow any prompts that appear to approve the installation of the required modules. This method is handy if you already use PowerShell for system management tasks. It also integrates nicely into larger automation routines.
Each method offers a clear and easy way to add PowerToys to your Windows setup. Whether you prefer a graphical interface or the quick efficiency of a command line, these tips help make your installation smooth and stress-free.
powertoys install Prerequisites and System Requirements
PowerToys works on Windows 10 (version 1803 or later) and Windows 11. You need to have .NET Framework 4.6 or newer and Visual C++ Redistributable installed to make sure everything runs smoothly. This check lets you know your system is ready for installation.
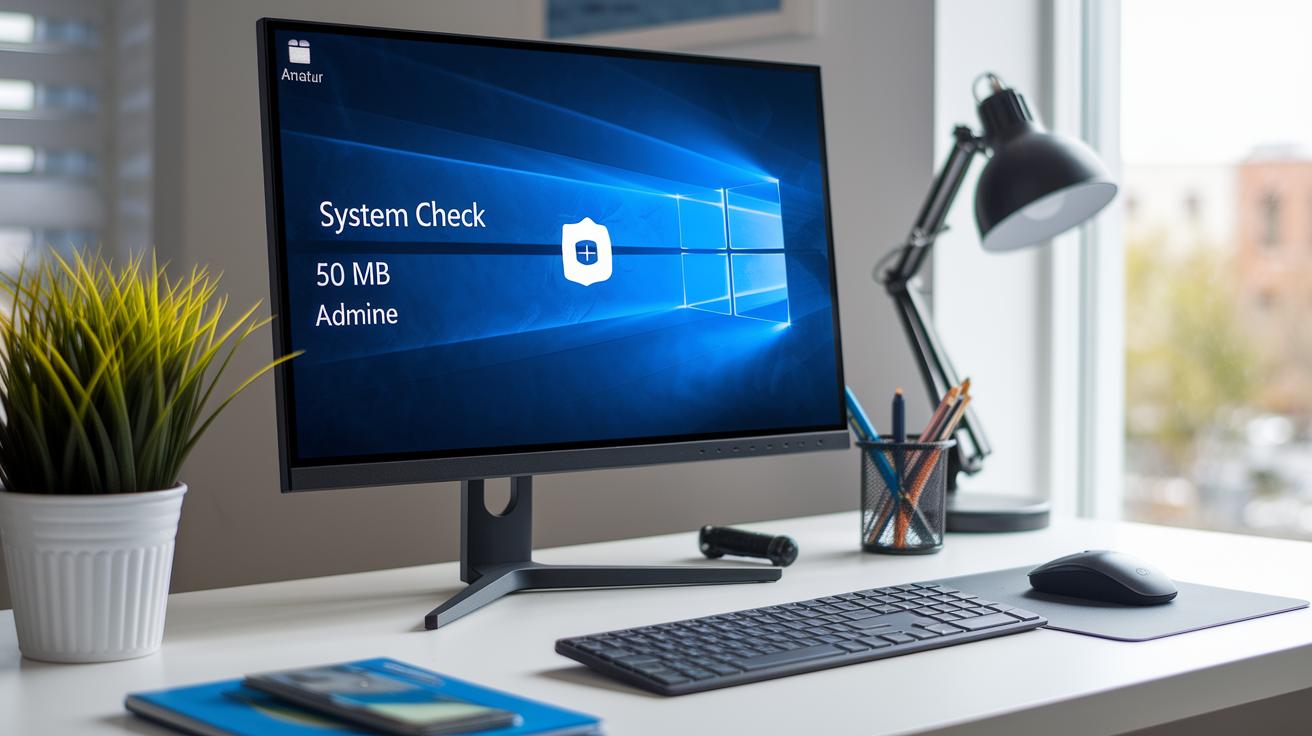
Before you begin, make sure your device has at least 50 MB of free disk space and that your GPU drivers are fully up-to-date. We recommend using administrator privileges for a quicker setup. If you don't have admin rights, you can use the offline installer instead. Taking a few moments now to verify these requirements can save you time and prevent issues later. Whether you’re new or deploying PowerToys in a business, checking these details upfront helps ensure a smooth install and stable performance every day.
powertoys install Post-Installation Setup and Module Activation
Once you install PowerToys, click the system tray icon to open its settings. The screen shows all the main tools – FancyZones, PowerRename, Mouse Utilities, and Color Picker – so you can flip features on or off as you wish.
In the settings, you can adjust each tool to work best for you. Start by switching on the functions you use most with simple toggles. For example, in General settings, you can add Explorer context-menu options to quickly rename files. If you manage many windows, launch FancyZones to set up your own window layouts for smoother multitasking. You can also adjust PowerRename for batch file changes and tweak Mouse Utilities for better cursor control on big screens. If you like more detailed control, you can edit the JSON file at %localappdata%\Microsoft\PowerToys\settings.json to set advanced options. Tailor these settings to build a workspace that fits your daily needs.
Troubleshooting Common Issues During powertoys install

If you're having trouble installing PowerToys, try these simple fixes first.
| Error | Solution |
|---|---|
| Error “0x80070005” | Right-click the installer and select “Run as administrator” to fix permission issues. |
| Missing .NET | Download and install .NET Framework 4.6 or a newer version. |
| Corrupted download | Re-download the installer from the official GitHub releases page. |
| winget not recognized | Install the App Installer from the Microsoft Store. |
| SmartScreen block | Click “More info” and then “Run anyway” to continue. |
If an error still occurs, check the log files for more details. You can find these logs in the folder %localappdata%\Microsoft\PowerToys\Logs. They often offer extra clues if the quick fixes don't do the trick.
Advanced powertoys install Options: Offline and Enterprise Deployment
You can download an offline installer (.msi file) from GitHub releases to run PowerToys without needing an internet connection. Once you have the installer, copy it to a network share so many computers can access it quickly. This method works well when internet speeds are slow or when you plan to install it many times. It is also useful in networks where computers cannot reach the internet because you set it up ahead of time.
For larger deployments, use tools like SCCM or Intune. These let you push PowerToys with silent-install flags that run without prompts. You can also use a PowerShell script to run winget in batch mode and apply custom JSON settings. A good tip is to test the rollout on a small group first. This way, you can check that it works well with your setup before rolling it out to everyone.
Final Words
In the action, we broke down the step-by-step powertoys install process for Windows 10 and 11. We walked through methods like Microsoft Store, GitHub releases, Command Prompt, and PowerShell, ensuring you know exactly what to do.
We also covered system requirements, initial module activation, and smart fixes for common errors. Finally, we explored advanced setups, including offline and enterprise options.
This guide helps you get started quickly and safely with your powertoys install, turning tech setups into a breeze. Enjoy experimenting and optimizing your experience!
FAQ
What is the process for downloading PowerToys?
The download process for PowerToys allows you to choose from the Microsoft Store, GitHub releases, or command-line tools like winget. This offers multiple free options for obtaining the installer.
How do I download PowerToys for Windows 10?
The download for Windows 10 involves accessing PowerToys through the Microsoft Store or GitHub releases. You simply search for the installer compatible with Windows 10 and follow the prompts to install it.
How can I install PowerToys on Windows 11?
The installation on Windows 11 is similar to Windows 10. You can use the Microsoft Store app, GitHub releases, or winget commands to download and install the correct 64-bit build for optimal performance.
What should I do if PowerToys is not installing?
The issue of PowerToys not installing typically stems from permission issues or missing software prerequisites. Running the installer as an administrator, ensuring .NET Framework is updated, or re-downloading the installer can help resolve the problem.
Where can I find PowerToys on GitHub?
The GitHub page for PowerToys provides access to all released installers, such as .exe or .msi files. Here, you can select the version that meets your system’s requirements and download it directly.