
Ever notice your screen acting up with flickers, twisted lines, or scattered squares? We call that PC artifacting. It happens when your video memory, overheating parts, or loose connectors mess things up. In this post, we lay out the common signs and causes of artifacting so you can catch problems early. Ready to keep your screen clean and smooth? Let's dive in.
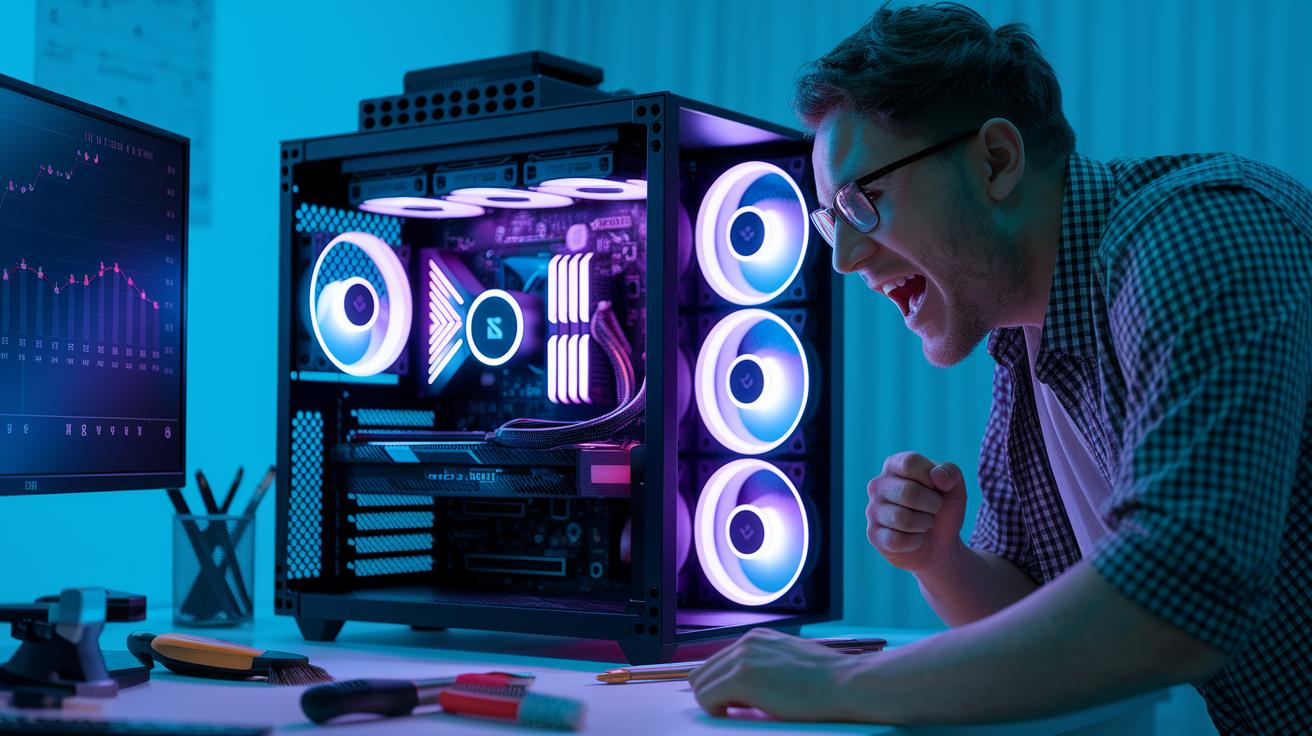
Identifying pc artifacting: Key Symptoms and Visual Glitches
PC artifacting is when your monitor shows visual errors you did not expect. You may see flickers, warped lines, odd textures, scattered squares, tiny dots, or sudden light bursts that break up the image. These glitches might pop up as soon as you power on your computer, during everyday use, or when you push your system hard with games.
Sometimes the screen flashes error symbols that feel like old-school arcade graphics, turning smooth visuals into choppy scenes. We often see these issues when the computer is doing normal tasks or when the graphics chip is under heavy load.
These signs usually point to problems with VRAM (video memory) or deeper issues with the GPU (graphics processing unit). Faulty VRAM chips, overheating, or driver mismatches can cause these glitches. Even small VRAM errors can quickly spread, affecting your entire display.
If you notice these symptoms, it’s a good idea to check your hardware. Regular testing and proper maintenance can help keep your display clear and stable.
Major Causes Behind pc artifacting on Your System

PC artifacting shows up when your computer's graphics card stops handling image data correctly. In simple terms, this glitch happens because some parts of your system push the GPU too far or send weak signals to your monitor.
- Defective VRAM chips
- GPU overheating
- Aggressive overclock settings
- Driver conflicts or corruption
- Unsteady power supply output
- Loose or damaged display cables
Any of these problems can start a chain reaction that messes up your screen. For example, if you use an overclocking tool like Precision X1, it might push your GPU beyond what is safe, causing it to miscommunicate with the VRAM (the memory used by your graphics card). Even small manufacturing flaws in the VRAM chips can lead to errors where data isn’t stored or sent correctly. Overheating from blocked fans or poor airflow makes things worse because the card can’t keep cool. Outdated drivers or software conflicts add extra stress, leading to more display glitches. And if your power supply isn’t steady or if cables are loose, the signal gets weak.
These issues combined can lead to flickering, odd lines, and unpredictable textures on your display. It’s important to check each component to find the issue and restore clean, smooth visuals.
Software Steps to Fix pc artifacting Immediately
When your PC shows glitchy visuals, a few software fixes might save the day. Old or mismatched drivers can cause scattered lines or odd textures on screen. Removing and reinstalling your graphics drivers often clears up these problems. Sometimes, a simple rollback of a driver or lowering game settings can bring back a smooth, clean display.
Often, software tweaks alone are enough to fix the issue. Removing outdated drivers wipes out bad files that can cause artifacting. Updating to the latest driver or switching back to a previous version helps your GPU talk to your display properly. Lowering settings like textures, shadows, or reflections eases the burden on your graphics card. Turning off any overclocking is a safe move too.
| Step | Tool | Purpose |
|---|---|---|
| Clean Driver Removal | Display Driver Uninstaller | Eliminate corrupted files |
| Driver Update/Rollback | Official NVIDIA/AMD Installer | Restore stability |
| Graphics Setting Adjustment | Game or Control Panel | Reduce GPU stress |
| Disable Overclock | MSI Afterburner/Precision X1 | Prevent out-of-spec operation |
Hardware Diagnostic Checks to Resolve pc artifacting
When your PC shows display glitches, it’s time to do some hands-on checks to figure out what’s wrong. We start by looking at your computer’s key parts to see if the GPU (graphics card), cooling, cables, or power supply is causing problems.
First, check your GPU core and memory temperatures. Use simple tools like MSI Afterburner or HWMonitor. If you see readings over 85°C, that might be a sign of trouble.
Next, look at the cooling fans and heat sinks. Dust buildup can keep your system from cooling well, which leads to overheating. Give them a good clean if needed.
It’s also smart to test your video memory (VRAM) with tools such as GPU-Z. These apps can help uncover memory errors that might be causing display issues.
Make sure all your power and PCIe cables are securely plugged in. Loose cables can lead to intermittent power problems that show up as artifacting on screen.
Then, check your power supply unit (PSU). Use a multimeter or a PSU tester during heavy tasks to make sure voltage is stable.
If you’re still not sure, try swapping in a known-good GPU or PSU. Testing by replacing parts one at a time can point out which component is faulty.
By following these steps, you can pinpoint the issue. If you find unstable temperatures or suspect power problems, replacing the faulty unit might be the best fix. This methodical approach helps give your PC the steady power and cooling it needs for smooth, clean visuals.
Preventive Measures to Minimize Future pc artifacting
Keeping your display clear starts with regular cleaning. Dust can clog the fans, heat sinks, and vents, which forces your system to work harder and run hotter. A cooler system means fewer visual glitches. Even a quick clean-up every few months stops dust from affecting your GPU’s performance.
Next, update your system and calibrate your monitor. Make sure your GPU firmware is current and that the monitor’s settings match the ideal refresh rate and resolution. Using quality video cables also helps keep the image steady. These simple steps improve performance and keep your visuals smooth during both work and gaming.
When to Replace or Upgrade Your GPU to Stop pc artifacting

Sometimes even after you update drivers, tweak settings, and check your cables, you still see strange visuals on your screen. This means your GPU might be failing. When these glitches stick around, it usually points to a hardware problem.
At that point, it might be time to replace or upgrade your graphics card. If your card is old or you bought it used, starting a return process (RMA) could help you recover some money. For those on a budget, a test card like the GTX 1030, with its 2 GB of VRAM (the memory a GPU uses) and a price around $100, offers a good way to decide if you need a full upgrade or just a temporary fix.
Before you shop, double-check your system’s other parts. Make sure your motherboard’s PCIe slot (the connection for your GPU) is compatible. Also, see if your power supply can handle the extra power draw and that your RAM works well with the new card. This careful check helps avoid more issues and ensures your new GPU fits right in with your setup.
Final Words
In the action, we explored signs of pc artifacting, such as flickers, scattered lines, and retro-like symbols. We broke down hardware issues like VRAM flaws and overheating, reviewed software steps to update drivers and adjust settings, and detailed diagnostic checks to spot power or cable concerns.
We wrapped up with practical tips on cleaning, maintaining your system, and knowing when a GPU upgrade is needed. This hands-on guide gives you clear steps to fix and prevent pc artifacting for a smoother experience.