
Have you ever considered that your smartphone might turn an ordinary meal into something extraordinary? Mobile food photography tips will show you how to capture every delightful detail using just your phone. By learning how to work with lighting, experimenting with different angles, and creatively framing your dishes, you can transform everyday snacks into captivating images. Explore these simple techniques that do more than just create a picture, they offer a sensory experience ready to be shared. Get started and discover how to make your food come alive!
Mastering Mobile Food Photography Fundamentals
When using your mobile device to capture impressive food images, there are four core techniques that can truly elevate the appeal of your culinary creations. These methods serve as a solid foundation for turning everyday meals into delicious visual experiences.
Good lighting is the first essential element; it enhances texture and color, making every dish look vibrant and fresh. Experiment with different shooting angles to uncover new perspectives that bring out the unique details of your food. A well-considered composition arranges the scene thoughtfully, allowing the food and its surroundings to harmonize beautifully. Lastly, careful framing directs the viewer's attention straight to the dish by keeping distractions to a minimum.
Keep reading for practical advice and actionable tips that will guide you on your journey to mastering mobile food photography.
Optimizing Smartphone Settings and Accessories for Food Shots
Boost your food photography by fine tuning your smartphone settings and choosing the right accessories. This thoughtful approach ensures you capture every tantalizing detail of your dish with both clarity and style.
ISO and Shutter Speed
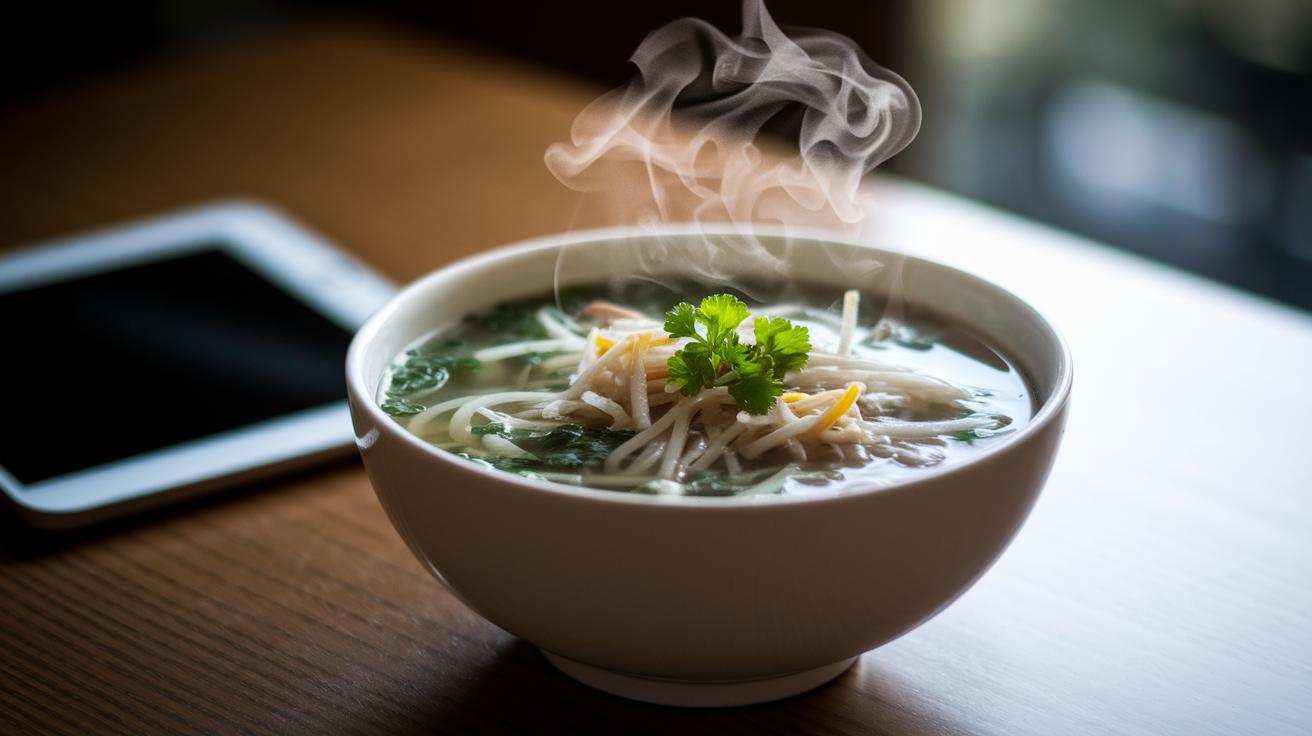
Keep your ISO below 100 to reduce noise, especially in dim lighting when every detail is important. Pair this with slower shutter speeds to highlight the textures of your meal, and use a stable support like a tablet tripod or phone clamp to prevent any blur. For example, when photographing a steaming bowl of pho under low light, maintaining a low ISO with a 1/50-second shutter speed can clearly reveal all the delightful details without any grain interference.
White Balance and Manual Focus
Begin by setting your white balance to match the available lighting, whether you are shooting under daylight, tungsten, or fluorescent lights, or using a custom preset that fits your scene. Manual focus plays an essential role as well; it allows you to lock in on subtle textures, such as the shine on a brushed sauce or the crispness of a toasted crust. One useful tip is to focus on a sparkling glaze so that its vivid texture creates a striking contrast with a gently blurred background.
RAW Capture and Highlight Clipping
Switch to RAW or DNG mode to take advantage of a broader dynamic range. This setting captures the gentle gradations of light and shadow that make food images so appealing. Utilize highlight clipping indicators, like zebra lines, to quickly spot and adjust any overexposed areas. This method ensures that everything from creamy interiors to grilled edges is recorded with excellent precision. Additionally, features such as timers or Bluetooth remotes make it easier to experiment with different arrangements during your shoot without disturbing your setup.
Creative Composition and Styling for Mobile Food Photos
Transform your food photography by intentionally styling and composing each snapshot to highlight both natural appeal and flavor. A simple dish can become a captivating culinary work by merging clean simplicity with deliberate details. Embrace innovative techniques that blend art with taste, ensuring every tip promotes creativity and accurate execution for consistently stunning outcomes.
- Choose a background with contrasting hues, such as textured wood or a bright white plate, to make your dish pop.
- Incorporate minimal props like linen napkins or sleek utensils, adding context without letting them take center stage.
- Drizzle sauces or sprinkle herbs just before shooting to capture your dish’s delicate, glistening texture.
- Use ample open space to keep the food as the primary focus, avoiding clutter that might distract the viewer.
- Position key elements along the smartphone grid to create a well-balanced frame that naturally guides the eye.
- Add a lively touch with fresh garnishes; vibrant greens or reds can immediately energize the scene.
- Experiment with different angles, whether overhead or side views, to reveal the most appetizing presentation.
A thoughtful approach to styling turns ordinary shots into enticing displays that reflect the care and passion behind each dish. By balancing composition with creative flair, your images will resonate with authenticity and invite viewers to savor the visual feast even before the first bite.
Lighting Mastery for Mobile Food Photography: Natural vs. Artificial Techniques

| Lighting Option | Position | Benefits |
|---|---|---|
| Natural Light | Close to diffused windows during early morning or late afternoon | Creates soft, ambient illumination that naturally accentuates textures and colors |
| LED Full-Spectrum Lamp | Set at a 45° angle relative to the subject | Mimics gentle daylight continuously to ensure a stable lighting effect |
| Reflector (White Foam Board) | Placed directly opposite the principal light source | Reflects additional light to soften shadows and balance the overall exposure |
When deciding on a lighting configuration for mobile food photography, consider the space you have and the look you wish to achieve. In a well-lit kitchen, positioning your dish near a window with diffused light during early morning or late afternoon results in gentle shadows that enhance textures naturally. In indoor settings where natural light is scarce, an LED full-spectrum lamp positioned at a 45° angle provides a consistent, soft daylight effect that works well. For situations that require extra brightness or more even exposure, positioning a white foam board reflector across from the main lighting source effectively bounces additional light to reduce strong shadows. It is best to avoid using the phone's built-in flash since it tends to wash out details and produce harsh shadows that can detract from the visual appeal of your dish.
Mobile Food Photography Tips: Capture Tasty Moments
Transform your everyday food photos into irresistible displays using smart post-processing techniques. Mobile editing apps let you adjust exposure, emphasize textures, and refine colors so your dish not only looks great but also makes you hungry.
- Lightroom Mobile provides RAW adjustment sliders for exposure, highlights, and shadows. Its custom white balance settings maintain natural saturation while keeping edits subtle.
- Snapseed includes targeted color and sharpening tools that bring out fine details and textures in your images. Its user-friendly design lets you enhance specific areas without changing the entire photo.
- VSCO offers an array of preset filters along with tone and grain adjustments to create a warm, authentic feel. It simplifies adding a stylish touch while keeping your image true to its original charm.
- Camera+ for iPhone delivers clarity, depth, and macro capabilities so that even the smallest details of your dish are captured perfectly.
- Afterlight combines a comprehensive suite of editing tools with intuitive controls for brightness, contrast, and color enhancements. It streamlines your editing process, resulting in visuals that are both polished and appealing.
- Crop and straighten your image to remove distractions and keep the focus on your dish.
- Balance your exposure, highlights, and shadows to bring out textures and details.
- Adjust color settings and saturation to enhance the natural tones of your food.
- Apply selective sharpening to accentuate key details before exporting your final image.
Quick On-the-Go Mobile Food Photography Tips

Capturing food photos quickly poses challenges from low-light conditions and shaky setups to ever-changing backdrops. Whether you are documenting a meal in a busy restaurant or seizing an unplanned bite at a friend’s gathering, keeping your mobile device prepared and adjusting your settings without delay is essential to sidestep typical errors that could spoil your shot. The secret is to simplify your shooting process so that even when conditions fluctuate rapidly, you consistently create visually balanced and enticing images that emphasize the details of each dish.
- Disable flash and depend on natural or ambient light to achieve rich, true-to-life hues.
- Activate grid and level helpers to secure a straight and evenly balanced frame.
- Capture meals as they are presented to maintain their genuine appeal without unnecessary tweaks.
- Choose spots near windows or opt for outdoor seating to benefit from better natural light.
- Lock focus and exposure settings prior to taking the shot to ensure steady, consistent quality.
- Prefer cropping during post-processing instead of using zoom during capture to preserve detail.
Final Words
In the action, the article delivers a concise overview, starting with essential mobile food photography fundamentals like lighting, angles, composition, and framing. It then guides you through precise smartphone settings, creative styling, and effective editing to enhance every dish shot. Quick on-the-go tips ensure you capture authentic food moments even in unexpected scenarios.
Embrace these mobile food photography tips to elevate your creative journey, turning everyday meals into captivating visual stories.
FAQ
Frequently Asked Questions
How can I capture stunning food photos using mobile devices?
Capturing stunning food photos using mobile devices involves mastering lighting, angles, composition, and framing, while also fine-tuning your smartphone settings and utilizing editing techniques to enhance texture and color.
What specific iPhone tips can enhance food photography?
Using specific iPhone tips for food photography means adjusting manual settings such as ISO, shutter speed, white balance, and focus; leveraging advanced models like iPhone 15 and iPhone 16 Pro for optimal clarity and detail.
What are the key iPhone settings to improve food photography shots?
The key iPhone settings for food photography include activating manual focus, setting ISO under 100 for minimal noise, matching white balance to your light source, and shooting in RAW for superior highlight and shadow preservation.
Are there courses available to learn mobile food photography?
Enrolling in mobile food photography courses provides structured lessons on fundamental techniques, advanced smartphone settings, and creative composition, offering practical, ready-to-use insights for both beginners and experienced photographers.