

Ever wondered if your iPhone can reveal hidden details in everyday life? With its built-in macro mode, your phone turns even tiny elements into striking images.
Newer iPhone models let you capture every petal, dewdrop, and texture with clear detail, as if you had a pocket magnifying glass. This guide walks you through activating macro mode, keeping your shot steady, and turning simple subjects into art.
Get ready to view your world in a whole new light.
Enabling Macro Mode for iPhone Macro Photography
Newer iPhones like the 13 Pro, 13 Pro Max, 14 Pro, 14 Pro Max, 15 Pro, and 15 Pro Max let you capture tiny details with a built-in macro mode. First, check your model to see if you already have this handy feature.
To turn it on, go to Settings, tap Camera, and then enable Macro Control. When you bring your phone just 5–15 mm from your subject, the ultra-wide lens kicks in automatically. A small yellow flower icon will appear on the bottom left of your screen. I noticed it right away when I was photographing a dewdrop on a petal, it told me I was in macro mode.
Keep your focus steady when you shoot. Hand-held shots can be sharp, but using a tripod makes things even clearer by reducing shake. Imagine capturing every fine vein of a leaf with perfect detail.
Here's a quick tip: Watch how the yellow flower icon acts as you move your phone. It’s like a little guide showing you that you're at the perfect distance for gorgeous close-ups. Now you’re all set to explore texture, color, and detail in every shot.
Macro photography iphone: Stunning details in focus
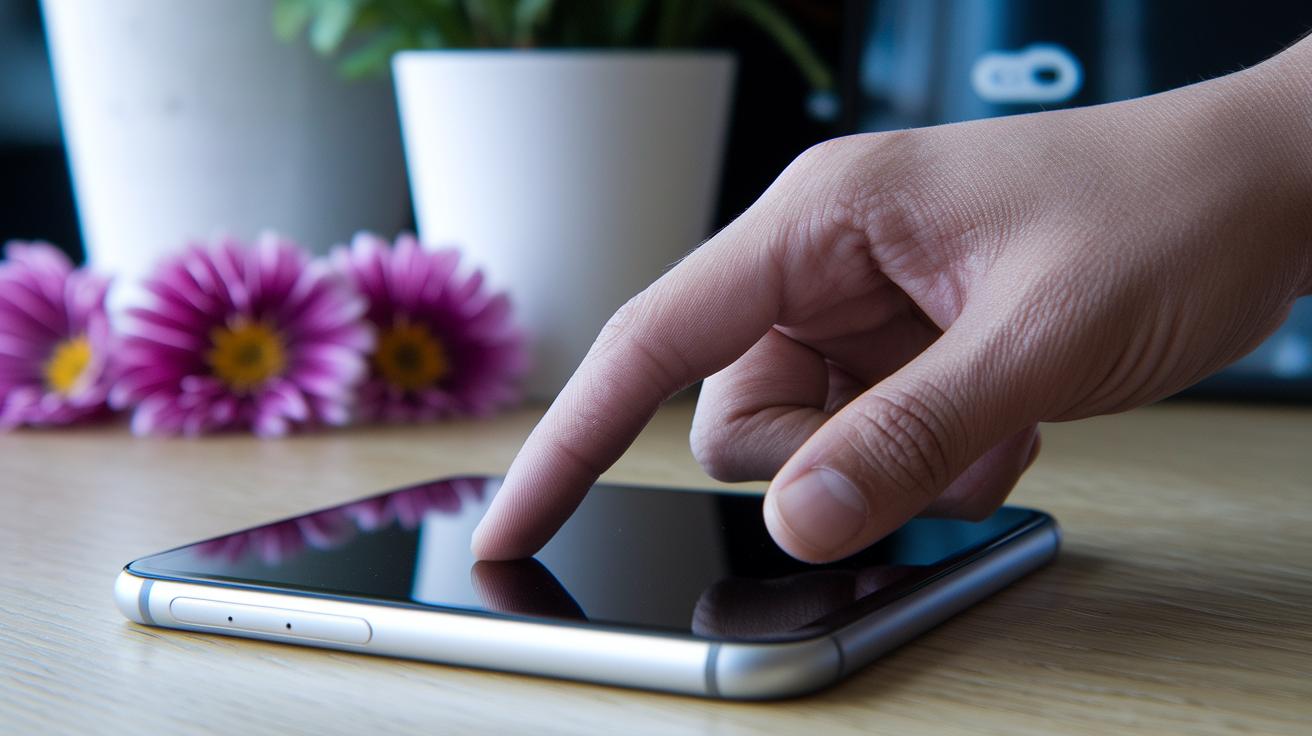
-
Choose high-contrast subjects.
Pick subjects with clear differences in color and texture. For example, bright petals on a flower or a patterned bark can really stand out even in a simple background. -
Tap and hold to lock focus.
Press and hold on your subject until you see "AE/AF Lock" on the screen. This tells you that your focus is fixed, much like steadying your hand before drawing a fine line. -
Maintain a distance of 5–15 mm.
Keep your phone's lens about 5–15 mm away from the subject. This distance captures sharp details without the image turning blurry, just the right gap to reveal intricate textures. -
Enable RAW (DNG) capture for maximum detail.
Switch your camera to RAW mode (DNG). This format keeps all the image data so you can edit later without losing detail, just like getting the cleanest starting point for your work. -
Use third-party camera apps for manual adjustments.
If you want extra control, try apps that let you adjust focus and exposure manually. These settings help you capture every tiny detail, from soft shadows to bright highlights, exactly the way you see it.
Follow these steps, and every tap, distance, and setting tweak will help you capture stunning, detailed macro images.
Mastering Light and Composition in iPhone Macro Photography
Shooting in the soft light of early morning or late afternoon makes your close-up shots come alive. This gentle light brings out fine details and adds depth, showing every tiny texture.
Skip the harsh midday sun. Its strong rays can wash out colors and flatten textures. Instead, plan your shoot when the sun gives off a diffused, soft glow. For example, try capturing a flower at sunrise, the mild light will reveal its delicate patterns with ease.
Sometimes, natural light isn’t enough. A reflector or a portable LED ring light can lift shadows without stealing the natural feel. These gears are handy in dim settings or when you want a softer background.
Keep your shot simple by using a plain background or a shallow depth of field (which blurs the background, a look known as bokeh). This helps guide the viewer’s eye straight to your subject. Experiment with different angles. Side-lit images can boost texture while backlit shots add drama by highlighting edges.
Even a tiny tweak, like shifting your light or changing your angle, can turn an ordinary snap into something special. Try one small change and see how your picture transforms.
Comparing iPhone Models for Detailed Macro Photography
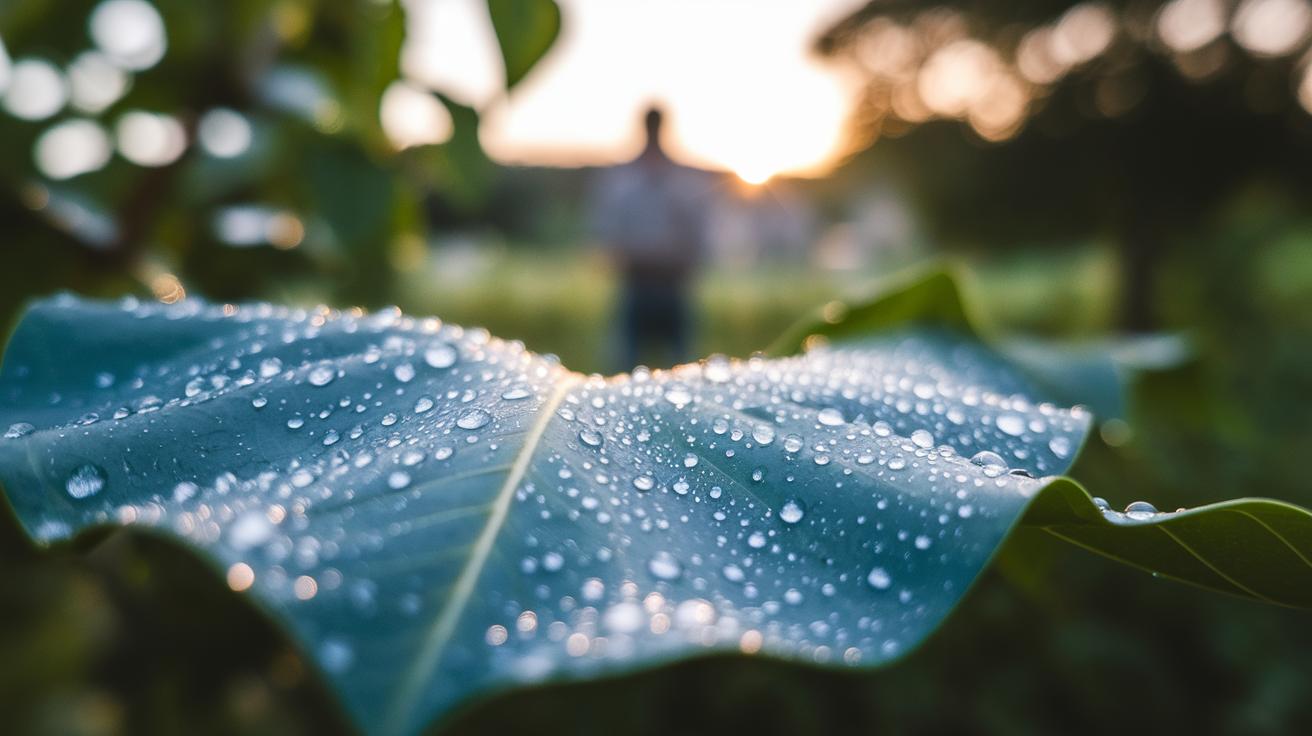
The iPhone 13 Pro series started macro mode with iOS 15, letting you capture close-up shots without extra lenses. Its 3x ultra-wide lens picks up fine details, like the texture on a petal, with ease.
The 14 Pro improves low-light photos while keeping the 3x macro range. This means you'll get clear details even during early morning or late afternoon shoots. For example, it can show subtle differences on a dew-covered leaf when the light is soft.
The 15 Pro Max goes even further. It uses a 5x optical macro range and adds a feature called Precision Focus mode. This option helps you fine-tune the focus with the touch screen, capturing tiny details like the delicate wings of a butterfly sharply.
Rumors about the upcoming iPhone 17 hint at even better macro features. They might include faster focus motors and firmware tweaks that let you focus as close as 10 mm, which means you'll soon have the power to snap super-close, sharp shots.
Each model has its strengths. If you need the best low-light performance, the 14 Pro delivers. But if you want a wider shooting range and more control over focus, the 15 Pro Max is the way to go. Choose the one that best fits your detailed macro photography needs.
Essential Lens Attachments and Apps for iPhone Macro Work
Macro lenses boost your iPhone’s ability to capture fine details. Clip-on options like Moment 10× and Olloclip 7× let you shoot as if your ultra-wide lens were set to 21 mm. In other words, everyday objects turn into rich, detailed scenes. These lenses cost about $20 to $100, making them a smart, affordable gear upgrade. A small tripod with a smartphone mount helps keep shots steady and sharp.
| Attachment | Magnification | Price Range | Compatible iPhone Models |
|---|---|---|---|
| Moment Macro 10× | 10× | $50-$100 | Newer Pro models |
| Olloclip 7× | 7× | $40-$80 | Most iPhone models |
| Apexel 20× | 20× | $20-$40 | Various iPhone models |
| Ulanzi 15× | 15× | $30-$60 | Newer Pro models |
Pair your lens with a compact tripod to reduce shake. To get all that gear working to its fullest, try apps like Halide for manual focus and exposure control. Lightroom Mobile lets you work with RAW files so you can adjust light, contrast, and color after you shoot. Snapseed’s selective sharpening tool works well to bring out tiny textures.
Playing with different lenses gives you more creative control. You might notice one lens works best for insects or textured surfaces, while another highlights the delicate details of a flower. Have you ever discovered a lens that completely changed your perspective? Give it a try and see what fits your style.
Post-Processing Macro Photos Directly on iPhone
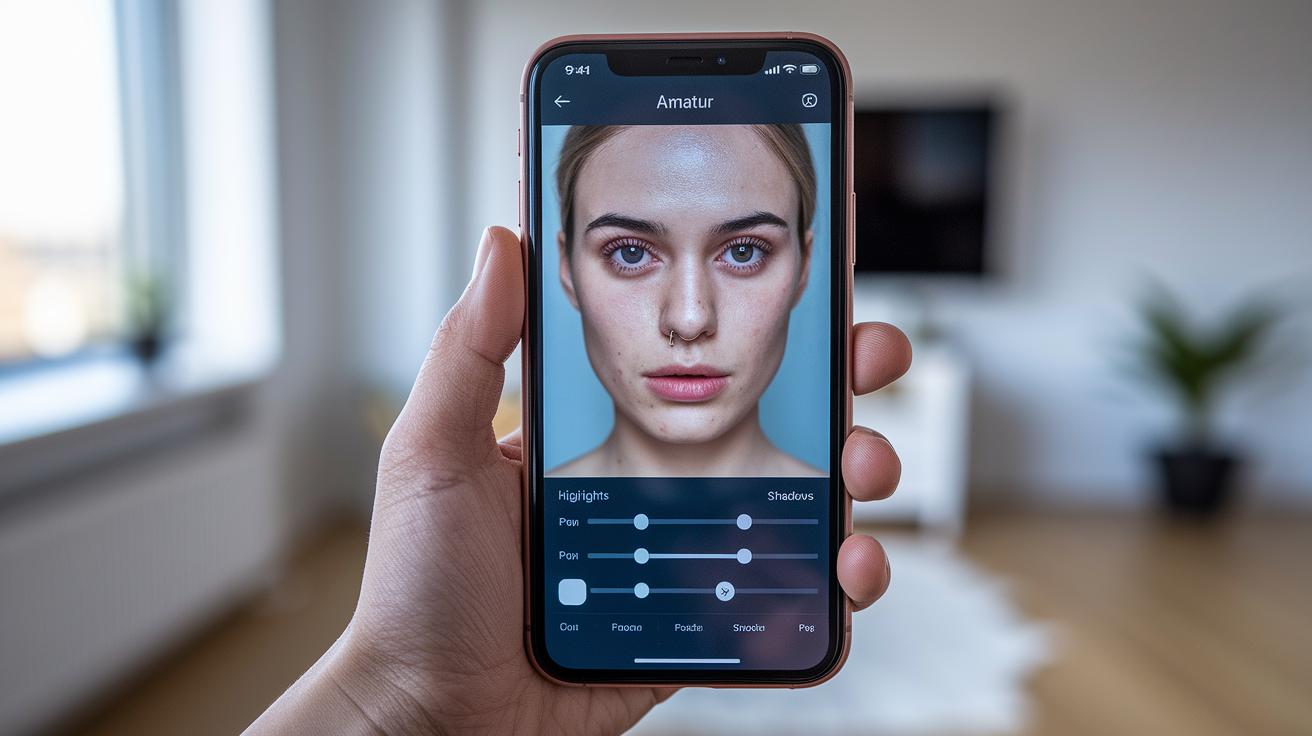
Start by fine-tuning your close-up shots right on your iPhone. The Photos app lets you adjust settings like highlights, shadows, and sharpness to reveal tiny details. For a bit more control, Lightroom Mobile helps you tweak exposure (how much light hits the sensor), contrast (the difference between light and dark), and clarity (detail strength). And if you want to bring out textures, Snapseed’s Details tool makes your subjects really pop.
-
Import and crop
Bring in your RAW or JPEG files, then crop out any unwanted parts so your subject stands out. -
Adjust exposure and contrast
Use the Photos or Lightroom Mobile sliders to balance the light. This makes textures clear and appealing. -
Increase sharpness and clarity
Raise these settings slowly to highlight intricate details without going overboard. -
Fine-tune colors and saturation
Adjust the colors to keep a natural look while boosting vibrancy and depth. -
Export high-quality JPEG/TIFF
When you’re done, save your photo in a lossless format like JPEG or TIFF to keep all those details intact.
Using batch presets in your editing app can save time and make sure all your macro photos share a consistent style.
Troubleshooting Common iPhone Macro Mode Issues
If macro mode doesn’t work, check your settings first. Make sure Macro Control is turned on so the phone can switch to macro when you get 5–15 mm from your subject.
A quick fix is to force-close the Camera app and open it again. This simple reset can fix small glitches with the focus setting. Also, clean the lens and remove any case or screen protector that might block the camera. Dirt or the wrong accessory could cause blurry shots.
Be sure to update your iOS too. New updates often fix focus bugs and boost camera performance. If problems persist, try turning on gridlines. They help you line up your shot, keeping your subject centered for better macro photos.
Using these steps should clear up most focus and lens issues, letting you capture every little detail with ease.
Final Words
In the action, we explored steps to enable macro mode, capture sharp detail, balance light, and compare recent iPhone models. We broke down how to use settings, accessory options, on-device editing, and troubleshooting tips for smooth shots.
Macro photography iphone setups benefit from the right mix of built-in features and smart add-ons. A few tweaks in focus and lighting can lead to stunning close-ups, making it easier to capture every tiny detail with confidence and style.
FAQ
What is macro mode on iPhone camera?
The macro mode on iPhone camera lets you snap extreme close-ups by switching to the ultra-wide lens when you’re near your subject. A yellow flower icon shows it’s active.
How do I turn on macro mode on my iPhone?
The setting is found in Settings > Camera under “Macro Control.” Once enabled, your iPhone automatically shifts to capture detailed shots when you’re 5–15 mm away from your subject.
What does macro mode do?
The mode automatically switches to capture close-up details by using the ultra-wide lens when you’re near a subject, giving you sharper images of tiny objects like textures and flowers.
What settings should I use for macro photography?
Ideal settings include locking focus with an AE/AF lock, keeping a 5–15 mm distance, and using RAW (DNG) capture in third-party apps for extra control over detail and editing flexibility.
Does the iPhone Air do macro photography?
The iPhone Air lacks a dedicated macro mode like the Pro models. It may offer digital close-up options, but true macro features are found in Pro models with built-in macro controls.
How do macro modes differ on iPhone 13, 14, 15, 16, and 17 models?
The iPhone 13 Pro series debuted the full macro mode, with the 14 Pro enhancing low-light performance and the 15 Pro Max offering extended range; rumors say iPhone 16 and 17 will further improve focus speed and range.
Is there a macro photography iPhone app available?
The iPhone supports dedicated apps like Halide, which give manual controls, focus adjustments, and exposure settings tailored for macro photography beyond the native camera app.