
Ever wonder why some DIY PC builds work great while others fall short? Building your own PC means choosing each piece carefully. You pick a case, a motherboard, a CPU, and a power supply. Each part helps your computer run smoothly and last a long time. When you have a good mix, your PC can handle simple tasks and heavy work too. In this guide, we show you the must-have parts to create a steady, efficient build.
Essential Components You Need to Build a PC

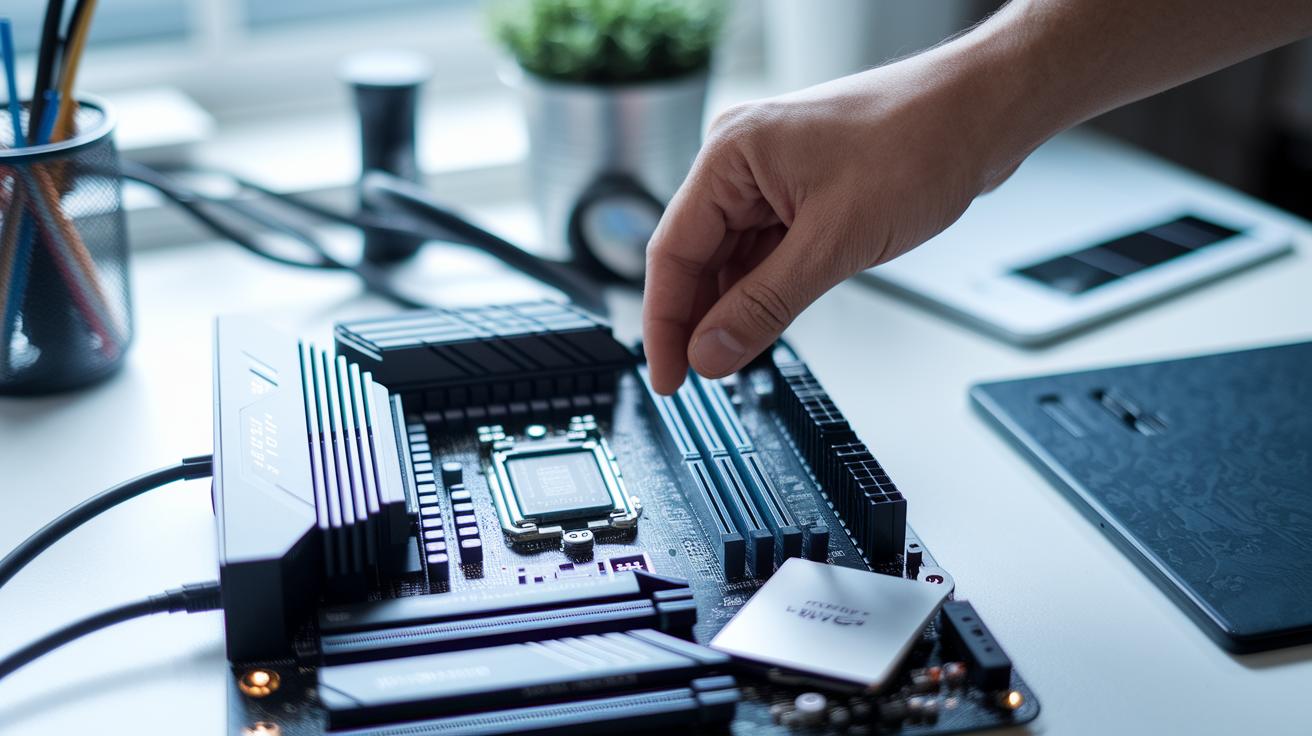
When you set out to build a PC, it helps to have all your parts ready and know they work well together. A few basic tools, like a Philips-head screwdriver and an anti-static strap, make the job smoother and safer. Every component you pick has a role in making your system stable and efficient.
Make a clear list of parts before you begin to avoid surprises later. This simple step keeps compatibility issues in check. Whether your budget is around $500 or you're planning a system that costs over $4,000, choosing the right pieces is key. Even if you've built a PC before, a solid plan boosts your confidence and helps you get the performance you expect.
- PC case
- Motherboard (ATX or micro-ATX)
- CPU (for example, Intel 11th-13th Gen LGA1200/1700 or AMD Ryzen 5000/7000 AM4/AM5)
- RAM (DDR4 or DDR5, usually 16 GB–32 GB)
- Primary storage (a PCIe M.2 SSD, typically 1 TB–2 TB)
- Power supply unit (look for one with an 80 Plus Gold rating, around 650 W–850 W+)
- Graphics card (such as the NVIDIA GeForce RTX 4070 Ti, which needs about 3 slots)
- Cooler (either the stock version or an aftermarket option)
Choosing these key parts with care really pays off. Pair the CPU with the right motherboard socket, pick the proper type of RAM, and select a case that supports good airflow. These choices help ensure your PC runs reliably and meets your needs. I always check these details to avoid headaches later.
Selecting a Processor and Motherboard Pairing for Your PC Build

Choosing the right processor and motherboard is a key step that impacts your PC's speed and future upgrades. A good match lets you use features like overclocking (running the processor faster than usual), proper RAM setups, and room for growth. Intel chips from the 11th to 13th Gen fit in LGA1200 or LGA1700 sockets, while AMD’s Ryzen 5000 and 7000 series use AM4 or AM5 sockets. Both brands even mark the chip and socket to help you line things up correctly.
For Intel builds, focus on matching the socket and chipset. For example, a board with a Z690 chipset gives you more PCIe lanes (slots for additional cards) and solid overclocking support. If you’re watching your budget, a board with a B660 chipset still offers the basics. We check overclocking capabilities, cooling, and strong power delivery when testing these parts.
For AMD builds, long-term value and steady power delivery are the priorities. An X670 board offers plenty of PCIe support and extra performance headroom, making it a great pick for gamers and high-demand users. On the other hand, a B650 board strikes a fine balance between cost and capability for builds that don’t need extreme tweaking.
Here’s a quick checklist:
- Make sure the CPU socket fits the motherboard.
- Look at the chipset for extra PCIe lanes and overclocking support.
- Check if the BIOS is ready or if you need an update.
- Consider future upgrades and the board’s power handling.
Always refer to the motherboard manual for details on RAM layout and power limits. This helps you plan ahead and avoid issues later on.
Memory and Storage Options for Your PC Build
When you build your PC, mix speed with capacity to get solid performance. Pick between DDR4 and DDR5 based on what you need. For everyday tasks, 16 GB works fine. If you do more heavy lifting like editing or gaming, 32 GB is a smart choice. Turning on XMP (for Intel) or AMD EXPO (for AMD) helps your RAM hit its top speed.
It’s a good idea to install an M.2 NVMe SSD early. Its small size keeps things tidy and avoids crowding other parts. Also, adding extra M.2 slots or SATA ports now can save you time and money on upgrades later.
| Component | Capacity and Speed |
|---|---|
| M.2 NVMe SSD | 1 TB minimum; up to 2 TB if you can; speeds up to 7,000 MB/s |
| 2.5″ SATA SSD | Great for OS cache; moderate speed |
| 3.5″ HDD | Good for bulk storage; slower performance |
- Follow the motherboard manual to fill RAM slots correctly.
- Turn on XMP or EXPO in the BIOS to reach the promised speeds.
- Route SATA cables neatly to help with air flow and easy troubleshooting.
- Mount your drives securely to cut down on vibration and noise.
- Leave extra ports in your plan so future upgrades are smooth and simple.
Planning ahead helps your PC stay flexible. With the right setup, you can easily add faster or more storage as your needs grow.
Graphics Card Selection Guide for Your PC Build

Choosing a graphics card is a big part of building your PC. It affects how well your games run and how smoothly your videos play. You need a card that can handle tough graphics and high-performance games. For example, you might try the NVIDIA RTX 5060 Ti for basic to mid-level gaming, the RTX 4070 Ti if you want top performance, or the AMD RX 9060 XT for solid mid- to high-end results. Our tests and benchmark numbers can help you see which card fits your gaming needs.
Here are some tips to keep in mind:
- Pick a card that matches your performance needs. The RTX 5060 Ti works well on a budget, while the RTX 4070 Ti is better if you want more power.
- Look for a card with at least 16 GB of VRAM (video memory) for smoother multitasking, although 8 GB can work if you’re watching your budget.
- Check how much power the card uses. Most cards need between 160 W and 320 W and come with either 2×8-pin or 3×8-pin connectors.
- Install your GPU after you’ve set up your motherboard, cooler, and M.2 SSD. This approach helps you avoid blocked slots and keeps your case airflow clear.
Before you finish your build, double-check that your power supply (PSU) can handle your new graphics card and that your PC case has enough room for it.
Power Supply and Case Chassis Considerations for Your PC Build

When picking a power supply, go for one with an 80 Plus Gold or Platinum rating. A 650 W unit usually fits mid-range builds, while high-end systems often need 850 W or more to support extra parts. You can choose modular units (which let you remove extra cables) or stick to non-modular ones if you don’t mind a bit of clutter. Better energy efficiency means lower power bills and more control over fan speeds in the BIOS or operating system.
The type of case you choose, ATX, micro-ATX, or Mini-ITX, will decide which parts work in your build. Double-check that your motherboard’s standoffs and I/O shield match the case layout. Also, the case design affects cable organization and airflow. Planning cable routes now can save you headache during future upgrades or maintenance.
Here are some tips to keep your cables neat:
- Route cables behind the case tray to hide clutter.
- Use zip ties to secure loose wires.
- Run cables through channels for a tidy setup.
- Keep bends to a minimum when laying out power and data cables.
- Separate different cable runs to avoid interference.
- Leave extra space for any new cables later.
Don’t forget to consider ergonomics when choosing your case. Look at the I/O layout (front or top), available dust filters, and tool-less panels. A smartly designed chassis with good airflow helps keep all your parts cool and makes cleaning and upgrades easier.
Cooling Solutions and Thermal Management for Your PC Build

Getting the right cooling setup is essential to keep your PC parts working well. You can stick with the cooler that comes with your processor or choose a better air cooler or an AIO liquid cooler (an all-in-one liquid cooling unit) to lower temperatures and cut down on noise. Some users even add extra fans like the Corsair SP120 RGB Elite to boost airflow and give their build a stylish look. It really depends on how much heat your PC produces and how much noise you can live with.
- Put a fan at the front of the case to bring in cool air.
- Add a fan at the bottom to increase air intake.
- Install a fan at the back to push out warm air.
- Set a fan on the top to help hot air rise.
- Use side panel fans if your case supports more airflow.
When you apply thermal paste, use a small pea-size drop or a thin line right in the center of the CPU. This paste fills tiny gaps between the CPU and the cooler, helping to move heat away more efficiently.
- Start by entering the BIOS and checking the idle temperature; aim for less than 40°C.
- Run a light task and monitor the temperature with tools like HWMonitor or MSI Afterburner. It should stay under 80°C.
- If needed, tweak the fan speeds based on your readings to keep your cooling balanced.
Compatibility Checking and Preparation Tips for Your PC Build
Before you start your build, run through this quick checklist to make sure all your parts will work together. For more info on matching CPUs with motherboards, BIOS updates, PSU connectors, and GPU space, check the earlier sections.
- Make sure your CPU and motherboard share the same socket type (see the CPU and motherboard matching section).
- Check the TDP ratings (this tells you the heat produced) for both the CPU and cooler to keep temperatures in check.
- Confirm your case has enough room for your graphics card.
- Ensure your power supply has all the necessary connectors for your parts.
- Verify that the motherboard’s BIOS version supports your chosen CPU (refer to the BIOS check section).
- Use online tools like PCPartPicker to quickly compare parts and verify their specs.
- Set up a neat workspace with organized parts, the correct manuals, and anti-static precautions.
If you run into issues, parts comparison websites and community forums can help you troubleshoot. For example, if your build doesn’t start, revisit each step with an online compatibility checker to spot any conflicts before you buy.
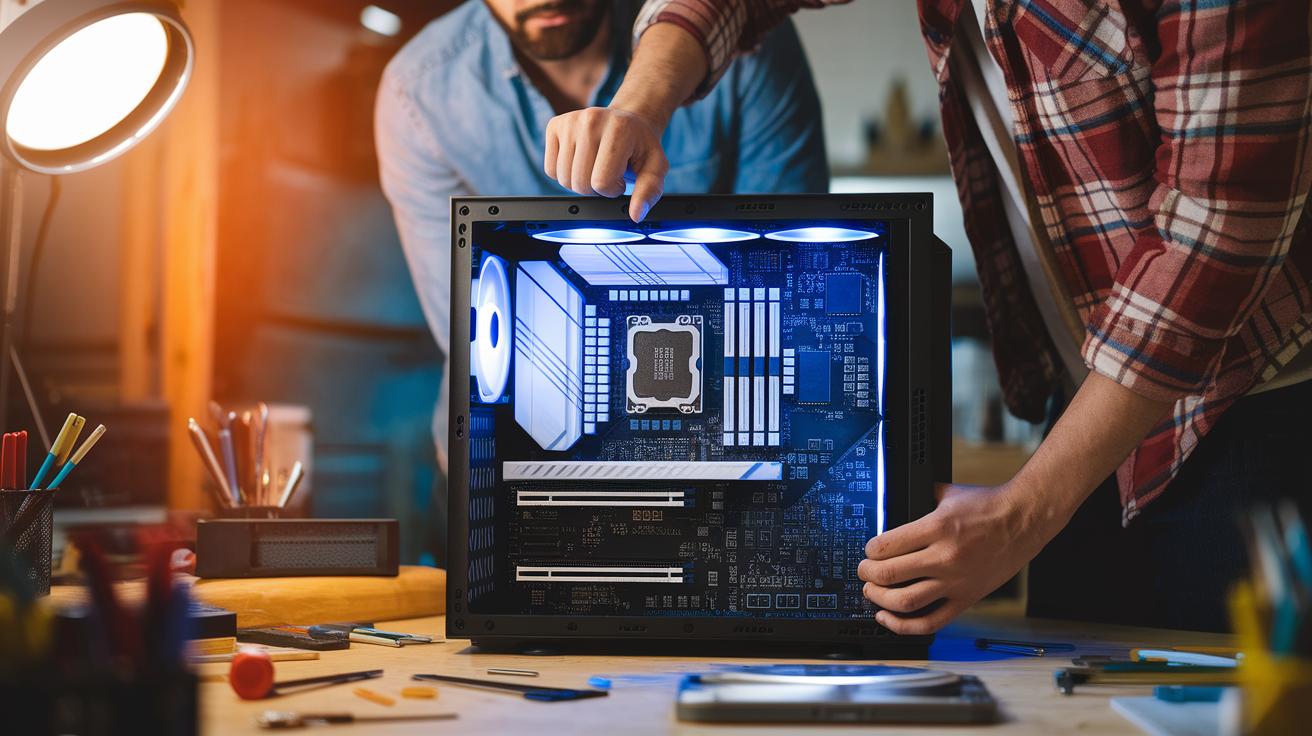
Step-by-Step Assembly Guide and Troubleshooting Tips for Your PC Build

Start with a neat workspace. Lay out every part and tool before you begin. This clear list helps you avoid mistakes and build your PC smoothly.
- First, get your workspace clean and your tools organized.
- Next, fit the standoffs and IO shield into your case.
- Place the motherboard into the case, aligning it with the standoffs.
- Insert the CPU into its socket on the motherboard. Make sure the triangle marks line up.
- Then, mount the CPU cooler. You can use the stock cooler or an upgraded one.
- Install the RAM sticks. Check your motherboard manual so you use the right slots.
- Add the M.2 SSD at this stage. This avoids blocking other components later.
- Secure the power supply unit firmly in the case.
- Set up any SATA drives if you need extra storage.
- Install the graphics card and, if you want, a Wi-Fi card. Make sure they fit and have enough space.
- Connect the front-panel cables for USB, audio, and power.
- Finally, power on your system to enter the BIOS. Then plug in a bootable USB drive (8 GB or more) to install Windows and your OS drivers.
- Look for bent pins in the CPU socket before inserting the CPU.
- Double-check that the standoffs line up with the motherboard holes.
- Ensure all power and data cables are tightly connected.
- Verify that fans are oriented correctly to keep airflow smooth.
- Keep an eye out for any loose parts or misplaced brackets that could block slots.
When you finish the build, check the BIOS. Adjust the firmware settings and confirm that every part is recognized. Then install the operating system and update your drivers. This guide gives you a clear checklist and handy tips to catch problems early, ensuring your PC runs efficiently.
Final Words
In the action, we broke down everything from essential parts like the CPU, motherboard, memory, and storage to GPU, PSU, cooling, and compatibility checks. We also covered hands-on assembly tips and troubleshooting guidance.
This guide shows what components do you need to build a pc while balancing budget and performance. Each step is meant to help you piece together a system that fits your needs and keeps your build process smooth. Enjoy building your system and making it truly yours.
FAQ
What components are needed to build a gaming PC?
The essential parts for building a gaming PC include a CPU, motherboard, memory, storage, graphics card, power supply, case, and cooling. Adding extra cables and adapters helps complete the setup.
How do I build a gaming PC step by step (with pictures)?
The build process starts with preparing your workspace, then installing the motherboard and CPU, adding memory and storage, mounting the power supply and graphics card, connecting all cables, and powering on. Visual guides can help clarify each step.
What do you need besides the parts and what tools are required to build a PC?
Besides the hardware, you need tools like a Philips screwdriver and an anti-static strap, along with manuals and a clean work area to handle and assemble all components safely.
How many fps can a $700 PC run?
A $700 PC can typically run games at around 60–100 fps, depending on game settings, specific parts, and overall system configuration.
Can a $500 PC run Fortnite?
A $500 PC can run Fortnite at mid-level settings with smooth gameplay, though the exact frame rate may vary depending on your component choices and adjustments in game settings.
Can I build a gaming PC under $100,000?
Building a gaming PC under $100,000 is very doable; most gaming systems are built for much less, making $100,000 an excessive budget for typical gaming performance.