
Ever wonder why your PC sometimes falls short of your expectations? A smart SSD upgrade can give it a noticeable boost. In this guide, we break down seven simple steps to set up your new drive safely and easily. We explain how to back up your data (saving copies of your files) and tidy up your workspace so you avoid any headaches. Follow these clear steps and enjoy a smoother, more reliable computer experience.
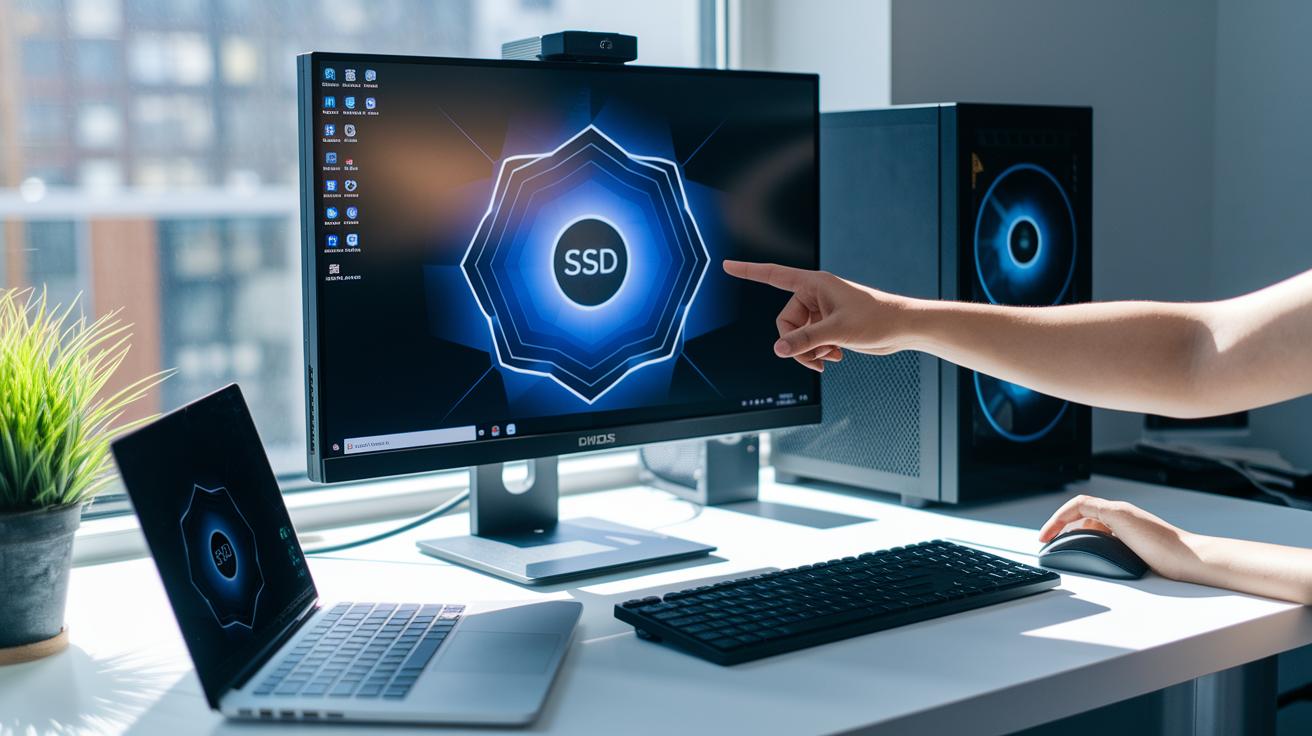
SSD Installation Tips: Pre-Installation Checklist
Solid State Drives (SSDs) let you access data faster than old hard drives. They switch files quickly, use less power, and last longer since no parts move. Options like MLC (good for everyday use) and SLC (designed for higher performance) make them a strong upgrade for your system.
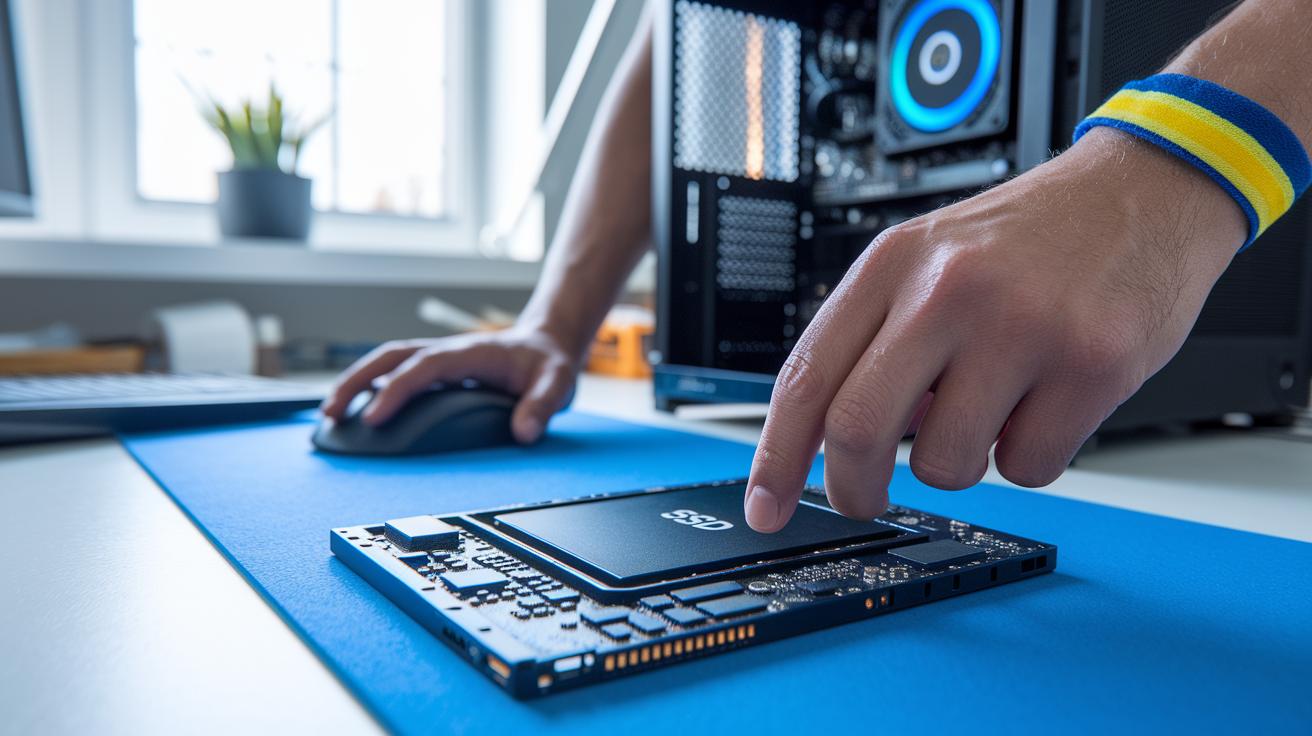
Always back up your data before swapping drives. Cloning your drive step-by-step helps you avoid losing files if something goes wrong. It’s a good idea to set up a workspace that helps prevent static. Clean your surface and use anti-static gear, static can damage your new SSD.
- Gather your tools such as screwdrivers and an anti-static wristband.
- Back up your data using trusted cloning software.
- Keep your workspace clean and clutter-free.
- Wear anti-static protection when handling parts.
- Check that your motherboard supports SATA or M.2 SSDs.
- Prepare your installation kit with brackets, cables, and screws.
- Read the SSD and PC manuals for any special instructions.
Make sure your hardware is compatible by confirming that your motherboard and kit match the requirements for your chosen SSD before you start.
7 ssd installation tips for smooth setup
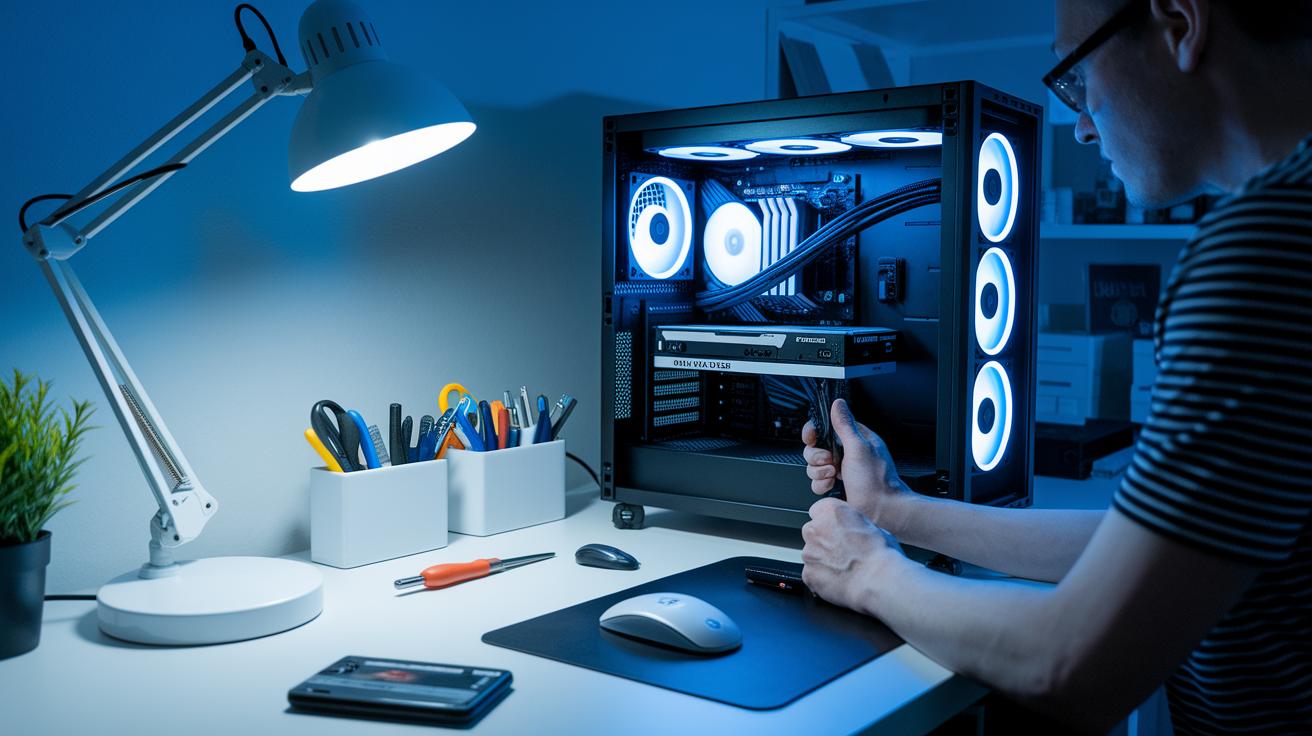
Step 1: Prepare the Desktop
Turn off and unplug your PC. Place the computer case on a steady, flat surface so cables aren’t disturbed. Remove the side panel with a screwdriver and keep your workspace tidy. A clean area helps prevent accidental touches and makes it easier to work with the drive bays.
Step 2: Mount the 2.5″ SSD
Find an empty 2.5″ drive bay, or use a 3.5″ adapter if needed. Slide in your SSD and secure it with screws or clip mounts. Make sure the drive is firmly in place. Tightening the screws properly stops any movement that might disrupt the cable connections.
Step 3: Connect SATA Data and Power
Connect the SATA data cable from the SSD to the matching port on your motherboard. Then plug in the SATA power cable from your power supply. Carefully route the cables so they do not block airflow or interfere with the fans. Good cable management helps keep your components cool and performing steadily.
Step 4: Close Up and Test Power
Once everything is installed, reattach the side panel securely. Plug in your PC and turn it back on. Enter the BIOS to check that the SSD shows up. This final check ensures no cables are loose before you start setting up your software.
M.2 SSD Installation Tips: NVMe Integration Procedures
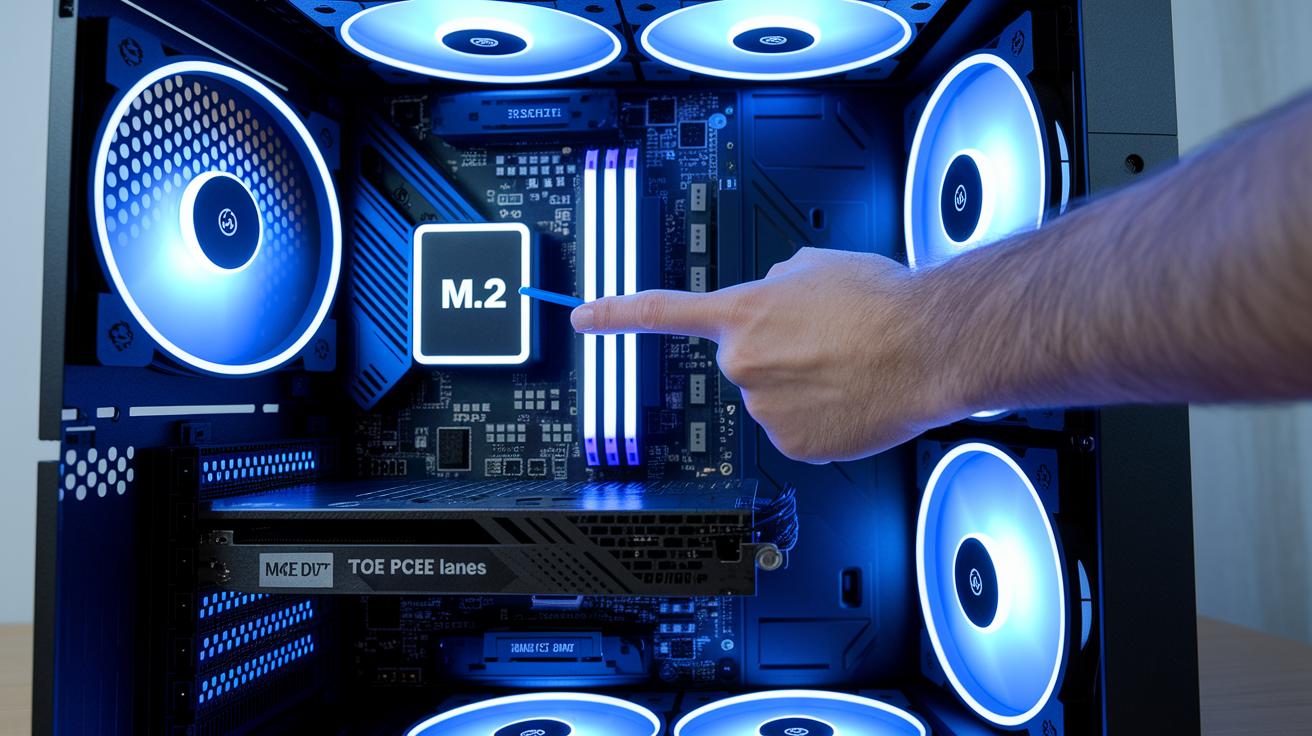
Upgrading to an NVMe SSD is easier than you might think if you follow these steps. First, shut down your PC completely and unplug it to ensure no power is running. Next, remove the side panel from your case to see the inside and locate the M.2 slot. You'll usually find it behind the GPU or close to the other PCIe slots. A quick look at your motherboard manual can clear up its exact spot. Keeping the case open at first also lets you spot any cables that might be out of place.
Step 1: Access the M.2 Slot
Turn off your computer, unplug it, and remove the case cover. Look for the M.2 slot near the PCIe lanes or behind the GPU. This first step helps you avoid pressing against other parts inside the case.
Step 2: Insert the NVMe SSD
Hold your SSD so the gold contacts face down. Carefully insert it into the slot at about a 30° angle. If it doesn’t slide in easily, it may be upside-down. Gently adjust the angle until it fits snugly.
Step 3: Secure with Screw
Once the SSD is in place, remove the M.2 standoff screw. Make sure the drive lines up properly, then screw it in until you hear a firm click. That click tells you the drive is secure and won’t shift during use.
Step 4: Add and Fasten Heatsink
Before you attach the heatsink, peel off any protective tape. Place the heatsink on top of the SSD and press it down firmly. Screw it in to keep the drive cool and help it perform well even when used hard.
SSD Installation Tips: BIOS and UEFI Configuration

After installing your SSD hardware, power up your system and immediately enter the BIOS or UEFI. This step lets you confirm that your new SSD is recognized. Check the list of connected devices for your drive. If you don't see it, double-check your cable connections or remove and reinsert the M.2 module. Sometimes a quick re-seat fixes the issue.
When your SSD appears, enable the proper drive controller (SATA or NVMe, based on your drive type) and adjust the boot order. Make your SSD the top boot device for faster startup times. Some systems may require you to disable legacy mode to fully support modern controllers. If problems continue, re-check the cables and module, and consider updating your BIOS firmware from a USB drive. For more help on port assignments and troubleshooting, refer to your motherboard manual or visit PC Components Compatibility.
SSD Installation Tips: Software Setup and OS Integration
Once you've physically installed the SSD and powered up your PC, the next important task is to ready your operating system to use the new drive. On your first boot, open Disk Management in Windows or Disk Utility in macOS. This step lets your system detect and work with the SSD. You might need to create a space (called a volume) for your files, laying the groundwork for smooth use.
- Open Disk Management (Windows) or Disk Utility (macOS) to see your drives.
- Initialize the new SSD so your computer can recognize it.
- Create and format one or more partitions. Format as NTFS for Windows or APFS/HFS+ for macOS.
- Assign a drive letter so you can easily find and use the partition.
- Decide if you'd like to clone your current system or start fresh with a new OS install.
- Use a USB installer for a fresh OS install, which lets you remove old partitions.
- Install or update storage and chipset drivers to help the SSD run at its best.
After these steps, check that your system sees the SSD. On Windows, open File Explorer; on macOS, open Finder. When the drive shows up and you can access it, you know everything is set up right. This not only gets your new SSD ready for everyday tasks but also makes moving data or upgrading smoother.
SSD Installation Tips: Performance Optimization and Troubleshooting
To keep your SSD in top shape, turn on TRIM in your system. This small step tells your computer to clear out unused data blocks, which helps keep read and write speeds fast. Run a benchmark with tools like CrystalDiskMark or your SSD maker’s utility to see if your drive reaches the speeds it promises. Checking its performance early can reveal any issues, and don’t forget to look for firmware updates now and then to fix bugs and boost stability.
If your SSD isn’t showing up or acting right, first check your power and data cables. Make sure your system’s BIOS recognizes the drive; a quick re-seat of the cables or the drive itself can often fix the problem. For further troubleshooting, run CHKDSK on Windows or fsck on macOS/Linux to check for file system errors. Glancing at system logs can also offer clues, and updating your storage drivers might resolve stubborn errors.
SSD Installation Tips: Ongoing Maintenance and Monitoring

Keep your SSD running well by checking its health with SMART tools like CrystalDiskInfo. This free tool tells you how your drive is doing and warns you if something seems off. For example, if heavy use shows 40 °C, your cooling is doing a solid job.
Aim to keep temperatures between 30 and 50 °C. This range helps your SSD perform smoothly and last longer.
Stay current with firmware updates too. Using the manufacturer’s update tool can fix small issues before they grow. This step keeps your drive in top shape.
Also, plan for any extra storage you might need. Check for extra 2.5″ bays or M.2 slots. If you run out, an external enclosure might be the answer.
Use system monitors to track disk usage. Spotting unusual increases early can help you avoid space problems.
Regular checks of drive health, temperature, firmware, and storage ensure your SSD remains fast and reliable.
Final Words
In the action, we covered everything from pre-install safety checks to system tweaks for optimal SSD performance. We walked through hardware mounting, backup strategies, BIOS tweaks, and even software steps for OS integration. Small, clear steps ensure you avoid common pitfalls. With solid ssd installation tips at your side, your upgrade should be smooth. Enjoy better speed, lower power use, and increased reliability while keeping your data safe and system ready for the next task.
FAQ
How do I install an SSD in my Windows PC or laptop?
The process of installing an SSD in your Windows computer starts by shutting down and unplugging the device. Remove the case panel, mount the SSD using the proper brackets or adapters, connect the data and power cables, and adjust the BIOS settings if needed.
How do I install an NVMe SSD or one on the motherboard?
Installing an NVMe SSD means locating your M.2 slot on the motherboard. Power off your PC, insert the drive at a slight angle, press it flat, secure it with a screw, and attach a heatsink if your manufacturer recommends.
What should I do before installing an SSD?
The pre-installation steps include backing up your data, cleaning your workspace, gathering the necessary tools like screwdrivers and an anti-static wristband, reviewing your manuals, and confirming your motherboard supports the SSD type.
Can I just plug in a new SSD?
Simply plugging in a new SSD is not enough. You must properly secure it in the drive bay, attach the correct power and data cables, and set it up in your system’s BIOS and disk management tools to ensure proper operation.
How can I tell if my SSD is installed correctly?
Checking your SSD installation involves confirming the drive appears in your BIOS/UEFI settings and in your operating system’s Disk Management or Disk Utility, which means your computer is recognizing the drive.
Does a new SSD need to be formatted?
The new SSD must be formatted before you can use it. After installation, initialize and format it through Disk Management (Windows) or your system’s equivalent tool, and then assign it a drive letter for access.