
Ever wonder why your ultrabook seems so slow?
Older devices can take long to start, freeze when you run apps, or struggle with many tasks at once.
Upgrading parts like the SSD (a solid-state drive that helps store data fast) and RAM (memory that helps run programs) can give your machine a fresh kick.
This guide shows you every step. It explains how to back up your data safely and pick the upgrades that fit your model.
After these changes, you can enjoy a smoother, faster ultrabook that keeps up with your busy day.
ultrabook upgrade guide: Boost Your Speed
Older ultrabooks can drag you down with slow startups, clunky multitasking, and apps that sometimes freeze. Upgrading to an SSD (solid state drive, which speeds up data access) and adding extra RAM (memory that helps your computer juggle tasks) can make a big difference. This guide walks you through each step to boost your ultrabook’s performance while keeping your data safe.
Before you start, back up all your important files. Save them to an external drive or cloud storage so you don’t risk losing anything. Also, protect your hardware by using an antistatic wrist strap (a tool that stops static electricity from damaging your parts). It’s a good idea to check your laptop manual too, because some models have parts that can’t be upgraded.
-
Planning and compatibility checks
First, figure out which type of SSD your device supports, either NVMe M.2 or SATA III, and what kind of RAM you need. Make sure you understand if upgrading might void your warranty or require special tools. -
Component removal
Carefully take out your current drive and memory. Use ESD (electrostatic discharge) precautions and handle each part gently. -
Hardware installation
Install the new SSD and add the extra RAM. Make sure the connections are secure. For example, an NVMe drive can trim boot times down to just a few seconds. -
BIOS and driver updates
Update your firmware and drivers so that your system recognizes the new components and everything works smoothly. -
Final system testing
Turn on your ultrabook and run a few performance tests to check that everything is functioning as expected.
Happy upgrading, and enjoy the new speed!
Checking Ultrabook Hardware Compatibility for Upgrades
First, take a close look at your ultrabook's outer case. Make sure its design makes upgrades possible. Some ultrabooks have parts that are fixed or use special connectors that limit your options. Check if there are expansion slots for memory and storage. For example, see if you have an NVMe M.2 slot (a slot for a modern, fast storage module) or if the system only accepts older SATA drives. Also, look into the type of RAM and the maximum amount it can hold. Often, the manufacturer manual will tell you if the memory can be removed or if it’s soldered onto the board.
Next, gently open the back panel to inspect the internals. Look for available socket types and extra slots, and watch out for any unusual designs. Keep in mind that trying upgrades on models with hard-to-reach parts might void your warranty or even damage the system. Sometimes it’s best to have a professional handle the work if things seem tricky.
Here is a quick compatibility-check checklist:
- Confirm available expansion slots and socket types
- Check the supported interface: NVMe M.2 vs. SATA
- Verify the type of RAM and its maximum capacity
- Consider warranty issues and potential risks to the hardware
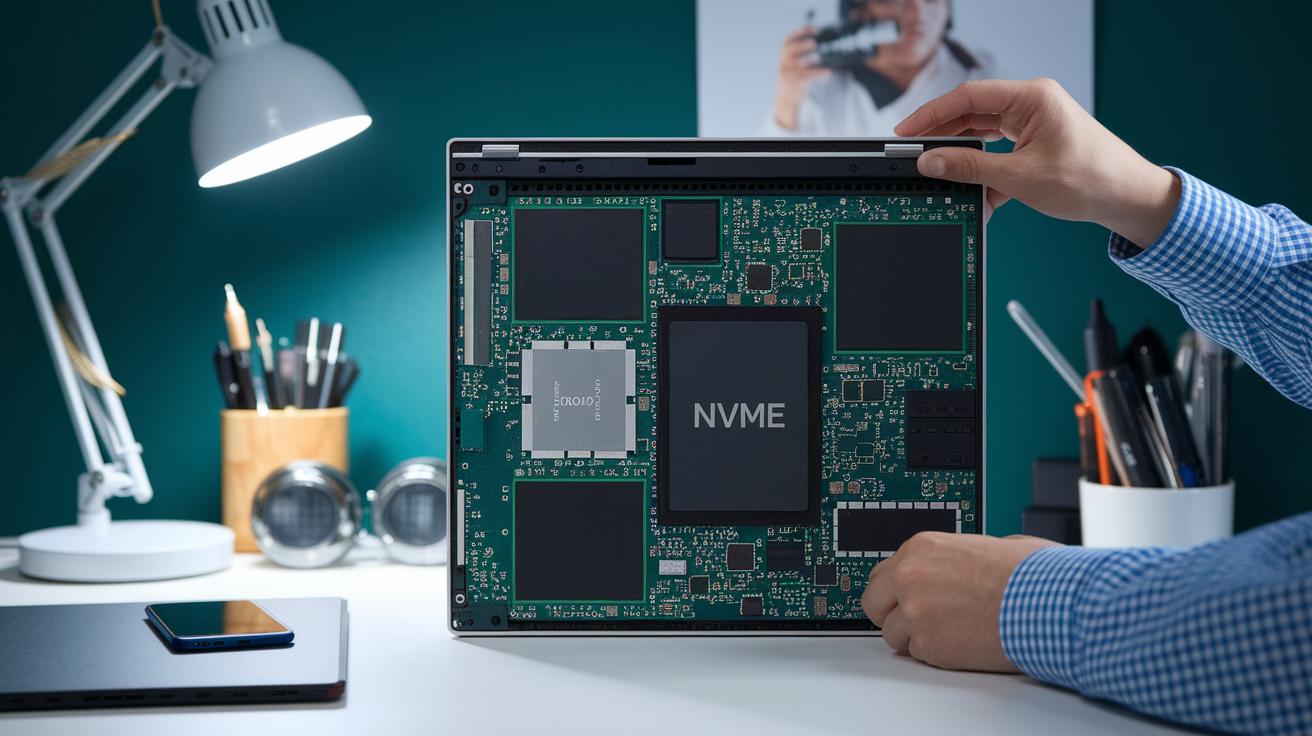
SSD Installation Tutorial in an Ultrabook Upgrade Guide
Picking the right SSD can cut your boot time from minutes to seconds and speed up file access. You have a few choices: try the XG7000 M.2 NVMe 2280 (using the PCIe 4.0 interface for speeds up to 5000 MB/s), the NX Series M.2 NVMe 2280 (on PCIe 3.0, reaching about 2200 MB/s), or the P3 Series 2.5" SATA III if you want an easy swap from an older drive.
Before starting, back up your files and run a laptop maintenance checklist at https://circuitcritics.com?p=1687. Also, use an anti-static wrist strap and follow ESD (electrostatic discharge) precautions to keep your parts safe. This careful prep helps protect your data and components.
Next, choose whether to clone your existing drive or do a clean install of the operating system. Cloning copies everything, including your settings, while a fresh start clears out old files and can boost performance. With your backup and plan ready, remove the old drive and carefully slot in the new SSD, making sure all connections are secure.
After installing the hardware, boot into the BIOS to adjust settings and update firmware if needed. Tweak options for better wear leveling and lower power draw, which can even extend battery life. Finally, check that your ultrabook recognizes the new drive and that it performs as expected.
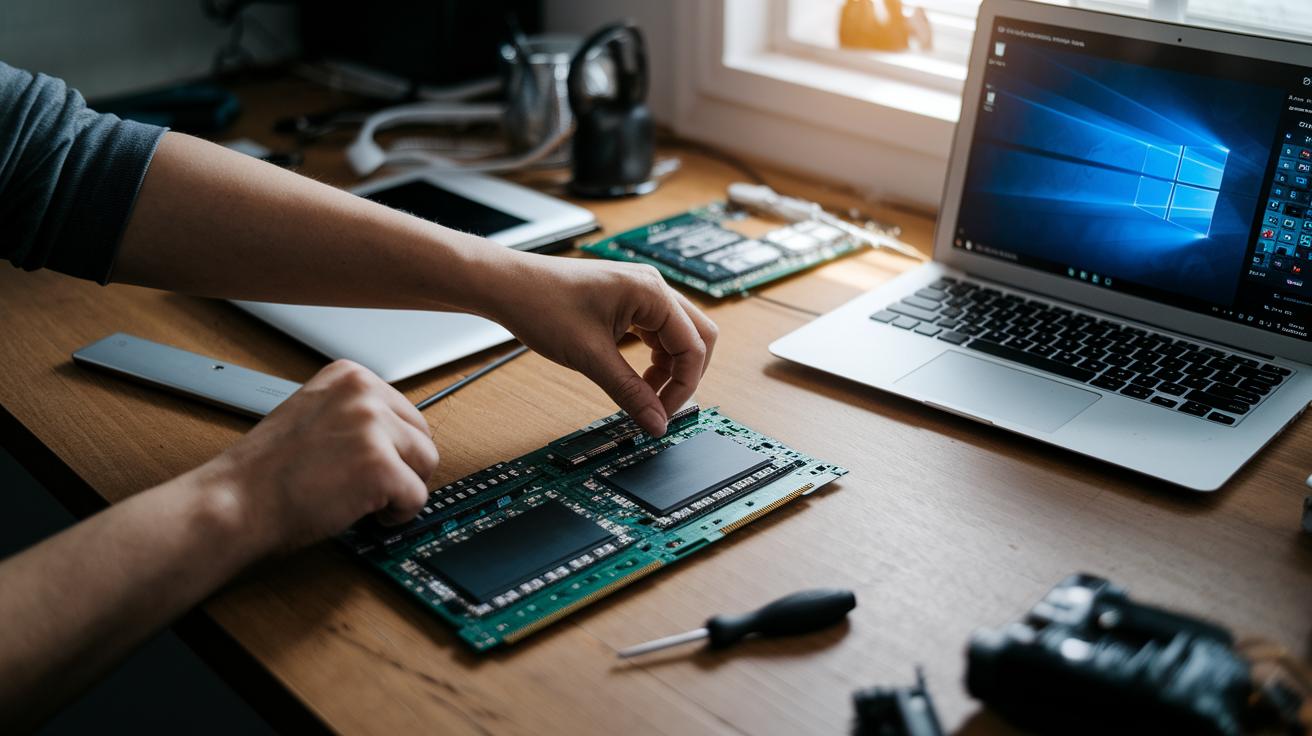
RAM Expansion Techniques in Your Ultrabook Upgrade Guide

First, check which type of RAM your ultrabook uses, either DDR4 or DDR5. Look in your manual or run a system check to find the exact specs and maximum capacity. This helps you avoid buying the wrong kind. Many ultrabooks let you swap old memory sticks for faster ones, which cuts down lag when you run lots of apps or browser tabs.
Next, remove the old RAM carefully. Use an anti-static wrist strap so you don’t damage any parts with static electricity. Gently press the clips at both ends of the slot to free the module. Once it's out, compare its details with your new upgrade parts.
When putting in the new RAM, make sure the notch on the module lines up with the slot. Press it firmly until the clips snap back into place. Then power up your ultrabook and check the BIOS (the system setup screen) or your operating system’s info to be sure it’s recognized.
| RAM Type | Speed Range | Common Sizes |
|---|---|---|
| DDR4 | 2133-3200 MHz | 4GB, 8GB, 16GB |
| DDR5 | 4800-6400 MHz | 8GB, 16GB, 32GB |
For a closer look at high-performance options, check out reviews on DDR5 RAM.
Ultrabook Battery Replacement Procedures and Power Management Tweaks
Old batteries can slow you down. When your ultrabook’s battery wears out, it cuts your mobile productivity short. Replacing it with a new OEM or top-notch third-party battery can bring back that trusted runtime. Before you begin, unplug your device and shut it down. Then, gently remove the back panel while following the manufacturer’s guide to avoid any mishaps. Always use anti-static precautions so you don't damage sensitive parts.
After taking out the old battery, focus on a clean swap-in process. Fit in your new battery carefully and check that all connectors snap in securely. Once done, boot into the BIOS (the control system for basic settings) to review your battery options. Then, adjust your operating system’s power plans. Lower your screen brightness, turn off radios like Bluetooth or Wi-Fi when they aren’t needed, and enable SSD power modes to ease the load on your battery. Tweaking these settings with the new battery helps extend your system’s life and performance.
- Lower screen brightness during idle
- Disable unused radios
- Enable SSD power modes
- Review latest BIOS power settings
Cooling System Upgrades and Thermal Management Strategies for Ultrabooks
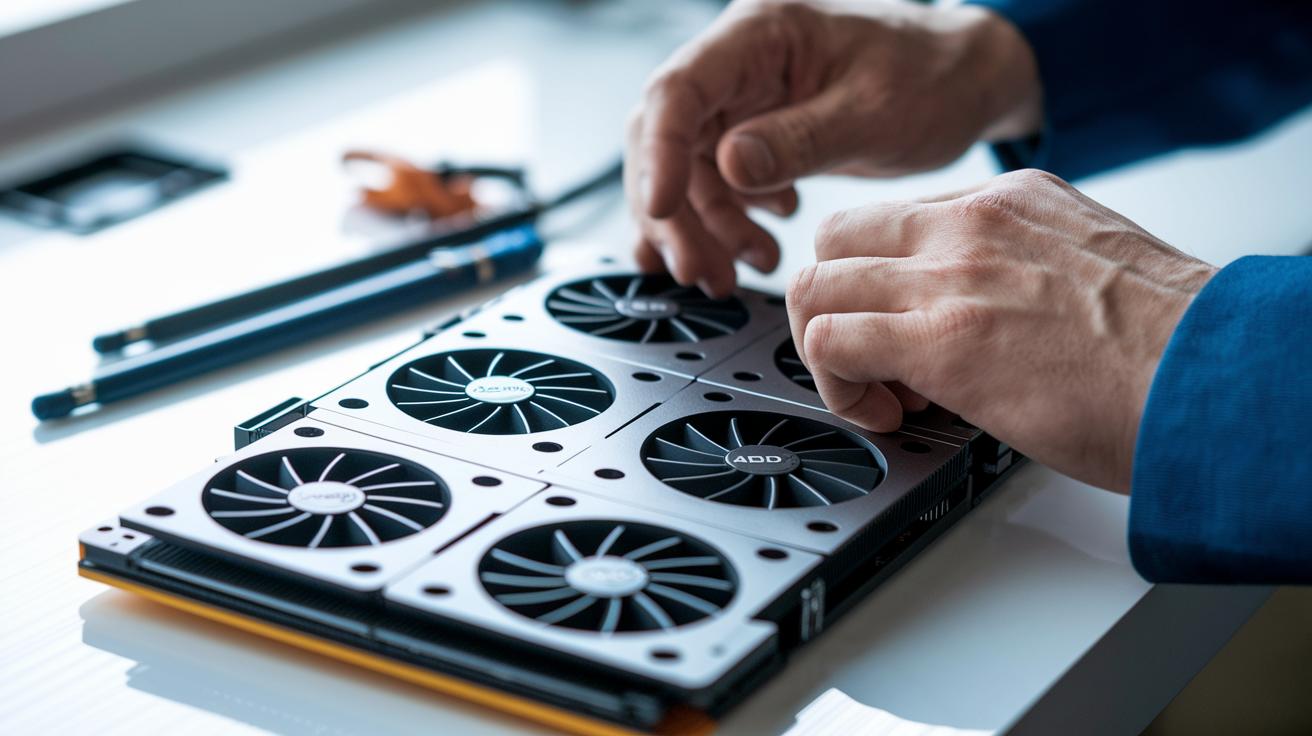
Dust can block airflow and cause your ultrabook to slow down because of thermal throttling. With the right cooling upgrades, you can lower the CPU and GPU temperatures by about 5–15 °C. Start by opening up the ultrabook to access the fans and heatsinks.
Check all fans, vents, and heatsinks for dust. When dust builds up, it stops cool air from moving over the parts, making them run hotter. Cleaning away the dust helps the cooling system work better.
Next, look at the thermal pads that cushion important parts. If these pads are worn out, it might be time to replace them. Also, remove the old thermal paste (the substance that helps transfer heat) from the CPU and GPU. Use isopropyl alcohol (a cleaning liquid) and a lint-free cloth to wipe the surface. Once the old paste is gone, apply a fresh, even layer. A pea-sized drop at the center is a good start.
Below is a step-by-step list to guide you through the process:
- Power off the ultrabook and disconnect the battery.
- Remove the back panel to access the cooling components.
- Use compressed air to gently clean the fans, heatsinks, and vents.
- Wipe away the old thermal paste with a lint-free cloth soaked in isopropyl alcohol.
- Apply a small, even layer of new thermal paste to both the CPU and GPU.
- Reassemble the ultrabook and run temperature tests.
You might also add an external cooling pad or improve the chassis vents to lower the temperatures even further. These upgrades help keep the ultrabook at optimal performance during heavy use.
BIOS Update Instructions and Driver Installation Methods in an Ultrabook Upgrade Guide
Old BIOS files and drivers can make your laptop unstable after an upgrade. First, visit your laptop manufacturer's website and download the newest firmware. Save it and create a recovery disk as a backup if anything goes wrong. Then, insert the recovery disk and restart your laptop to enter the BIOS setup. Follow the on-screen steps as the system updates the firmware.
When the update finishes, do a safe reboot. Once your laptop restarts, enter the BIOS again to check that default settings are in place. You might need to tweak custom settings for top performance.
Next, update your drivers. Install the chipset driver (which helps hardware parts talk to each other), the storage controller driver (so your SSD is recognized and optimized), and the networking driver (for stable internet access). This stops conflicts and system errors.
These steps help your ultrabook run smoothly after the upgrade and avoid issues with BIOS or driver conflicts.
Troubleshooting Common Ultrabook Upgrade Issues
Upgrading your ultrabook can sometimes hit a snag. You might face issues like the system not spotting a new SSD or RAM, reboot loops after a firmware update, or even blue screen errors (BSODs). If your ultrabook doesn't see the new parts, try taking them out and putting them back in firmly. If it gets stuck during startup, clearing the CMOS (a quick reset of basic settings) can help. Running a full hardware diagnostic often shows where the problem lies. Sometimes rolling back firmware or drivers fixes conflicts, and checking error details in the Event Viewer can offer extra clues.
| Symptom | Fix |
|---|---|
| Unrecognized SSD/RAM | Reseat modules; verify compatibility |
| Boot loops after firmware updates | Clear CMOS; reset BIOS settings |
| BSODs | Run diagnostics; revert firmware/drivers |
Now, follow this simple checklist:
- Run a memory test.
- Check your drive's health.
- Roll back any recent firmware updates.
Use this guide to quickly pinpoint and resolve any upgrade hiccups.
Cost Analysis and Planning Strategies in an Ultrabook Upgrade Guide
Budgeting well matters when you upgrade your ultrabook. Prices for parts can change a lot. For instance, you can get a SATA SSD for about $30 or more, while NVMe drives run anywhere from $50 to $120. RAM kits (8 GB to 16 GB) usually cost between $40 and $80. Batteries typically cost around $40 to $70. If you have a pro install the parts, expect to pay an extra $50 to $100. Even a small $10 difference per part can add up over several upgrades.
| Component | Price Range |
|---|---|
| SATA SSD | $30+ |
| NVMe Drive | $50–$120 |
| RAM Kit (8 GB–16 GB) | $40–$80 |
| Battery | $40–$70 |
| Professional Installation | $50–$100 |
When planning your budget, be sure to check a few things:
- Look up reviews to know if the vendor is trustworthy.
- Compare prices from suppliers you trust.
- Double-check that the parts will work with your device and check their warranty.
- Read up on installer reviews if you decide to pay for professional help.
Final Words
In the action, we walked through planning, compatibility checks, component removal, and installation. We tackled SSD swaps, RAM boosts, battery swaps, cooling improvements, and driver fixes, all backed by clear steps and cost comparisons.
Each phase of this ultrabook upgrade guide shows that smart upgrades bring better responsiveness and a smoother experience. The tips and checklists give you hands-on ideas to upgrade your device with confidence. Stay positive and enjoy the boost in performance!