
Ever notice your computer lag right when you need it most? A quick look at your PC specs can often point out what might be slowing you down. Check out details like your CPU (the main chip that handles tasks), RAM (which helps your computer juggle several programs), your GPU (the part that renders images), and your storage speed. These numbers tell you if your system is set up for gaming, work, or heavy multitasking. In this guide, we explore how to use Windows’ built-in tools to check these key details and keep your device running smoothly.
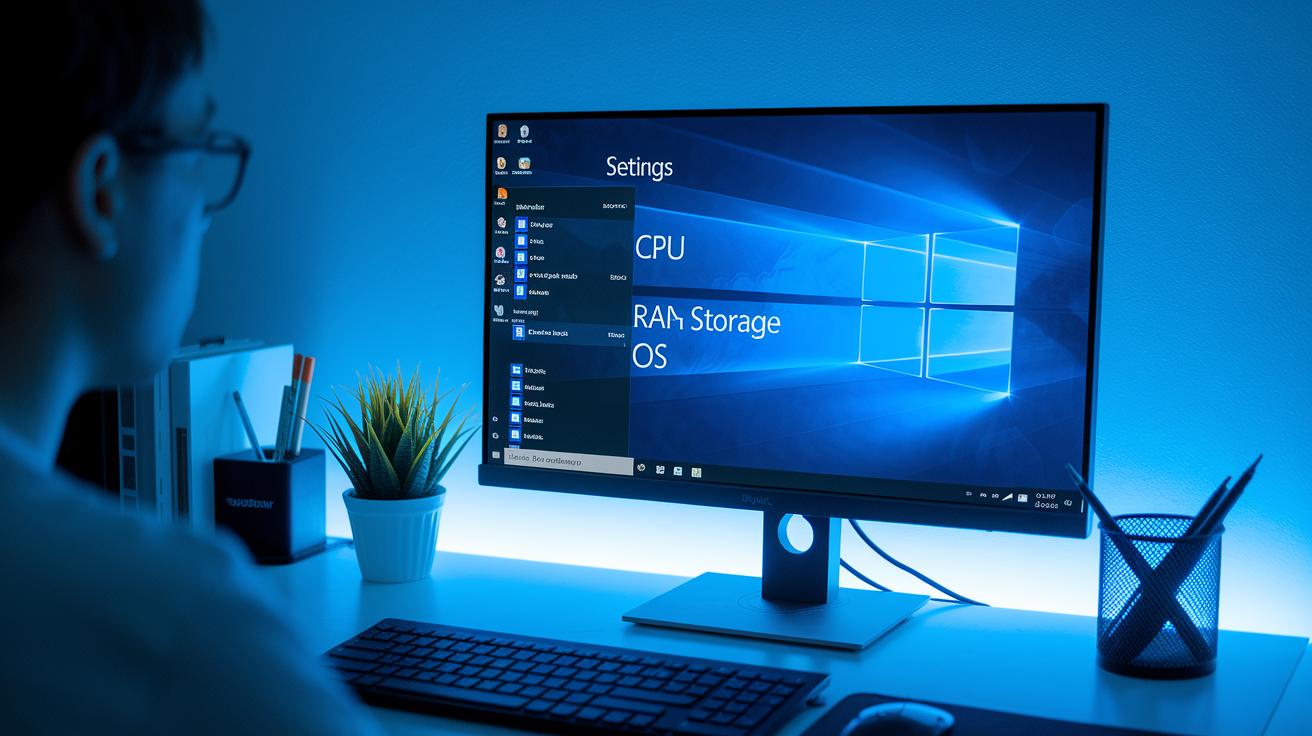
Instant PC Specs Check: CPU, RAM, GPU & Storage
Knowing your PC specs helps you quickly gauge your system’s health and performance. It shows if your computer can handle your favorite games, apps, or heavy multitasking. This gives you confidence that your device will run smoothly every day.
There are four key parts to check: CPU, RAM, GPU, and storage. The CPU is like your computer’s brain, controlling tasks fast and keeping lag at bay. RAM works like a kitchen counter, giving you room to run many tasks at once. The GPU takes care of graphics so that images and videos are smooth and responsive. And storage makes a big difference in how quickly files load and software opens.
- CPU: Think of it as the brain that speeds up tasks.
- RAM: It’s like an extra workspace for running programs.
- GPU: This part makes sure images and videos run without hiccups.
- Storage: It decides how fast files and programs open.
Next, you can check these specs using built-in Windows tools like Settings, System Information, and Task Manager. You can also use command-line tools or third-party apps to get a full look at your hardware setup.
Windows Built-In PC Specs Viewer: Settings, System Info & Task Manager
Windows gives you easy, built-in ways to check your computer's specs. You can find details like the CPU, RAM, storage, and OS version in the Settings or System Information menus. For example, if you're on Windows 11, just right-click the Start icon and choose System. For older versions, click the Start button and type “System Information” to pull up the tool.
Task Manager shows you a live view of how your system is running. Press Ctrl+Shift+Esc to open it and watch your CPU, memory, disk, and GPU usage in real time. This is helpful when you want a quick check on how your computer handles different tasks without needing extra software.
For Windows 11, right-click the Start icon, select System, and review your specs. Windows 10 users should click the Windows icon and then go to Settings > System > About. If you’re on an earlier version, click the Start button and type “System Information” to open the tool.
In the Task Manager’s Performance tab, you can see live data on your system. This view helps you spot any performance issues and shows how your computer handles tasks as they happen.
Command-Line PC Specs Methods: PowerShell, Command Prompt & DirectX Diagnostic
Command-line tools let you quickly check your computer's specs without opening a bunch of menus. They give you raw data straight from your hardware and operating system. This makes it easy to see how your PC is built and can help you troubleshoot or check if an upgrade worked.
- In Command Prompt, type "systeminfo". This command shows details like your operating system, CPU, memory, and network adapter settings.
- In PowerShell, run "Get-ComputerInfo". This gives you a complete report on your hardware and operating system.
- Open the Run dialog, type "dxdiag", and hit Enter. The DirectX Diagnostic Tool will open and list your GPU details, sound devices, and driver versions.
It’s a good idea to take screenshots of these outputs for later use, such as comparing your system's state or sharing the info with tech support. This visual record can help confirm that the details match your expectations when you verify your PC specs.
Third-Party PC Specs Tools & Online Scanners

Third-party PC specs tools make it easy for you to see your computer's details. They run quick scans to show everything from CPU speed to memory size. This saves you from digging through technical settings. These apps are great when built-in tools feel too plain or hard to read.
| Tool | Access Method | Main Benefits |
|---|---|---|
| Crucial System Scanner | Reads your PC’s BIOS automatically | Gives a secure, detailed report without touching your files |
| Crucial System Selector | Let you enter manufacturer, product line, and model | Fetches the right specs for upgrade choices |
| Piriform Speccy | Downloadable utility | Clearly shows CPU model, speeds, RAM, motherboard, and GPU details |
Built-in tools like Windows System Information and Command Prompt use native data. However, they show raw and technical info. External tools wrap up the details in a friendly, visual report. This helps you quickly find key hardware info. On the flip side, third-party tools might miss some minor details that built-in diagnostics catch. So, pick the tool that fits your comfort and needs.
Troubleshooting PC Specs Checks & Accuracy Tips
If your PC shows odd specs or misses key details, start by updating your device drivers and BIOS firmware (basic software that controls hardware). Outdated software can lead to wrong readings. We suggest checking your system maker’s website for the latest updates and installing them as an administrator. This helps your diagnostic tools get the correct info from your hardware.
If your system doesn't power on or only shows a few details, you need to check your specs by hand. Find the make, model, and serial number on your pre-built PC and look up the official specs online. Running diagnostic tools with admin rights also boosts data accuracy. These steps help confirm your device setup and system health.
It helps to compare the results. Check the settings built into your system, use command-line tools, and try trusted third-party apps to spot differences in the data. Follow these steps for honest troubleshooting:
- Update drivers and BIOS firmware to the latest versions.
- Run diagnostic tools using administrator rights.
- Locate and verify your system’s make, model, and serial number.
- Compare results from multiple tools to ensure consistent data.
These simple measures let you catch errors early and keep your PC running at its best.
Final Words
In the action of checking pc specs, we walked through inspecting your system details with built-in Windows tools, command line methods, and third-party scanners. We broke down key components like CPU, RAM, GPU, and storage to show how each impacts overall performance.
Using these methods can save time and help you avoid buyer’s remorse. The steps provide clear, test-backed insights to boost your system confidence. Enjoy the process and feel secure about your next device decision.
FAQ
Frequently Asked Questions
How do I check PC specs on various Windows versions?
Checking PC specs differs by Windows version. For Windows 11, right-click the Start icon and select System. On Windows 10, go to Settings > System > About. For Windows 7, click Start and type “System Information.”
How do I check PC specs using command-line tools?
Using command-line tools lets you quickly view hardware details. In Command Prompt, run the “systeminfo” command. Alternatively, type “dxdiag” in the Run dialog to open the DirectX Diagnostic Tool.
How do I check PC specs online for free?
Free online tools and third-party applications let you scan your PC specs. These utilities analyze details like processor, memory, GPU, and storage without installing paid software.
What shortcut can I use to check PC specs quickly?
Pressing the Windows key with the Pause/Break key opens the System window immediately, where you can see key details such as processor type, RAM, and system version.
How do I check CPU, GPU, and graphics specs for gaming?
To check gaming-related specs, use Task Manager’s Performance tab or built-in command-line tools. These methods show CPU speed, GPU details, and graphics performance to help meet game requirements.