

Ever wonder why your phone pictures can look flat? You can give them a boost with free apps like Lightroom Mobile. For example, adjust the white balance (how colors appear), tweak the exposure (brightness), and sharpen the details to bring out true colors. We tried these simple steps in different lights and they worked every time. Give these clear, real-world tips a shot and watch your photos come alive.
Mastering Mobile Photo Editing Tips: A Step-by-Step Workflow
Start by treating your phone like a real camera. Find good, even light and clear space when you snap your shots. A spot with soft sunlight works well, setting the scene just like arranging a small theater.
Next, pick your favorite photos from your camera roll and send them to Lightroom Mobile (free if you have an Adobe account). This free app turns your everyday pictures into polished images. It is easy to use and helps you fine-tune your photos, much like tuning a well-loved instrument.
- Open Lightroom Mobile and add your chosen photos.
- Adjust the white balance (this makes the colors look natural).
- Change the exposure to brighten dark images.
- Boost contrast and fine-tune shadows, blacks, and whites to add depth.
- Sharpen the details and use the noise reduction tool to clear up any grain.
- Look over your changes and make small tweaks so everything matches well.
When you are happy with your edits, save your work and export the image in high resolution. Use the export option to pick either full-resolution DNG or a top-quality JPG for online sharing. Then, organize your photos into neat albums or folders. Adobe’s cloud syncing helps keep your files safe and ready to shine wherever you post them.
Mobile Photo Color Correction Techniques for Professional Results

Manual tweaks beat one-tap filters every time because you control every part of your image. Instead of letting a preset wash out the mood, you can adjust brightness and saturation to add life and balance. A carefully tuned image feels more natural, almost like perfecting a recipe until it tastes just right.
In Lightroom Mobile’s Color panel, start with the Temperature and Tint sliders to fix your white balance (how true whites appear). Then, manually adjust Vibrance and Saturation to get a look that pops without looking overdone. Use the Tone Curve tool to precisely set the contrast in your highlights, midtones, and shadows. This fine control helps you match your vision with real detail.
Save time by building and using your own custom color presets. Once you nail the look on one image, save it and apply it to others. This method keeps your work consistent and lets you quickly add small tweaks like smooth saturation changes or a boost in contrast without redoing everything from scratch.
Mobile Editing Exposure Tips: Quick Balancing & Highlight Recovery
Lightroom Mobile's Light panel is a handy tool that bumps up your photo's exposure, making dark shots look full of life. When you lower the highlights, it brings back details in over-bright areas so they don’t totally wash out.
Raising the Shadows and Blacks reveals details hidden in the dark parts of your image. This tweak helps the light and dark areas blend together smoothly, giving your photo a balanced look.
For even more detail, try turning on HDR capture. HDR (high dynamic range) lets your camera take several pictures and mix them together. This means you get rich details in both bright and dark spots. Alternatively, use the Tone Curve panel to carefully adjust the light, midtones, and darks. This approach recovers blown-out highlights and keeps shadow depth, ensuring every shot has clear and balanced exposure.
Mobile Photo Composition: Creative Cropping & Perspective Enhancements
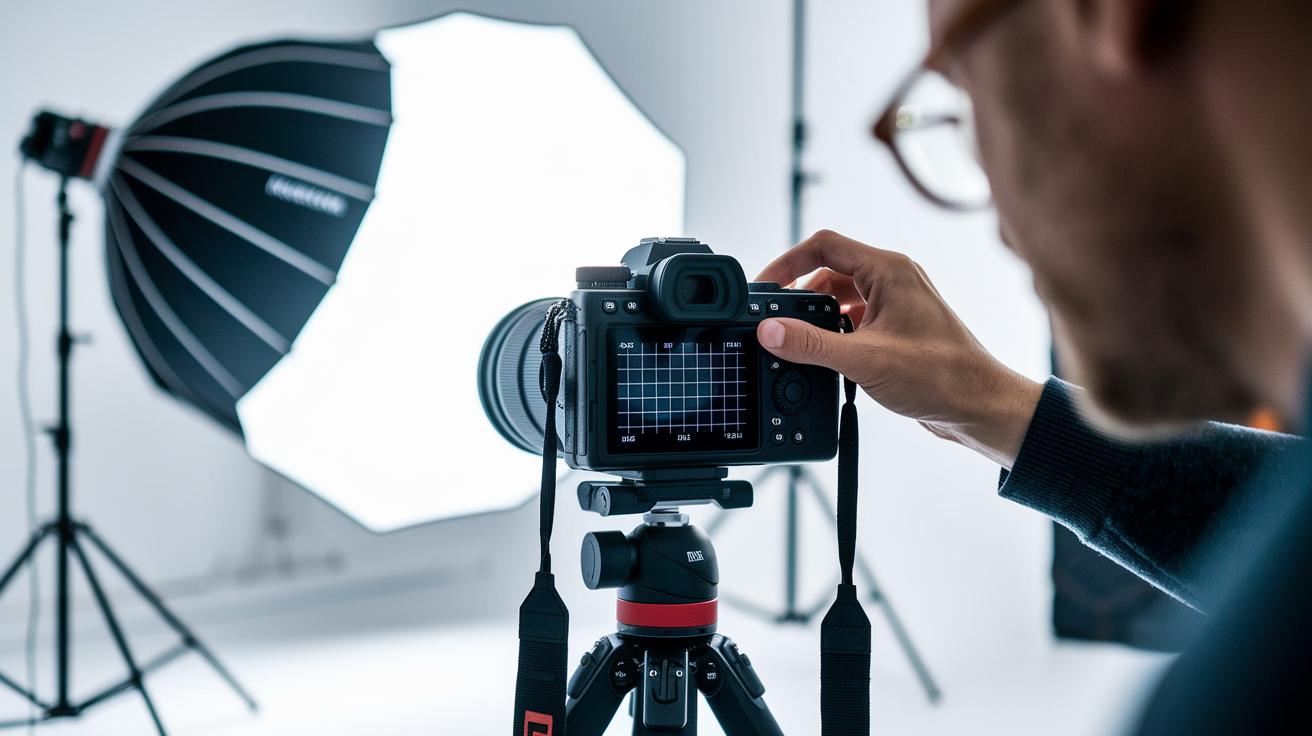
Crop your photos with care. Removing extra elements like stray objects or busy backgrounds brings your main subject into clear focus and tightens your overall composition.
Using Grid & Rule of Thirds
Turn on the grid overlay to divide your screen into nine equal parts. Align your subject along the lines where they meet to create balance. This simple trick makes your key elements pop and keeps your shot on point. For example, when taking a handheld image, the grid helps you keep everything in order.
Correcting Perspective Distortions
Head to Lightroom's Crop & Rotate tool and open the Geometry panel. Slide the Vertical control to straighten tall structures and use the Horizontal control to adjust wide, off-kilter lines. These tweaks fix the natural lean in handheld shots and make sure lines look true. The result is an image that feels grounded and visually clear.
By fine-tuning both your crop and perspective, you make your photos look more deliberate and engaging. Have you tried these adjustments? They can really transform your mobile photography.
Mobile Photo Clarity: Noise Reduction & Sharpening Essentials
Noise reduction cuts down on the grain that can blur fine details. You might notice small dots in low-light photos that can make them look less sharp. In contrast, quick sharpening boosts edge clarity so your subject really pops.
Noise reduction smooths textures, while sharpening brings back the crisp lines that make a picture come alive. Think of it like tuning a guitar; too little or too much adjustment can throw off the balance. Getting these settings right gives your images a smooth, detailed look.
In Lightroom Mobile’s Detail panel, start with the Luminance slider to lower unwanted grain while keeping key textures intact. Then, adjust the Detail and Contrast sliders to polish the image further. Under the Sharpening section, carefully tweak the Amount, Radius, Detail, and Masking controls so edges stand out without overdoing it. Finally, switch on the Remove Chromatic Aberration option to clear up any color fringing. These small adjustments help make every detail count.
Mobile Photo Retouching: Advanced Effects & Layered Composites

Many editing apps let you turn everyday photos into stunning visuals with creative layers and effects. Your mobile device now has tools to remove distractions, blend elements together, and add dramatic overlays. Apps like TouchRetouch, Photoshop Mix, Distressed FX, Mextures, Lens Distortions, and Photoshop Camera let you try high-level retouching and layering on the fly. They help you remove blemishes, build layered composites, and add stylish effects to boost your art. Imagine erasing an unwanted passerby from a family photo or merging a textured overlay into your portrait for an editorial look. Best of all, you don’t need expensive gear.
- Use TouchRetouch ($1.99) to erase unwanted objects or people from your shots.
- Photoshop Mix lets you cut out parts and layer images for a dynamic composite.
- Distressed FX offers textures and overlays to give your images a unique artistic edge.
- Mextures is your tool for light leaks, grain, and presets that add a nostalgic or cinematic vibe.
- Lens Distortions helps you add fog, rain, or haze to create a mood-changing backdrop.
- Photoshop Camera lets you test real-time lenses and creative filters before taking your shot.
Play with blending modes and tweak each layer's opacity. Getting these details right makes your photo feel balanced and lets every effect shine.
Mobile Editing Shortcuts: Speed-Boosting Workflow Tips
Speed counts when you're editing photos on your phone. These handy shortcuts let you keep quality high while cutting down on busywork. Instead of tweaking every small detail, smart shortcuts turn repetitive tasks into simple, repeatable moves. With a few taps and swipes, your images get the same care as on a desktop, so you can focus more on capturing life's moments.
Here are our top tips:
- In Lightroom Mobile, save and reuse presets on groups of images. This keeps your look consistent.
- Copy and paste settings to quickly apply changes across many photos.
- Turn on Adobe cloud syncing so changes show up on all your devices.
- Mark your favorite editing tools for quick access.
- Use the Auto button for a fast start when you're in a rush.
- Customize your workspace by arranging icons in a way that makes sense to you.
These simple tweaks help you edit faster without losing creative control. Every quick move makes your work look intentional and sharp. Have you ever noticed how a few small changes can boost your entire workflow? Enjoy a smoother editing process and a consistently polished portfolio.
Mobile Photography Exporting Tips: Best Settings for Sharing & Backup
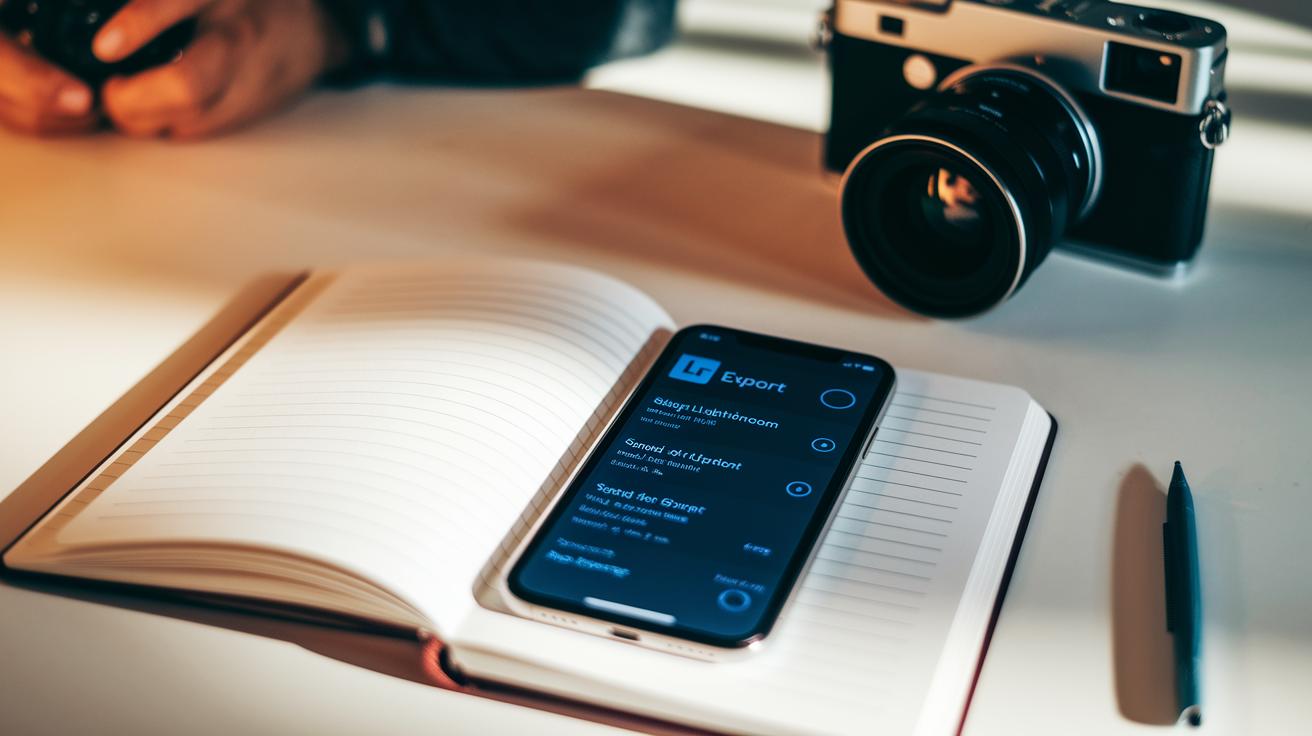
When you export photos from Lightroom Mobile, tap “Export As” and choose full-resolution DNG or the highest-quality JPG to keep a perfect archive. For posts on platforms like Instagram, set your image width to 1080 pixels and adjust the quality to around 85% (a range of 80–90% works well). This setting keeps your photo details sharp while keeping file sizes low for quick uploads.
Next, add IPTC metadata using the Metadata menu. This means including your copyright info, keywords, and shooting details. It not only marks your work with your signature style but also makes it easier to search through a large collection later.
Finally, make use of Adobe’s cloud backup feature. Sync your edits across devices and store your photos securely in the cloud. This way, you can access and share your work anytime without worrying about your device’s storage.
Final Words
In the action, we've walked through a full mobile photography editing process, from capturing quality shots to refining exposure and color, enhancing composition, boosting clarity, and exploring creative retouching. We also covered time-saving shortcuts and export settings to get your images ready for sharing.
These mobile photography editing tips give you practical steps to take your smartphone images to the next level. Keep experimenting and enjoy watching your photos transform into polished works of art.