
Are your movie nights missing that wow factor? Even a tiny error in setting up your projector can sap the punch from your visuals. This guide lays out five simple steps to help you get your room layout, mounting, wiring, image settings, and upkeep just right. Imagine sitting back with every seat offering a clear, crisp picture, no guessing required. Follow these easy tips, and you'll enjoy smooth, sharp visuals night after night.
Essential Projector Installation Tips for Optimal Performance

When choosing a projector, make sure its specs match your room. It helps to pick the right brightness (lumens) and decide if you need a short-throw or long-throw model. For example, a small living room works best with a lower throw ratio, so images don’t appear too big. Using blackout curtains can also cut down on extra light and keep your view sharp.
We break down the installation into five simple phases. This step-by-step plan covers every detail from where you put the projector to keeping it running well.
- Location selection (room layout, seating arrangement)
- Mounting (ceiling, wall, or stand)
- Wiring (video, audio, power)
- Image calibration (focus, keystone, color settings)
- Maintenance planning (ventilation, cleaning schedule)
Following these steps helps the projector perform at its best and last longer. A good spot and proper mounting mean you won’t have to adjust things often. Using the right cables and adapters, like HDMI or USB-C, keeps signals smooth and clear. Dialing in settings such as focus, keystone, and color balance makes images pop. Lastly, regular upkeep, such as cleaning the lens and replacing dust filters, keeps your projector in top shape. Taking your time with these steps builds a setup that works great day after day.
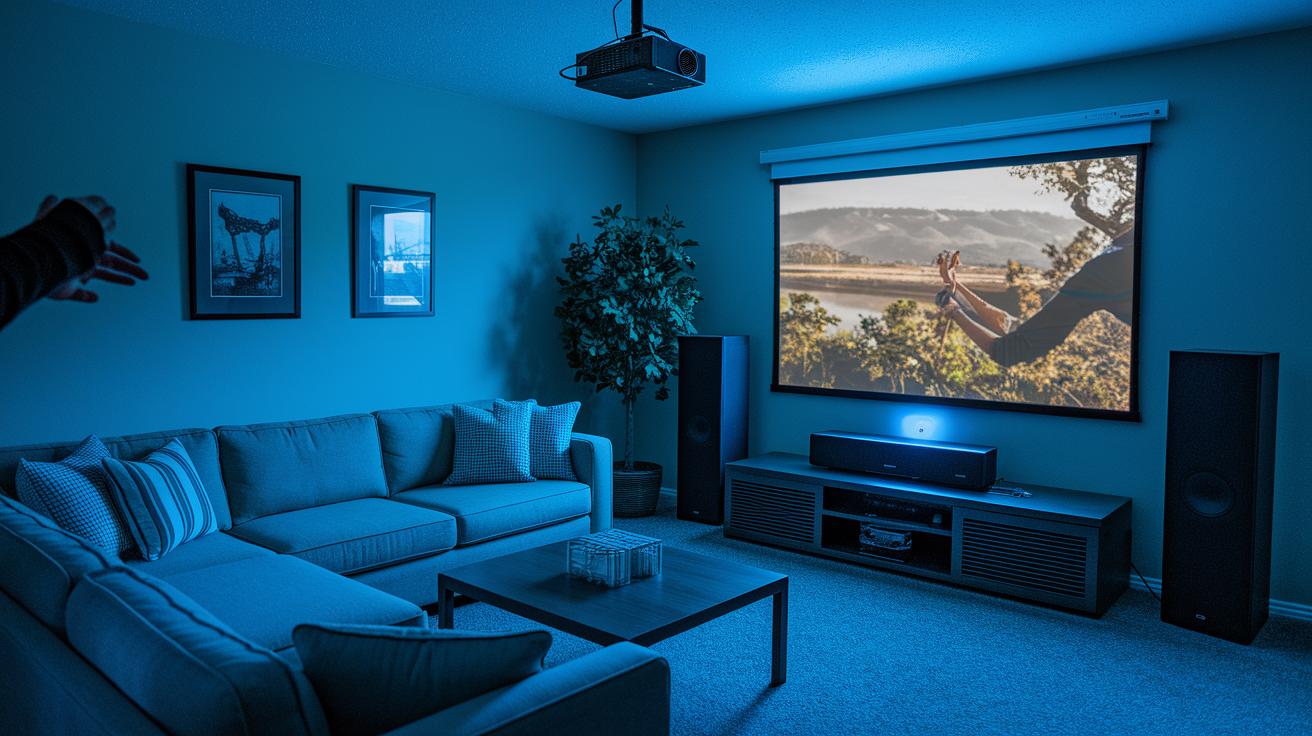
Mounting Guide: Ceiling and Wall Fixture Methods for Projector Installation

Start by gathering all your tools. You need a stud finder, a drill, and drywall anchors that can hold more than the weight of your projector and mount. A bubble level helps you keep everything straight, and a tape measure with a pencil lets you mark the exact spot using free home-theater design tools. These tools work together to set up your projector precisely.
Once you decide where to place your projector, mark that spot on the ceiling or wall. Run the stud finder to check for solid studs, or use strong drywall anchors if there aren’t any studs. Drill small pilot holes for the anchors, then attach the mount bracket securely. Make sure the hardware is tight and the mount can hold the weight needed. This step-by-step method keeps cable routing and physical placement neat and safe.
Finally, check that everything is level and stable. Use your bubble level to see that the mount is perfectly horizontal and adjust the tilt or pan as needed. Tighten the screws properly to avoid any slow sagging. A final check ensures your projector stays secure, so you enjoy clear visuals every day.
Placement Advice: Calculating Distance, Throw Ratio, and Controlling Ambient Light

When setting up your projector, the right spot makes all the difference. The throw ratio (which tells you how far the projector should be from the screen) is key. For an 80" screen with a 1.2:1 ratio, you should place the projector about eight feet away.
Extra light in the room can wash out your picture. Too much ambient light will fade colors and drop contrast. Adding blackout curtains or motorized shades helps keep the room dark so your image stays crisp and clear.
| Screen Size | Throw Ratio | Recommended Distance |
|---|---|---|
| 80″ | 1.2:1 | 8 ft |
| 100″ | 1.2:1 | 10 ft |
| 120″ | 1.2:1 | 12 ft |
Choosing a good screen surface also boosts your setup. A dedicated projector screen keeps brightness and details intact, unlike a plain wall. Look for a screen with the right gain (how much light it reflects). Pairing a high-gain screen with quality light control, like blackout curtains, can really lift your image quality even in a room with natural light.
Plan your distance and manage your room light from the start. This smart setup turns your viewing space into a little home theater that shows sharp images and vibrant colors every time. Plus, it helps your projector last longer by easing the load on its lamp and internals.
projector installation tips: For Flawless Visuals
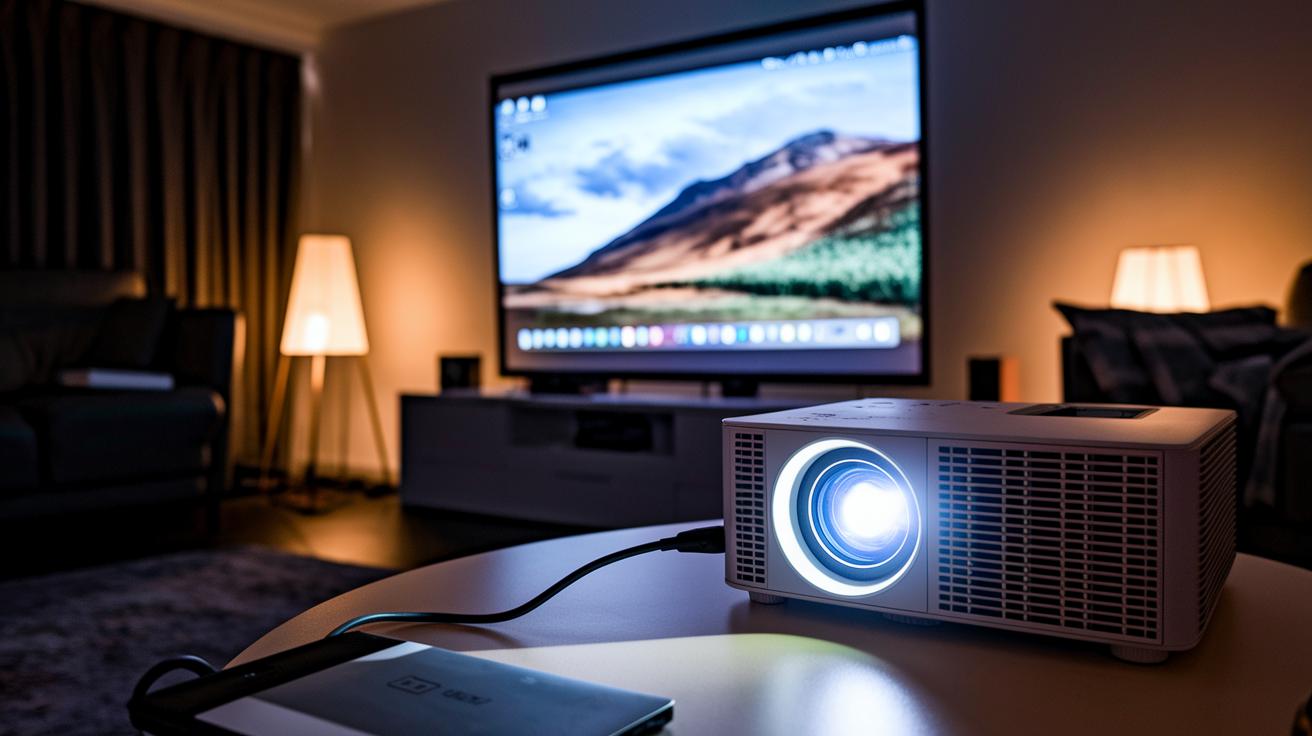
When you set up your projector, start by connecting your video source correctly. For 4K/UHD content, HDMI gives clear, sharp images. Older systems might need a VGA connection. If your device is modern, a USB-C adapter may work too. After plugging everything in, open the projector’s menu and pick the right input. This helps you get a smooth signal without any glitches. For example, using HDMI with a 4K projector keeps the image vibrant and detailed, setting you up for a reliable viewing experience.
Most projectors include basic built-in speakers that usually don’t deliver strong sound. Instead, route the audio through a 3.5 mm jack, RCA, or optical outputs to an external soundbar or AV receiver. Once connected, adjust the projector’s menu so the audio output matches the video input. For instance, if you use HDMI for a 4K source, syncing the external sound system to the same input helps reduce lag and fills the room with richer sound.
Keeping your setup neat is just as important as making the right connections. Hide cables by running them through walls, along ceiling cavities, or by using surface-mounted raceways. Fasten them securely with cable ties or adhesive clips, and label each cable end to avoid confusion later on. This approach not only makes your system look professional but also improves safety and long-term reliability.
Calibration Techniques: Focus, Keystone Correction, and Digital Image Fine-Tuning

Begin by tweaking your projector’s focus and centering the image. Twist the focus ring or let the motorized focus do its work until the screen edges look sharp. We suggest using the lens-shift feature for centering instead of heavy keystone correction, which can blur details if used too much. Apply any vertical or horizontal keystone adjustments lightly to keep the image clear. A well-aligned display sets you up for a crisp, movie-like experience, each edge of the picture should look as defined as a high-resolution photo.
Then, run the built-in test patterns or calibration software (via USB or network) to set the right brightness, contrast, and color balance. Adjust the RGB gain and bias controls until the colors feel natural and true to the scene without turning too artificial. Save your custom settings so the picture stays great every time. This careful digital tuning keeps every viewing session lively and packed with details.
Safety Guidelines and Maintenance Routines for Long-Term Projector Health
Always use mounting hardware that can hold at least 1.5 times your projector's weight. Keep a six-inch gap around all ventilation ports for proper airflow. Check your mounting points often to ensure the projector stays secure.
Clean the projector lens every three months with a microfiber cloth and a maker-approved cleaning solution. Replace dust filters regularly to stop dust buildup inside the unit. Watch the lamp or laser module hours and change them when they near their limit. This routine keeps your image sharp and helps prevent overheating.
Update the firmware and software to fix any bugs that might affect performance. In areas with unstable power, use surge protectors or an uninterruptible power supply (UPS, a backup battery system). Regular checks of the wiring, optical parts, and overall system ensure your projector stays safe and runs at its best.
Final Words
In the action, we walked through choosing the right projector for your room, mounting it securely, running proper wiring, and fine-tuning the image. We also laid out clear maintenance steps to keep your device performing well over time.
These projector installation tips give you a reliable roadmap to a smooth setup. Following these steps not only simplifies the process but helps ensure your projector delivers crisp visuals, reliable performance, and a longer lifespan. Enjoy setting up your system.
FAQ
Projector installation tips pdf
The term “Projector installation tips pdf” describes downloadable documents that provide step-by-step guidance for setting up a projector, covering mounting, wiring, calibration, and upkeep instructions.
Projector installation tips diy
The phrase “Projector installation tips DIY” refers to practical, self-help instructions for setting up a projector at home, including advice on mounting, cabling, image calibration, and ongoing maintenance.
Best projector installation tips
The best projector installation tips emphasize matching projector specs to room size, choosing the correct throw type, proper mounting, accurate wiring, and routine upkeep for a crisp, reliable image.
Led projector installation tips
LED projector installation tips focus on lightweight models, guiding you to set up proper mounting, use the right wiring, adjust color calibration, and maintain brightness for optimal performance.
How to mount a projector to the ceiling
Mounting a projector to the ceiling involves using a secure bracket, locating studs or reliable anchors, aligning the setup with your viewing angle, and ensuring stability to avoid image distortion.
Projector installation services
Projector installation services involve professionals handling the complete setup process—from mounting and wiring to calibration and maintenance—ensuring your projector performs optimally with minimal hassle.
How to set up projector to laptop
Setting up a projector to a laptop requires connecting the two using an HDMI or VGA cable, selecting the correct input on the projector, and adjusting the laptop’s display settings for a clear image.
How to use projector with phone
Using a projector with a phone means connecting via a compatible adapter or wireless mirroring solution, then adjusting projection settings on both devices for the best viewing experience.
What is the 4 6 8 rule for projectors?
The 4 6 8 rule for projectors acts as a guideline for positioning based on screen size and distance, helping to balance image clarity with viewing comfort, though specifics can vary by model.
Is it better to have a projector closer or further away?
Whether a projector should be closer or farther depends on its throw ratio; short-throw models work best near the screen, while long-throw units require more distance to project a larger image.
How to properly position a projector?
Proper projector positioning means aligning it centrally with the screen, setting the distance based on throw ratio, and using keystone correction to ensure even, distortion-free images.
How far should a projector be from a 120 inch screen?
The distance from a projector to a 120-inch screen depends on its throw ratio, but it is often recommended to place it roughly 10 to 12 feet away. Check your model’s guidelines for exact recommendations.