
Ever get frustrated trying to set up a new printer? Many of us have been there, wasting time on setups that seem to go wrong every time. In this post, we share clear, tested tips to help you get your printer up and running quickly and correctly. We explain how to clear your space, remove packing materials, and connect your printer safely. Follow these simple steps to avoid issues later on, and enjoy a smooth and stress-free installation.
Essential Out-of-Box Printer Installation Tips

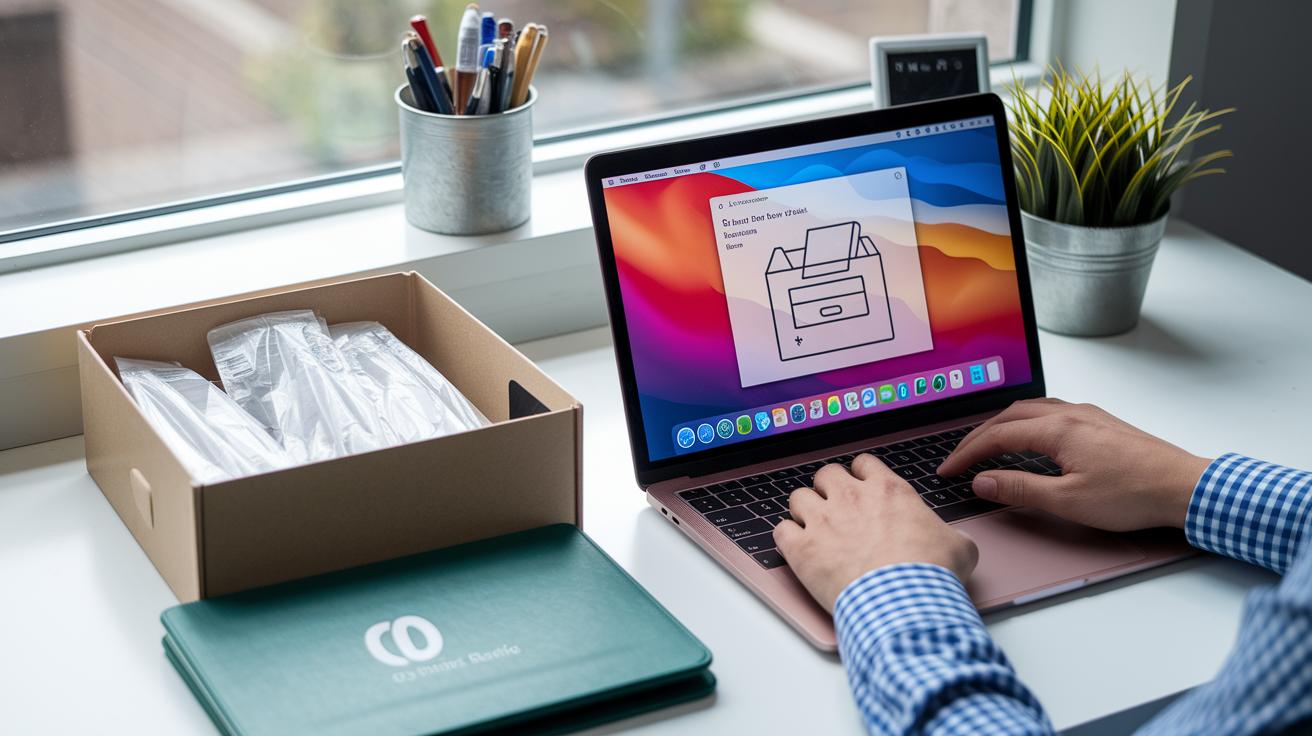
Start your printer setup the right way. Taking a few extra minutes now can help avoid problems later. Removing all of the packing material makes sure each part is ready and safe.
- Remove all tapes and cardboard inserts.
- Clear a workspace with at least a 24-inch radius around your printer.
- Place your printer on a firm, level surface that fits the recommended temperature and humidity range.
- Plug the power cable into a grounded outlet to avoid electrical issues.
- Turn on the printer and let it finish its start-up self-tests.
Think about both space and room conditions when setting up. A stable surface keeps the printer steady. The correct temperature and humidity help protect paper quality and printer performance. A clear area also makes it easier to access and manage any heat or noise the printer produces. Taking these steps early on gives you a smoother, hassle-free experience.
Comprehensive Driver Installation Steps for Printers
First, head to your printer’s support page on the manufacturer’s website to grab the latest driver. Make sure the driver is meant for your operating system, like Windows 10/11 or macOS. Sometimes, the driver comes as a ZIP file. If it does, unzip it into a folder you recognize so you can find it later. Checking that the driver is compatible saves you from issues down the road and stops conflicts that might make your printer act up.
Next, open the installer file. On Windows, it will usually have a .exe extension; on macOS, look for a .dmg file. Follow the on-screen steps: accept the license terms, pick between a Typical and Custom setup, and choose where you want the driver installed. You might need to restart your computer after the installation finishes. These steps help set up your printer driver correctly and keep any driver conflicts to a minimum.
Wireless Printer Configuration Tips for Hassle-Free Networking

Connecting your printer to Wi-Fi is simple when you follow a few clear steps. This guide helps you avoid common connectivity issues and get your printer up and running.
Enabling Printer Wi-Fi
Start by using your printer's control panel to turn on its Wi-Fi. Look at the screen for the list of network names (SSID) and choose your network. When asked, type your network password (WPA2/WPA3). If your network is hidden, press the WPS push-button if your printer has that option, or enter the network name and password manually. Make sure the details you enter match your router settings exactly. Once you complete these steps, your printer will try to connect automatically.
Troubleshooting Wi-Fi Connection
If your printer still isn't connecting, try restarting both the printer and the router. This simple reboot can clear up small glitches. Also, check that your printer and your computer (or Mac) are on the same network. If you see different network names, add the printer manually in your device's network settings with the correct details. It might also help to review your computer's network discovery options to ensure nothing is blocking your printer.
For best results, place your printer within 26 feet (8 meters) of your router to keep a strong signal. Double-check all network information to keep your connection hassle-free.
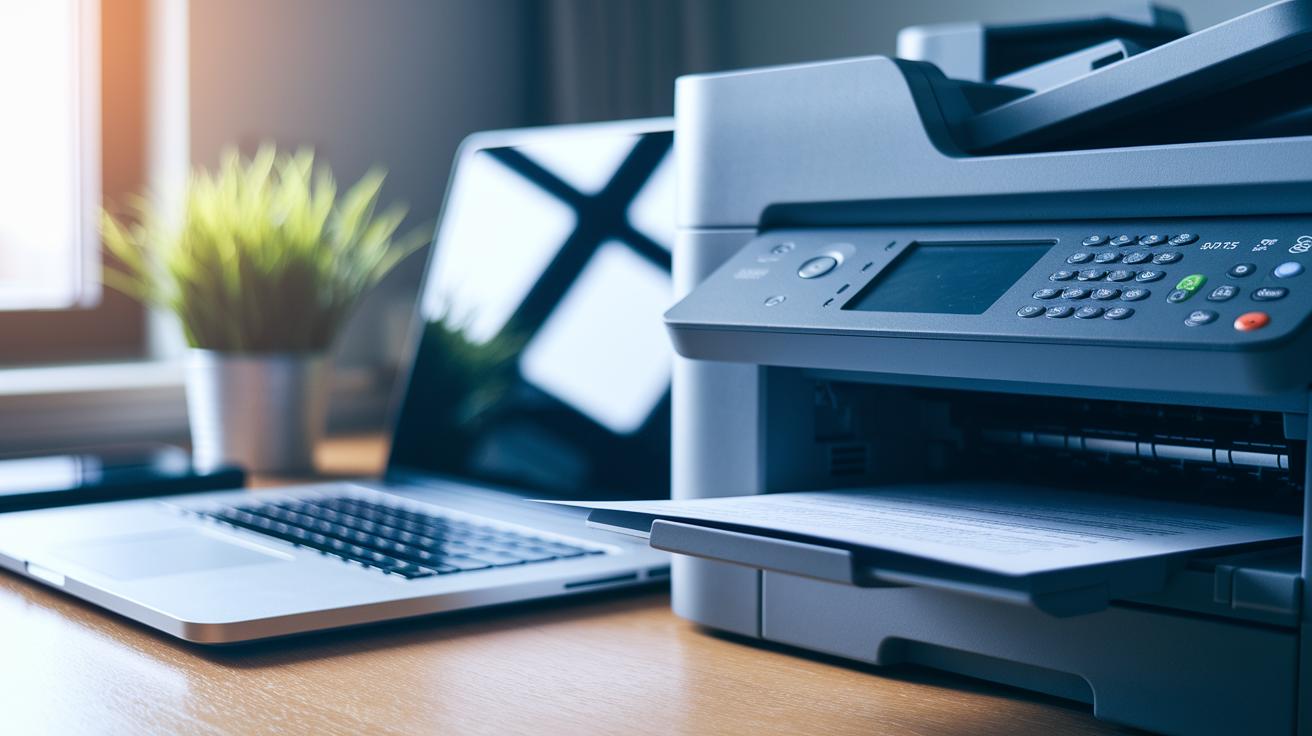
USB and Ethernet Printer Setup Guidelines

Pick the wired connection that works best for you. If you choose USB, plug the printer’s USB-A or USB-C cable straight into your computer. This skips any network issues. If you go with Ethernet, connect a CAT5e or CAT6 cable from your printer to your router or switch. Look for the link lights on the port to make sure the cable is working.
Today’s computers usually spot printers on their own. But if your printer isn’t showing up, don’t worry. On Windows, open Devices & Printers. On a Mac, head to System Preferences > Printers & Scanners. Then, add your printer by picking the right port and driver. This clear, step-by-step method helps you avoid delays and makes printing start without a hitch.
If auto-detection fails again, try checking your settings once more. For Windows, use Devices & Printers; for Mac, go back to System Preferences > Printers & Scanners. Add the printer manually by choosing the appropriate port and driver. It’s a quick fix that keeps your printer working reliably every time.
Network Printer Guide: IP Address and Advanced Configuration
If you're setting up a network printer, start by checking the printer's control panel for its network settings. This screen shows the current IP address. Type that address into your web browser to open the printer's web interface. From there, you can set a static IP so that DHCP (a system that automatically assigns IP addresses) does not change it on its own. Make sure to adjust the subnet mask and gateway based on your IT guidelines.
Securing your printer is just as important. Set an admin password on the web interface to keep unwanted users out. For extra security, enable protocols like IPP-S (a secure way to send print jobs) or HTTPS on port 631. If your printer is older and does not have a web interface, use your system's Add Printer wizard and select the TCP/IP connection option. This helps round out a sturdy and safe network setup.
| Connection Type | Key Steps |
|---|---|
| Embedded Web Server | Enter the IP in a browser, assign a static IP, and set an admin password. |
| Legacy TCP/IP | Use the Add Printer wizard, choose TCP/IP, and follow the setup prompts. |
| Secure Configuration | Set the subnet mask and gateway as required, then enable IPP-S/HTTPS on port 631. |
Following these steps will help safeguard your network printer. Regular firmware updates and reviews of your network settings keep your printer up to date with IT security standards. Strong passwords and secure protocols go a long way in preventing unauthorized access, making your network both safe and efficient.
printer installation tips: Enjoy Smooth, Fast Setup
Sometimes setting up a printer can be tricky. You might face issues like the print spooler crashing, driver conflicts, paper jams, or network timeouts that keep the printer from working right. Knowing the common problems and how to fix them keeps your printer running smoothly.
- Restart the print spooler by opening services.msc and clearing the print queue.
- Update your printer driver. If that doesn't help, try rolling back to an earlier version.
- Follow your printer's manual to free up any stuck paper.
- Check network connection by pinging the printer’s IP and testing port 9100.
- If the printer doesn’t show up, run your system’s hardware troubleshooter to detect any problems.
- Manually add the printer in your device settings to ensure it registers correctly.
If these fixes don’t work, there might be a deeper issue. Persistent driver problems or spooler faults could point to firmware bugs or network settings that need extra attention. In such cases, calling a technician is a smart move to keep your printer dependable.
Final Words
In the action, we walked you through essential printer installation tips, from unboxing and setup to secure networking and troubleshooting fixes. We broke things down into manageable steps so you could get the printer running smoothly with minimal fuss.
We covered driver updates, wireless pairing, wired setups, and advanced network adjustments. Follow these step-by-step instructions to save time and avoid buyer’s remorse. Happy printing and enjoy the smooth setup!
FAQ
Q: What are basic printer installation tips for Windows 10 and beginners?
A: Basic printer installation means starting with unboxing instructions: remove all protective materials, set the printer on a stable, clear workspace, plug into a grounded outlet, and power on to run self-tests before following on-screen setup steps.
Q: How does connecting a printer wirelessly to a computer work?
A: Connecting a printer wirelessly involves activating the printer’s Wi-Fi through its control panel, ensuring both the printer and computer share the same network, and entering the correct network password to establish a secure connection.
Q: What are Epson and Canon printer installation tips?
A: Installing Epson or Canon printers follows similar steps: unbox the device by removing packaging materials, set it up on a level surface, plug it in for self-tests, and download the proper drivers from the manufacturer’s website for smooth operation.
Q: How do you connect a printer to a computer using a USB cable?
A: To use a USB connection, simply plug the printer’s cable into the computer’s USB port. If the system doesn’t automatically detect the printer, add it manually by selecting the correct port and driver in your settings.
Q: How can you connect a printer to a network using Windows 11?
A: Connecting a printer on Windows 11 involves checking the network settings for the printer’s IP and using the Add Printer wizard’s TCP/IP option, or ensuring both devices are on the same network for automatic detection.
Q: Do you need to remove an old printer before installing a new one?
A: Removing an old printer isn’t strictly required, but it helps prevent driver conflicts and setup issues. Clearing out previous devices and drivers can lead to a smoother installation of your new printer.
Q: What are the do’s and don’ts for proper printer installation?
A: Proper printer installation means doing things like clearing the workspace, removing all packing materials, and verifying driver compatibility, while avoiding steps such as skipping manufacturer guidelines or neglecting potential driver conflicts.