
Ever notice how some cameras fumble in the dark while your iPhone captures bright, clear shots? In night mode, the iPhone uses longer exposure times to let in extra light. This smart change helps you get better colors and detail in low-light scenes. We tested it and found that the phone’s sensors and software work well together in real time. Get ready to capture nighttime moments like never before!
Activating Night Mode on iPhone Camera
When light drops, night mode kicks in by itself. Just open your Camera app and pick Photo or Portrait mode. In dark rooms or at twilight, the phone senses the low light and automatically switches to night mode. A yellow crescent moon icon shows up so you know it's using a longer exposure (letting in more light).
On the iPhone 11, it uses the standard 1x Wide lens, while on the iPhone 11 Pro the 2x Telephoto lens is used. The 0.5x Ultra Wide lens is not available in night mode. If you tap the yellow moon icon, night mode turns off and you get a quick way to snap photos faster.
You don't need any extra app or setting to capture low-light shots. The phone's built-in sensors and software take care of it in real time. Just open Camera, watch for the moon icon, and stick with the recommended lens. This simple setup helps you get clearer shots and better colors even when it's dark. Enjoy capturing those special low-light moments.
Understanding How Night Mode Works on iPhone Camera
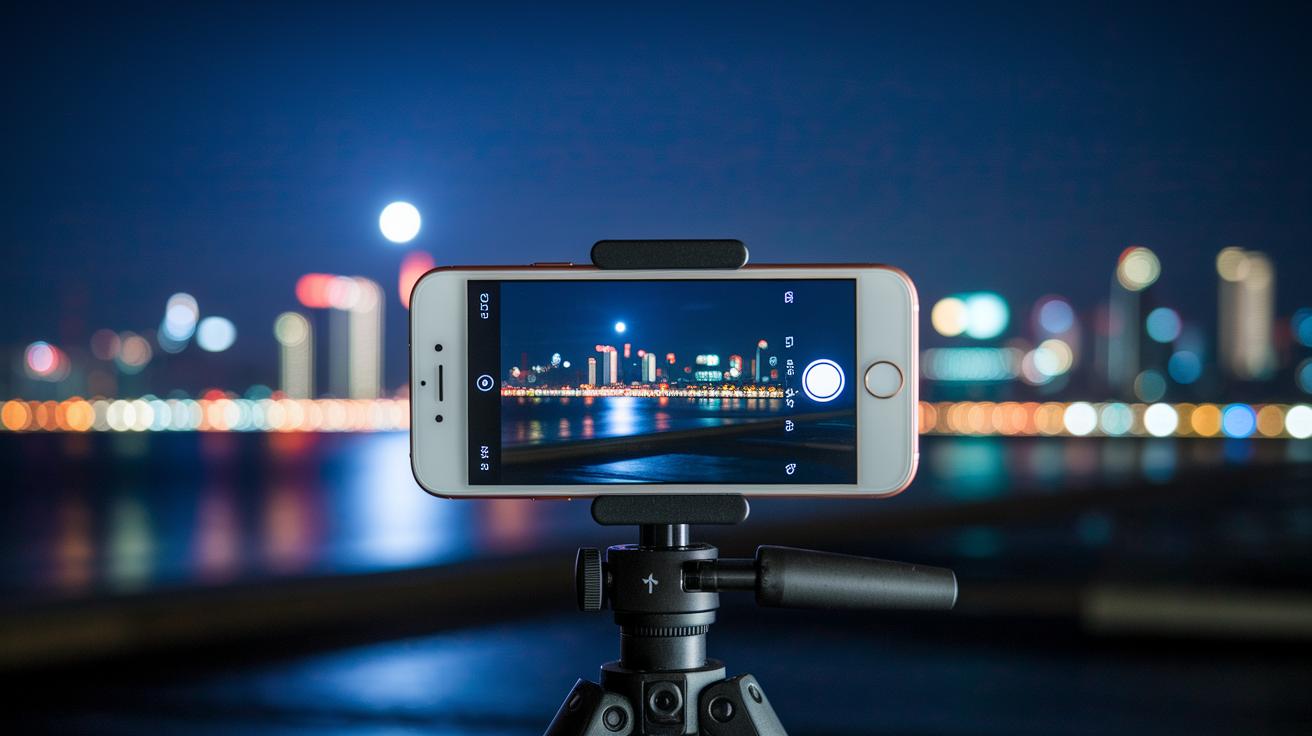
Your iPhone uses its built-in gyroscope (a sensor that checks orientation) and accelerometer (a sensor that measures movement) to see how steady the phone is and how much light is around. They work together to pick the best exposure time. When light is low, the phone slows the shutter so it can grab more light. If you set it on a tripod, the exposure can stretch up to 30 seconds. You’ll notice a timer icon next to a little moon symbol that shows this is happening.
Next, smart software kicks in to merge several photos taken in one go. By combining these shots, it cuts down on noise (grain or speckles in the image) and brings out real color and texture. This process makes night photos look much clearer than regular shots in dark scenes.
If you’re stepping into low-light photography on your iPhone, the process is smooth and easy. The Camera app guides you with simple adjustments so you can take great night pictures without fuss. This smart mode first appeared with the iPhone 11 and still delivers detailed, low-noise images even when it’s really dark out.
night mode on iphone camera elevates low-light photography
When night mode kicks in, you see a slider that changes the exposure time (the time the sensor collects light). Moving the slider gives you control over how much light your shot gets; longer exposures are great for dark scenes but need extra steadiness. Try sliding it slowly, imagine you're taking a soft portrait of a sleeping pet, and keep your hand as steady as you can.
You'll also notice a timer near the moon icon. This timer tells you how long you must hold the phone steady. Without a tripod, the iPhone only holds steady for a few seconds. Want a faster capture? Tap the moon icon. That tap stops the auto-adjust of the exposure, making it easier to snap a quick moment.
Night mode settings work in both Photo and Portrait modes. This means you can manually tweak the light to get exactly the look you want. Experiment with different exposure times: shorter times let in less light but cut down on the risk of a blurry photo if you’re not perfectly steady.
- Slide slowly for smooth changes.
- Watch the timer for stability.
- Tap the moon icon for a quicker shot.
- Use these steps in both Photo and Portrait modes.
Following these simple steps lets you fine-tune night mode for every low-light scene, making sure your photos still show clear details and rich colors even in the darkest spots.
Comparing Night Mode and Standard Photo Mode on iPhone Camera

In standard photo mode, the camera uses fast shutter speeds with a higher ISO setting. This works great in bright light but can make images look grainy in low-light scenes. Night Mode, however, uses longer exposures with a lower ISO. It takes several shots quickly and blends them together to cut down on noise, which results in clearer pictures and richer colors.
When Night Mode is on, the camera gathers light for a longer time. This makes details sharper and helps balance colors and brightness in dim settings. Using a tripod improves this effect even more because the phone stays steady so the sensor can collect extra light. Handheld shots rely on built-in optical and electronic stabilization. That works fine for everyday photos but might not do enough when there is very little light.
Newer iPhone models allow the Ultra Wide lens to use Night Mode too. Still, this lens can sometimes produce darker images if it isn’t held steady properly.
- Standard mode: fast shutter speed, higher ISO, more noise
- Night mode: longer exposure, multiple frame merge, detailed images
Night Mode really boosts low-light photography compared to regular settings.
Essential Tips for Sharper Night Mode Shots on iPhone Camera
When taking night mode photos, use a tripod or set your iPhone on a steady surface. Long exposure times can make even the tiniest shake cause blur. Think of it like placing your phone on a stable table to get crisp details.
Before you snap any shots, clean the lens. Dust, fingerprints, or smudges can cause glare and dull your image. A clean lens means your sensor gets the best light possible.
Turn on gridlines in your camera settings. This simple tool helps you line up your shot just right, like following a map. And if your iPhone supports Apple ProRAW, try it out. It gives you more room to tweak details after you shoot.
Avoid digital zoom. Instead of zooming in, move closer to your subject. Digital zoom often adds noise to low-light images, which can take away from the details in your shot.
Make sure you have enough space on your phone by deleting duplicate images. This keeps your device running smoothly, so you can capture all the night shots you want.
- Mount your device on a tripod or steady surface.
- Clean the lens to avoid glare.
- Use gridlines for balanced framing.
- Try Apple ProRAW for extra editing options.
- Avoid digital zoom by moving closer to the subject.
- Clear out duplicate photos to free up storage.
Follow these tips and practice often. They help you get sharp, detailed night shots with your iPhone.
Troubleshooting Night Mode on iPhone Camera
Make sure you're in a dim setting and using a lens that supports Night Mode. With very little light, the camera may not start this feature. Also, check your iPhone is updated to the latest iOS so that any software fixes can take effect.
Long exposure shots can cause blurry images if your hand moves even a little. To get a sharp photo, rest your phone on a flat surface or use a tripod. If your images keep coming out blurry, try reducing the exposure time by moving the slider.
If you don’t see the moon icon for Night Mode, it might be a small glitch. Close the Camera app completely and then open it again. If that doesn’t work, restart your iPhone to clear any temporary issues.
Low storage can also affect long exposures. Delete old photos or videos to free up space. Closing other apps running in the background might help save battery and reduce interruptions.
Key steps to consider:
- Verify you’re in a low-light setting and using a supported lens.
- Keep your device steady using a flat surface or tripod.
- Force-close or restart the Camera app if the Night Mode icon is missing.
- Free up storage and close background apps to avoid issues.
Final Words
In the action, we broke down how to activate and fine-tune night mode on iphone camera settings for low-light scenarios. We mapped out the steps to adjust exposure, choose the right lens, and take sharper shots even when conditions are dim.
We also tackled troubleshooting common issues and shared trusty tips that help you get the best image quality. Enjoy experimenting and capturing clear, vivid nighttime photos with confidence, knowing you have a solid guide every step of the way.
FAQ
How to use night mode on iPhone camera?
The night mode on iPhone camera is designed to capture clearer images in low light. When the phone detects minimal light, it automatically activates night mode, showing a yellow crescent moon in Photo or Portrait modes.
How do I put my iPhone camera in night mode on models like iPhone 11, 13, 14, 15, and 16?
The iPhone automatically switches to night mode in dark settings. If needed, you can tap the yellow crescent moon icon to toggle it on or off, ensuring you capture detailed low-light photos on supported models.
How do I change the night mode settings on my iPhone camera?
Once night mode is active, you can adjust the exposure settings by dragging the on-screen slider. This lets you set a longer shutter time to capture more light and reduce image noise.
How do I know if my iPhone camera is in night mode?
When your iPhone detects low light, a yellow crescent moon icon appears on the screen, showing that night mode is active and working to improve image clarity in dim conditions.
How do I turn off night mode on the iPhone camera?
To switch off night mode, simply tap the yellow crescent moon icon displayed on the screen. This action reverts the camera back to standard settings, using a faster shutter speed for quick captures.
How to use night vision on your iPhone camera?
The night mode function acts like night vision by using longer exposures and multiple frame merging. It brightens low-light scenes without extra hardware, letting you capture clearer details in the dark.