
Ever wonder why some phone travel photos feel extra lively? Our tests show that a few smart changes can turn your everyday snaps into true memories. Change your camera settings, watch your battery, and clear some storage before you head out. Mix these tweaks with easy tips on framing your shots, and you’ll capture moments that tell a real story. In this guide, we share step-by-step techniques to help your phone do more than take pictures, it captures the adventure.
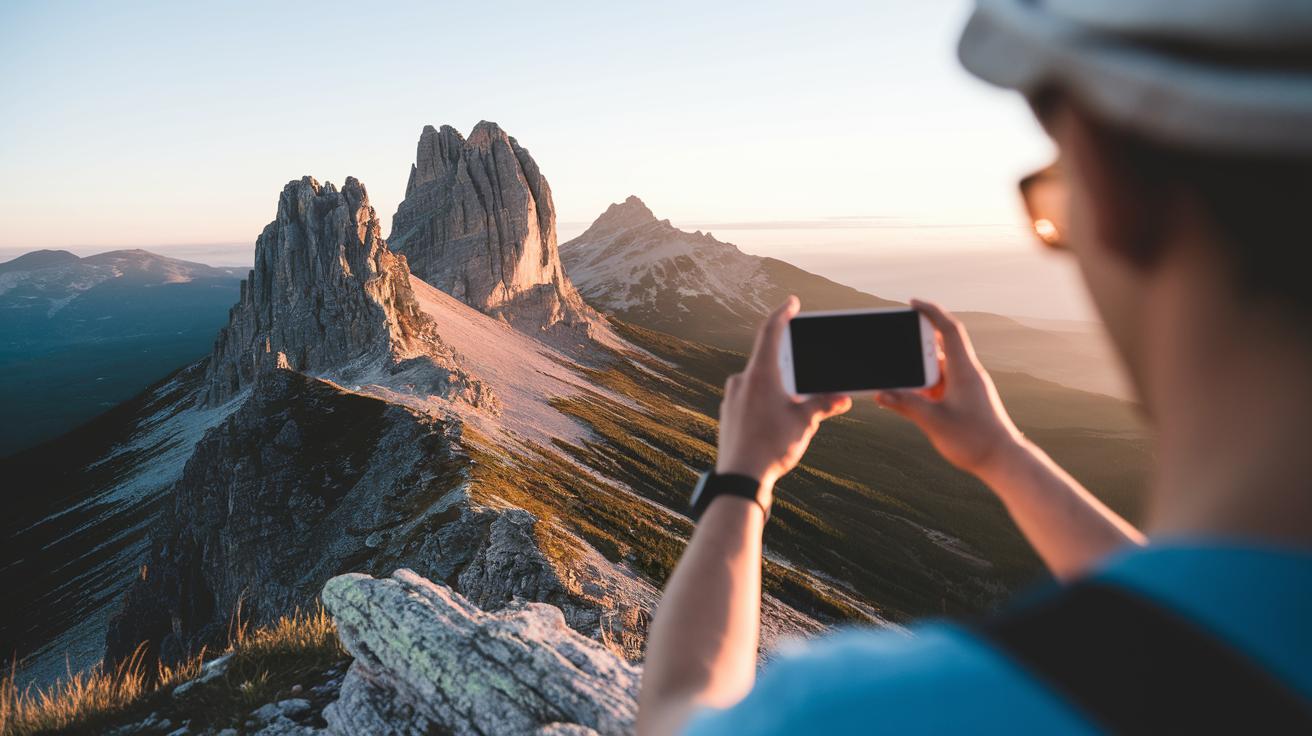
Mobile Travel Photography Setup and Camera Optimization
Before you head out, check your phone's camera settings. Experiment with options like ISO (controls light sensitivity), HDR (captures a wider range of light), and white balance (sets the color tone) in different lighting. Each phone acts a little differently, so try the built-in modes in both bright sunlight and shade to see what works best.
Keep an eye on your battery life too. Turn on power-saving mode to help your battery last through long days of travel. And if you plan to use photography features a lot or edit images on the go, pack a portable charger. A quick power boost can mean the difference between missing and immortalizing that perfect shot.
Make sure you've got enough storage for all your photos. Delete old files or use cloud backup options before you leave so your phone can handle a burst of high-resolution shots. This simple step goes a long way, especially on trips where you’re likely to snap hundreds of images.
By testing your camera features and managing your power and storage, you set yourself up for a smooth photography journey. This hands-on routine keeps you ready to capture every spontaneous moment on your adventure.
Framing and Composition Skills for Mobile Travel Images
Travel photography turns into art when you experiment with framing and angles. Your smartphone makes it easy to try new layouts that bring a scene to life. The trick is to follow simple rules that let your subject stand out. Think of your screen as a grid. When you place your subject carefully, your photo really pops. Play around with these guidelines and mix in your own style to see your images improve fast.
- Try the rule of thirds by lining up important parts of your scene along the grid lines. For instance, place a far-off mountain off-center so the sky guides your eye.
- Give a lone subject plenty of empty space. Imagine a single tree in an open field; it naturally grabs attention.
- Experiment with a 45-degree angle, which can make your shots feel more lively. Sometimes a small tilt adds the right twist.
- Change your point of view by shooting from low or high spots to see familiar places in a new way.
- Always keep a clear main subject so your photo stays focused.
Take time to practice these ideas when you travel. Mix them, adjust them, and watch how each change affects the mood of your photo. With a bit of trial and error, everyday scenes can turn into amazing travel memories.
Leveraging Natural and Ambient Light in Mobile Travel Photography
When you're out in the bright daylight, play with shadows and highlights to add texture to your photos. Most mobile cameras now include HDR (a feature that balances bright and dark areas) so your shots capture deep shadows and clear details under the strong sun. For the best results, set your phone on a flat surface or a tripod to keep it steady, and try tweaking the exposure settings manually for extra control.
Golden hours, shortly after sunrise or just before sunset, bring a soft, warm light that gives your images a natural glow. This gentle light cuts down on harsh contrasts and naturally boosts colors. Even a few minutes during these moments can change the entire mood of your shot.
At night, look for natural light sources like street lamps or neon storefronts. Angle your phone toward these lights to add dramatic contrasts and interesting moods. Keeping your phone still is key, and using longer exposure times can help you capture the charm of urban scenes or quiet, softly lit backgrounds.
Essential Accessories and Lens Attachments for Mobile Travel Photography

When you travel with your phone, a few smart accessories can really improve your photos. A clip-on wide-angle lens expands your view and adds depth, letting you capture sweeping landscapes without extra hassle. A macro lens brings tiny details into focus, perfect for flowers, food, or building textures. These handy tools let you try different angles and experiment with creative shots, all while keeping your kit light.
Below is a quick overview of four must-have accessories:
| Accessory | Purpose | Pros | Cons |
|---|---|---|---|
| Wide-Angle Lens | Capturing broad landscapes | Lightweight and easy to attach | May cause edge distortion |
| Macro Lens | Close-up details | Offers high magnification | Shallow focus area |
| Travel Tripod | Stability for longer exposures | Adjustable and reliable | Adds extra weight |
| Remote Shutter | Eliminates shake in photos | Wireless control for convenience | Easy to forget when packing |
A small travel tripod helps you keep your camera steady during long exposures and timelapses, which is key in low light. A remote shutter makes it simple to snap selfies or capture candid moments without touching your phone. Together, these tools give your mobile photography a more professional edge, all while letting you move light and fast.
On-Device Editing Workflows for Mobile Travel Photography
Start by cropping and straightening your photos to improve the overall look. This step helps you cut out extra distractions and brings the subject into clear focus. For example, if you have a city skyline photo, crop to highlight the main building and straighten the horizon for a neat balance. These quick fixes make your photos pop.
Next, adjust the exposure, contrast, and saturation to enhance colors. Tweak these settings until the image looks clear and crisp. If the light is too harsh or the colors feel flat, a few tweaks can bring out details and make the shot feel more alive.
Then, use healing or clone tools to erase small distractions. This works well for removing things like stray power lines or little items that take the focus away from your main subject. A light touch here keeps your image looking clean and strong.
Finally, apply consistent presets or filters to give all your photos a similar look. Many editing apps let you make batch changes to several images at once. Even devices like the Samsung Galaxy S25 Ultra offer tools to handle multiple photos together. This streamlined process saves you time so you can concentrate on snapping more great travel moments.
Mobile Travel Photography Tips Spark Stunning Shots
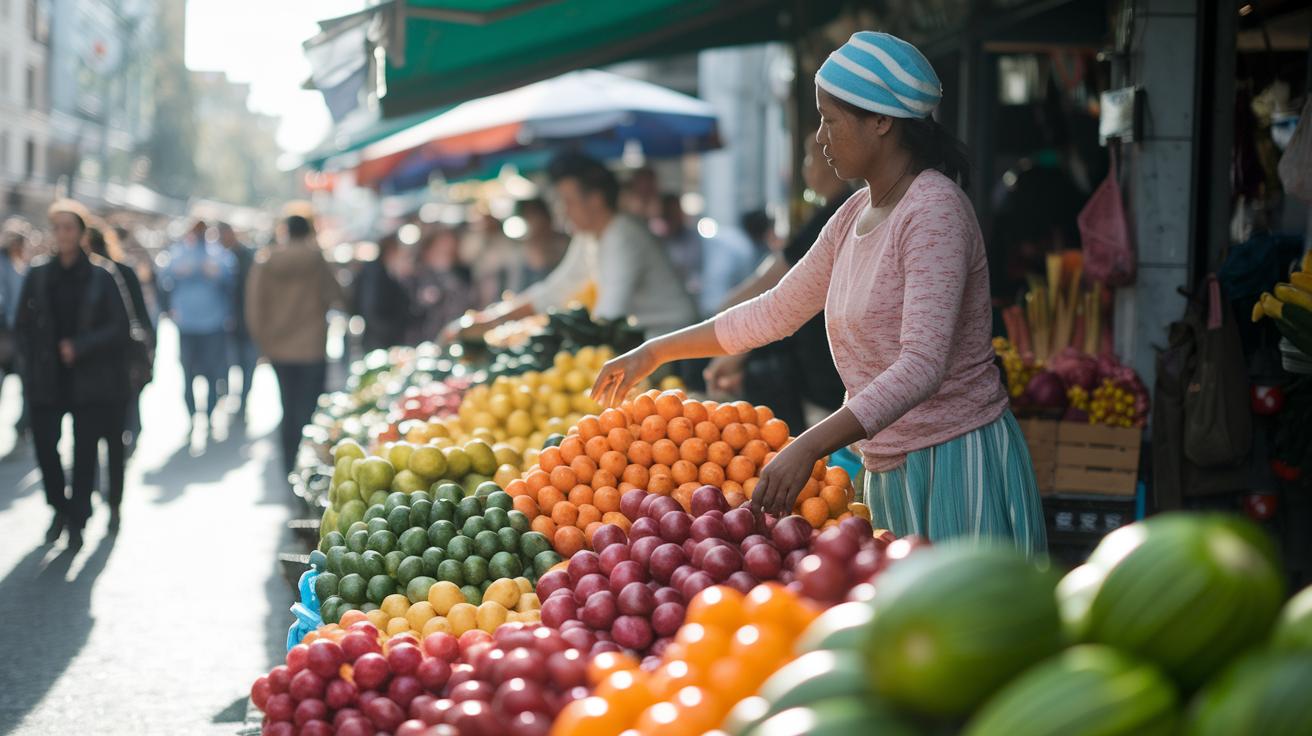
Capture real moments as you travel by blending into your surroundings and using burst mode. When you're out and about, keep your phone close and snap several pictures in quick succession to catch fast actions or brief expressions. Get close to your subject to fill your frame with details, making each shot come alive. Imagine a lively market scene where a vendor arranges brightly colored produce, each burst shows a different piece of the story. This way, you catch moments that might easily pass you by, giving your photos a true, energetic feel.
For a more personal touch on portraits and selfies, try using portrait mode or adjusting your aperture (the setting that controls the light hitting your sensor) to soften the background. Arrange your shot so natural light falls gently on your subject’s face, reducing harsh shadows and bringing out fine details. Holding your phone at a 45° angle can also create a more flattering view. Picture this: a casual stroll down a sunlit alley with the soft focus highlighting a genuine smile and clear eye contact. It’s a simple trick that can turn everyday moments into memorable images.
Final Words
In the action, we broke down how to prep your smartphone for travel, from tweaking camera settings and testing built-in modes to managing battery and storage. We dug into framing, light, and must-have accessories that add real value. We even walked through quick on-device editing and tips for capturing candid moments and portraits. Keep these mobile travel photography tips in mind to boost your photo game on the go. With hands-on advice, you’re all set to snap great shots and enjoy your travels.