

Have you ever wondered if your phone can take pictures as crisp as a DSLR? Today's smartphones come with smart features and even more than one lens, which means you can grab anything from lively street scenes to quiet home moments without breaking a sweat.
We played around with various settings and found that a few simple tweaks can really make your photos pop. This guide is packed with hands-on tips to help you set up your camera so every snapshot tells a vivid story.
So, if you're ready to use your phone as a handy tool for capturing life’s details, let’s dive in and see how easy it can be to turn everyday moments into striking images.
mobile photography for beginners: Snap Joyfully
Smartphones are a handy tool for everyday photography. They are light, simple to use, and always by your side. Today’s phones can capture images that come close to the quality of larger cameras like DSLRs, but without the extra bulk. Imagine snapping a lively street scene or a quiet moment inside with hardly any setup. Picture yourself at a sunny outdoor event during golden hour, with your phone capturing vibrant colors and movement without fuss. With smart features like AI portrait and night modes that adjust automatically, even beginners can make photos that pop on social media.
Modern smartphones pack real power with both advanced hardware and clever software. They come with different lenses, such as wide, ultra-wide, and telephoto, that let you try out various viewpoints with just a tap. The built-in camera app even offers manual controls for settings like ISO (the sensor's light sensitivity), shutter speed, and focus. This means you can get creative, whether you need a portrait, panoramic shot, or an HDR (a technique to handle bright and dark areas) fix for tricky light. Every few months, new models arrive with higher megapixel counts and improved lens options. It’s like having a tune-up for your camera with each upgrade, making it easier to capture that perfect shot every time.
Exploring phone camera settings for newcomers
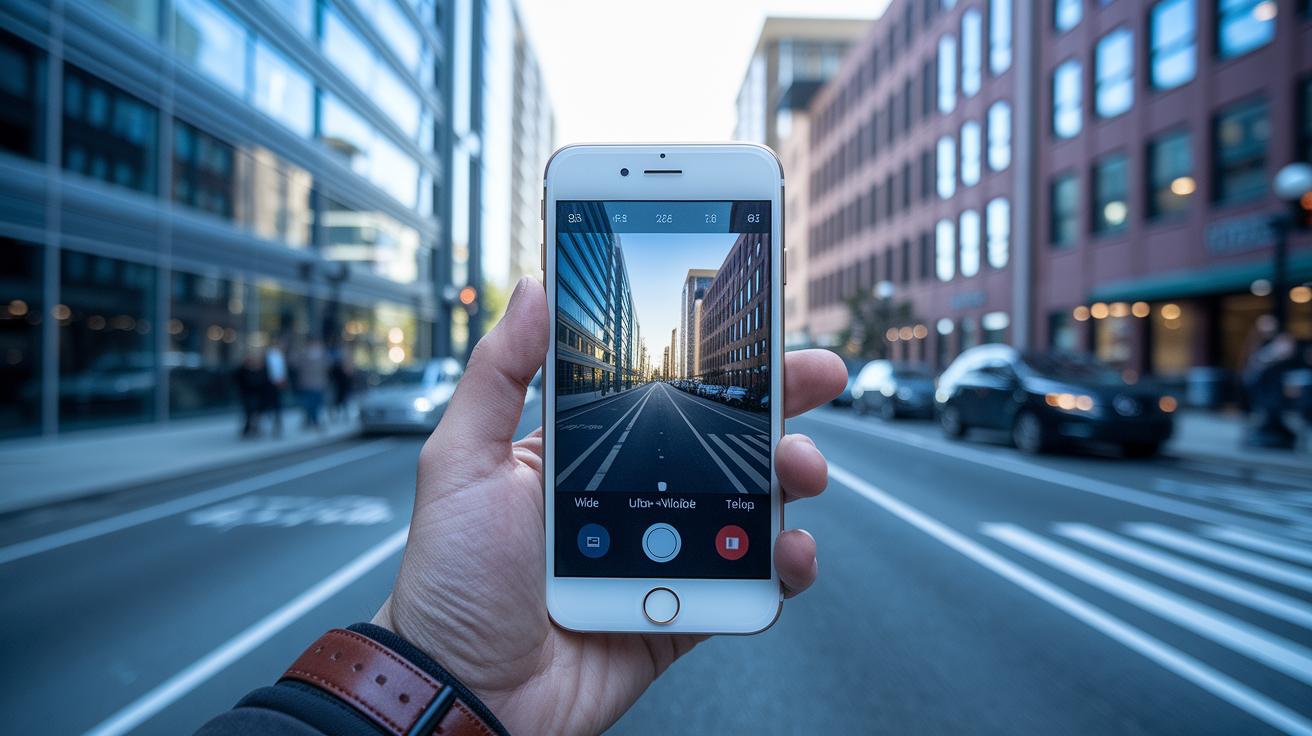
Smartphone camera apps let you tweak many settings to get the shot you want. They offer different lenses and controls so you can be creative even if you are just starting out.
Choosing the right lens: when to use wide, ultra-wide, telephoto
Most phones come with three lens options: wide, ultra-wide, and telephoto. For daily snaps or landscapes, the wide lens works best. If you want to capture a big scene like a crowded street or a group photo, try ultra-wide. The telephoto lens is great for zooming in on a subject without getting too close. Have you ever used telephoto to catch a friend's smile from a distance?
Controlling exposure and focus: tap-to-focus, exposure slider, HDR toggle
Tapping your subject makes your phone adjust focus and brightness automatically. You can also drag the slider to brighten or darken your shot, showing more detail in shadows or highlights. Many apps let you turn on HDR (high dynamic range) which helps even out bright and dark areas. Think about taking a photo at sunset; HDR can help capture both the glowing sky and the dim ground.
Utilizing shooting modes: portrait, night, panorama
Your phone’s camera often includes special modes. In portrait mode, the background blurs slightly to highlight your subject. Night mode brightens low-light scenes without needing a flash. Panorama mode strings several images together to form one wide shot. These options give you extra control to make every photo count.
Composition techniques for standout mobile photos
Good composition is what makes your photos memorable. It guides the eye and turns everyday scenes into engaging images. Even if you're new to photography, a smart setup makes your pictures look balanced and planned. Think of it like arranging items in a neat display where each piece has its own spot, so nothing distracts from the main subject.
Using these techniques helps you share a stronger story. When you know exactly where to put your subject and how to frame everything, even quick snapshots become lively scenes. It’s like setting up a little stage where every bit matters. A clear structure in your photos makes the image feel clean and invites viewers to check out every detail.
Here are some simple tips to try:
- Rule of thirds
- Leading lines
- Rule of odds
- Symmetry
- Framing within the frame
- Filling the frame
Each method plays a key part in shaping your vision. For instance, the rule of thirds moves your subject off-center for a natural flow. Leading lines draw the eye across the image while symmetry brings a sense of order. Using framing and filling the frame helps you decide how much background shows, keeping your subject in focus. With these tricks, even a basic shot can capture the moment just as you imagined.
Mastering lighting and exposure on your phone camera

Natural light is an easy way to snap clear, sharp photos. The soft glow during golden hour (right after sunrise or just before sunset) adds warm tones and gentle shadows that bring your photos to life. Shooting near a window gives you plenty of natural light, which helps keep details crisp and minimizes noise. Picture a scene bathed in warm sunlight, where every element is clear and inviting.
When the light is low, skip using your phone's flash. Flash can wash out your subject and create hard shadows. Instead, try switching to manual mode. This lets you control exposure, the amount of light your camera captures. For example, using a longer shutter speed (the time your camera sensor is open) on a still subject can boost light entry while keeping details sharp. A little tripod is handy here to keep your phone steady and avoid blur.
You can boost your shots with simple DIY lighting setups. Try backlighting to form dramatic silhouettes or place your light source to the side to add depth and texture. A reflector, like a piece of white cardboard or a light-colored sheet, can bounce extra light onto your subject, balancing the scene and making it pop.
Beginner-friendly editing apps and simple post-processing steps
Editing your photos after taking them can give your shots a real boost. With a few simple adjustments, you can fix issues like low light and uneven exposure. Changing the brightness, contrast, and color saturation helps clean up distractions like blemishes or stray shadows. This way, your casual snap truly captures the moment. It’s a fun way to find your own style and see what works best for different scenes.
Editing isn’t about making your photos look fake. It’s about highlighting what really matters. Quick fixes like a slight composition tweak or a crop can remove extra details, while deeper edits help you refine textures and balance colors. Whether it’s a portrait or a landscape, these changes bring clarity and show off the natural beauty of your subject. Plus, beginner-friendly apps offer clear controls and step-by-step options that make the process easy.
| App | Key Features | Cost |
|---|---|---|
| Snapseed | Selective adjust, healing tool | Free |
| VSCO | Filters, basic exposure/color controls | Free + in-app purchases |
| Lightroom Mobile | Raw editing, curves, profiles | Free + subscription |
Even small tweaks can lift your captures from good to great. A minor change in brightness or a simple crop can make an image feel more polished and true to life. It’s a reminder that with a bit of care and practice, every photo can tell a clearer, more engaging story.
Practice routines and creative ideas for novice mobile photographers
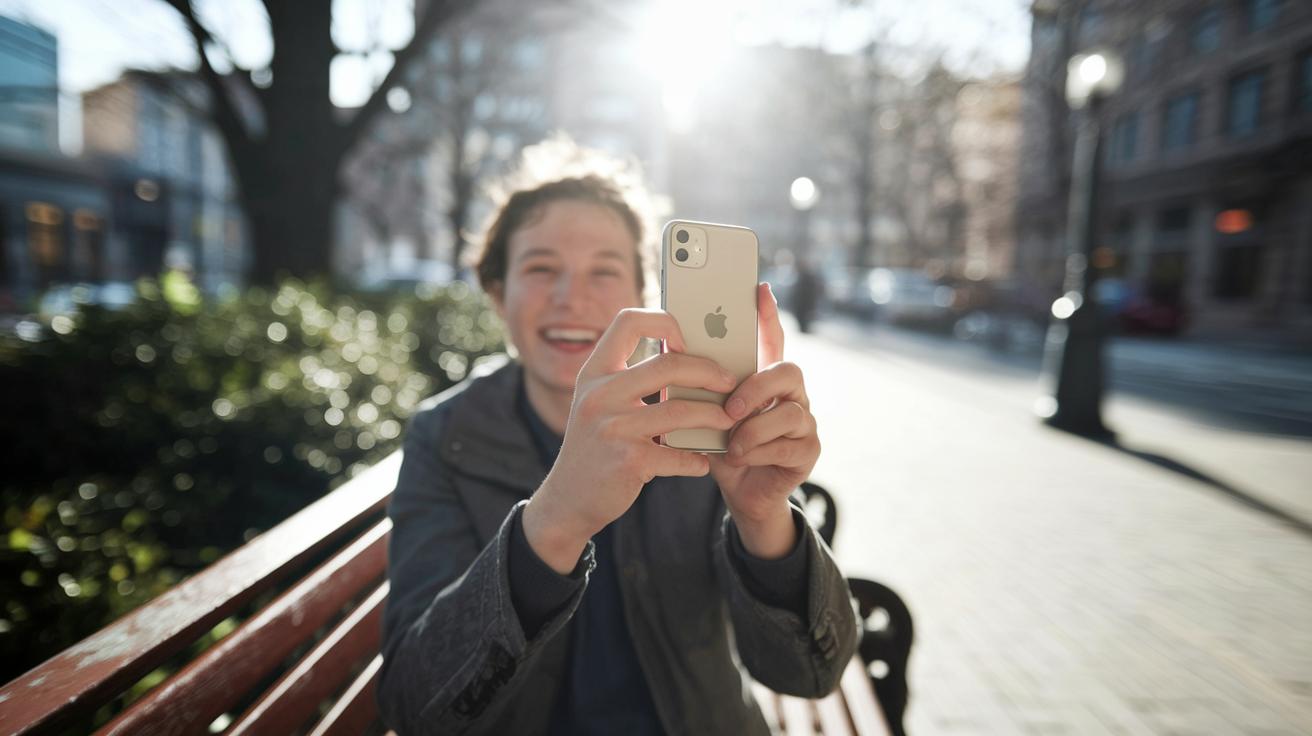
Taking pictures often helps you get better and feel more confident. By practicing, you learn your phone’s settings and start to notice cool light and angles in everyday scenes. Every photo you snap, whether it works out or not, adds to your know-how and inspires you to try something new. Over time, you’ll find it easier to experiment on the fly, capturing moments that might otherwise slip away.
Try setting a small challenge for yourself each day to keep things fresh and fun. One day, focus on portraits and catch genuine expressions from people around you. The next day, set up a close-up still-life shot to pick out tiny details. Then, experiment with silhouettes at sunset by using the soft, fading light. After that, explore urban textures to show the unique feel of city scenes. Finally, play with light trails in low light to see how motion can change your images.
Troubleshooting common issues in mobile photography
When your photos turn out blurry, it might be due to an unsteady hand. Try holding your phone with both hands or lean against something sturdy. If your phone has a stabilization feature, switch it on to help smooth out small shakes. A small tripod can also make a big difference.
In dark settings, photos often look grainy because the sensor picks up too much noise. If the scene is quiet but your picture still looks rough, lowering the ISO (which controls how sensitive your camera is to light) or using night mode might help. A slower shutter speed can also let in more light, but be sure to hold your phone steady or use a tripod to keep the image sharp.
Bright spots in your photo can lose detail if they’re overexposed. Lowering the exposure manually when you see washed-out highlights can bring back some detail. Using HDR (a setting that helps balance bright and dark areas) might also be useful. Sometimes, simply adjusting your angle or shielding the lens with your hand can keep extra light from blowing out your shot.
Direct light hitting the lens can create unwanted lens flare, which ruins a well-composed shot. To fix this, try changing your angle or moving relative to the light source. You can even block part of the lens with your hand. These little moves help keep your images clear and true to life.
Final Words
In the action, we broke down mobile photography for beginners into key sections. We explored why smartphones serve well as cameras and covered settings, composition, and lighting tips. We looked at editing apps that refine your shots and shared daily practice ideas to boost confidence. We also tackled common issues with practical fixes to enhance your captures. This guide aims to make mobile photography for beginners simple, hands-on, and fun. Keep experimenting, and soon you'll see the improvements in every shot.
FAQ
What does a mobile photography for beginners PDF offer?
A mobile photography for beginners PDF offers a handy guide with step-by-step instructions, sample photos, and tips on settings and composition to quickly build your skills using your smartphone.
What does a mobile photography for beginners app provide?
A mobile photography for beginners app provides interactive tutorials, practical tips, and easy-to-follow settings guides that help new photographers quickly learn how to capture great images with their phone.
Are free mobile photography courses available online?
Free mobile photography courses and resources online provide step-by-step lessons, practical exercises, and expert tips to help you master basic camera settings, composition, and editing—all at no cost.
What are the best mobile photography options for beginners?
The best mobile photography options for beginners include user-friendly apps, detailed guides, and online courses that focus on essential techniques, helping you learn to shoot, compose, and edit photos with ease.
What are some creative mobile photography ideas?
Creative mobile photography ideas involve experimenting with different angles, exploring natural lighting, capturing textures or silhouettes, and using various shooting modes to bring a fresh, artistic perspective to your images.
What is professional mobile photography?
Professional mobile photography means using your smartphone to capture high-quality images that rival those from traditional cameras by mastering settings, composition, and editing for a polished, magazine-quality look.
What does the 20 60 20 rule in photography mean?
The 20/60/20 rule in photography suggests dividing a scene into segments to balance subject placement and background details, guiding you to compose images with more visual appeal and balance.
Why turn the phone upside down for photos?
Turning the phone upside down for photos can change your perspective, create striking symmetry, or balance the composition, offering a creative twist that may result in a more engaging image.
What is the 3:1 rule and what are the general rules of mobile photography?
The 3:1 rule means balancing visual elements with a 3-to-1 ratio, while general mobile photography rules focus on careful composition, proper lighting, and stable settings to ensure clear and dynamic shots.