

Have you ever noticed that your mobile snaps sometimes feel flat? It might be that you rush the shot instead of planning it out. Good mobile photography is more than a quick snap. It means setting up each shot so that the framing (how you arrange the scene), light, and viewpoint work together for clear, balanced photos. In this guide, you'll find simple tips to help turn everyday scenes into standout images. Get ready to look at your mobile camera in a new way and add a creative touch to every picture you take.
Essential Mobile Photography Composition Fundamentals
Mobile photography isn’t just about taking quick snaps. It’s about planning your shot. By thinking ahead, you can create photos that are balanced and clear, turning everyday moments into art.
We focus on four basics: framing, balance, light, and perspective. Nail these, and even a quick shot can pop.
- Turn on the grid and use the rule of thirds – For instance, on an iPhone, go to Settings > Camera and toggle the grid. This lines up your subject with the crossings for a balanced look.
- Picture your shot first – Spend a moment visualizing your layout to sidestep careless errors.
- Keep your subject clear – Use a simple background so your main point stands out.
- Use natural light instead of flash – Natural light gives a softer, more real tone. Flash can make things look flat.
- Experiment with angles – Find a fresh angle to add depth and interest to the scene.
Following these steps transforms your photo-taking. When you plan your shot, use good light, and pick a strong angle, your photos become engaging and thoughtfully composed.
Advanced Framing Techniques in Mobile Photography
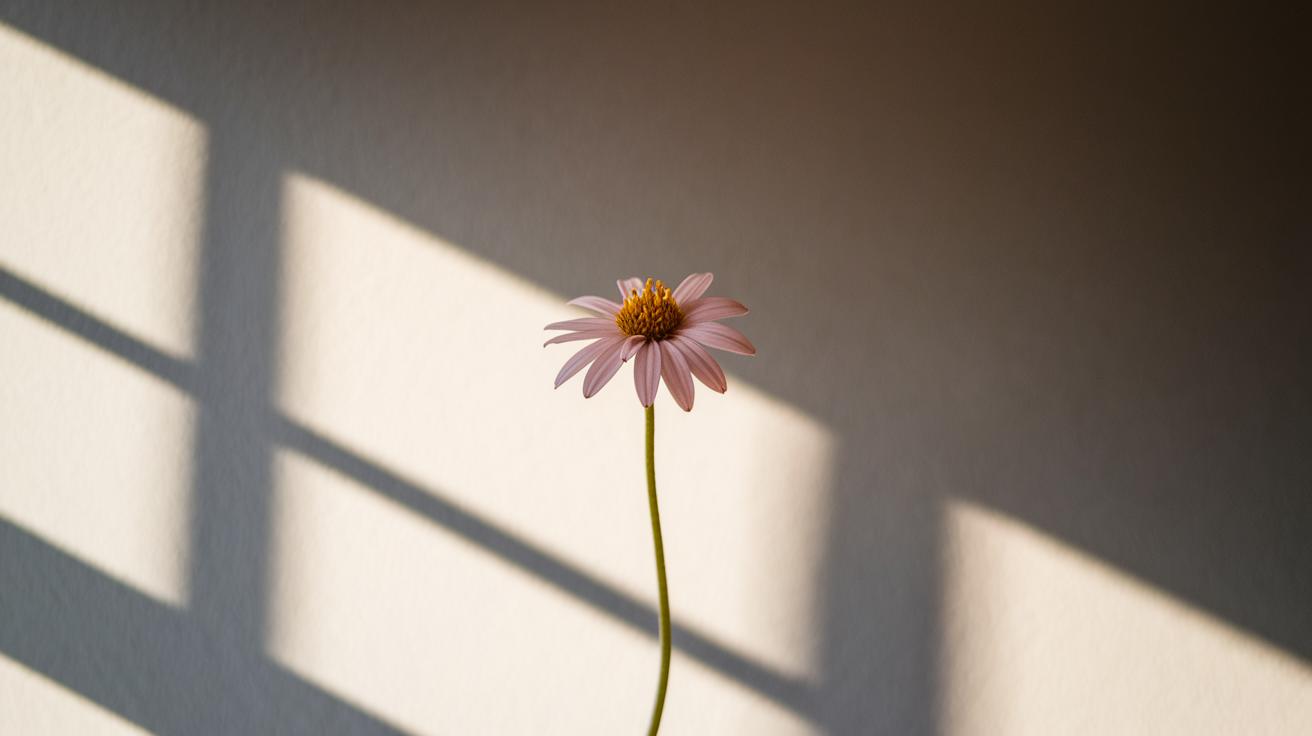
Framing turns simple moments into vivid stories. It is more than just pointing and clicking. With the right framing, even a plain subject grabs your attention and reveals small details that might otherwise be overlooked.
Minimal Subject, Clean Background
When you focus on one subject against a plain backdrop, you remove the clutter. Picture a single flower against a simple wall; the bloom becomes the star of the shot. This clear view helps the subject stand out with no distractions.
Play with Shadows
Shadows add depth and mood to your photos. When the sun is low, long shadows create guiding lines and a natural feel. Imagine a sunny day where patterns form on the ground from your shadow. Such moments can make an everyday scene feel special.
Shapes, Textures & Patterns
Adding shapes, textures, and patterns makes a photo more interesting. The brick pattern on a wall or the rough bark of a tree gives structure to your image. These elements add a balanced and dynamic feel to your shots.
Subframing Techniques
Using natural frames like windows, doorways, or arches can really emphasize your subject. With subframing, you create a little scene inside a scene. For example, shooting through an arch draws focus to a figure in the street in a fresh way.
Mixing these techniques can help you create one-of-a-kind pictures. Try pairing a clear subject with dramatic light and shadow, or add texture and natural frames to guide the eye. Experiment often and let these simple ideas lead you to impressive shots every time.
Grid Alignment & Rule of Thirds for Mobile Composition
Grid lines on your phone help you snap well-balanced photos. They act as simple guides to keep the horizon straight and your subject in place. Both iPhone and Android let you turn on these aids, so you can line up key parts of your shot with ease. The rule of thirds means putting important parts of your scene where the grid lines cross. This makes your shots look natural and interesting. It changes an ordinary snap into a thoughtful image. With practice, you'll start to see balance and symmetry even when you're taking quick pictures.
| Composition Rule | How to Apply on Phone | Example |
|---|---|---|
| Rule of Thirds | Turn on the grid and place your subject where lines intersect | Portrait moved to the right |
| Odd-Number Grouping | Frame groups of 3 or 5 items | Three flowers in the bottom third |
| Leading Lines | Align roads or rails along the grid lines | Diagonal path starting at the corner |
Practice these grid techniques until they become second nature. Soon, lining up your shots will feel instinctive, letting you capture dynamic images even when you're on the move.
Depth & Perspective Techniques for Mobile Photography

Even on a small phone screen, adding depth can make a big difference. It pulls the viewer into your scene and gives your photos a real three-dimensional feel. By layering different parts of your shot, you can turn a basic snap into something that really pops. I’ve found that trying different distances and angles helps break the flat look that phone pictures often have.
- Place an out-of-focus object in the front to give your photo a sense of depth.
- Frame your main subject through another element like an arch.
- Use lines that lead the eye into the scene to create distance.
- Change your shooting height by crouching low or shooting from above.
Taking a closer look at your surroundings can help you find natural layers. Look for things in the front, middle, and back of the scene. This method not only adds dimension but also helps you tell a richer story with your photo. Even a slight change in angle or height can change the whole look of the picture. Keep moving around until you see the perfect natural layers. Every scene might not give you a perfect setup, but mixing these tips can turn any view into something dynamic. Practice these tricks until they become second nature. Soon, your mobile pictures will have a clear, lifelike feel that stands out.
Natural Light & Shadow Composition Hacks for Phone Photography
Natural light is free and packs a punch when snapping photos on your phone. The best light comes during golden hour (when the sun is low and soft) or blue hour (when the sky gives off a cool vibe). These times add a gentle warmth or a cool tint that makes your shots feel alive. No flash needed, natural light brings out rich textures and details without flattening your subject. It sets the mood and adds a real sense of depth to your photos.
Try out creative angles and smart framing. It helps you catch bold shadows and clear lines that make your photos stand out.
- Snap during golden or blue hour for naturally warm or cool hues
- Place the light source to one side to boost texture
- Use backlighting to shape dramatic silhouettes
- Look for light filtering through leaves to capture playful patterns
- Angle your shot into direct light to create a natural lens flare
Even the best natural light can be tricky sometimes. If your phone lets you adjust the exposure, use it to balance the bright highlights and deep shadows. Tweak your settings to keep details visible in both light and dark areas. A little adjustment goes a long way in making sure your photo tells the right story.
On-the-Go Editing & Planning for Mobile Composition Refinement

Editing on your phone right after you take a picture helps catch mistakes early. When you review your shots instantly, you learn what works in your framing and what doesn't. Mobile apps give you simple tools like crop guides, angle fixes (to straighten tilted lines), and grid overlays to clarify your photo's layout. This makes it easier to spot areas that need a little tweaking and helps you get a better feel for framing that perfect shot.
- Use the crop tool with a rule-of-thirds grid to reframe your picture.
- Straighten horizons and fix any slanted lines.
- Adjust bright and dark areas to add depth.
- Save your favorite settings so your shots have a consistent look.
- Sketch your shot layout or add notes before you press the shutter.
Following these steps often builds a habit of planning your shots on purpose. With practice, you not only sharpen your skills but also feel more confident in making quick adjustments. Reviewing your edits deepens your understanding of light, balance, and perspective with every new photo.
Final Words
In the action, we broke down key ideas to upgrade your phone images. We tackled essential fundamentals like framing, balance, light, and perspective. We also shared practical steps with grid alignment and the rule of thirds, depth cues, and natural light hacks.
We wrapped up with on-the-go editing and smart shot planning suggestions. With mobile photography composition tips in hand, you can turn everyday snaps into thoughtful, engaging photos. Enjoy putting these ideas to work and see your creativity grow.
FAQ
What are the best mobile photography composition tips?
The best mobile photography composition tips use grid lines for the rule of thirds, planned shot techniques, subject isolation, natural lighting, and varied angles to create balanced and dynamic mobile photos.
What are the key photography composition rules and advanced techniques for mobile shots?
Key photography composition rules include grid alignment, the rule of thirds, and ratios like the golden ratio. These guidelines help balance framing, isolate subjects, and add depth for engaging mobile images.
What is a photography framing guide and how does the golden ratio apply to mobile photography?
A photography framing guide shows how to arrange scenes using minimal subjects, shadow play, and natural frames. The golden ratio is a tested formula that aids in placing subjects to achieve a pleasing and balanced layout.