
Ever wonder if your iPhone can snap photos that look like a pro took them? iPhone photography is more than just pressing a button. It’s about using simple tools like the grid (which helps you line up your shot) and keeping your lens clean. In this guide, I'll show you how to lock focus and exposure and use Portrait mode to add a cool sense of depth. We break down easy steps that turn everyday moments into eye-catching photos. Ready to boost your iPhone photography skills?
Mastering iPhone Photography Fundamentals

Keep your gear in top shape. Wipe your lens with a microfiber cloth every day to get rid of smudges that can blur your photos. Also, turn on the grid in your camera settings to help you use the rule-of-thirds for a balanced look.
Lock focus and exposure so your shots stay steady, even when the light changes. This small step means you won't have to adjust settings mid-shot. If lighting seems tricky, locking these settings can really save the moment. And if you have an iPhone 13 Pro or later, try out its different lens options (.5×, 1×, and 3×) to capture fresh angles.
Use Portrait mode to add depth to your photos. Adjust the blur slider (up to f/1.4) to smooth out the background and give your images a professional feel. Then, head over to the Adjust tools to fine-tune exposure, brightness, shadows, contrast, and saturation. For extra control, switch to Filters and Crop to perfect your composition.
Here's a simple checklist to get the best out of your iPhone camera:
- Clean the lens every day
- Turn on the grid overlay for better framing
- Lock focus and exposure in changing light
- Experiment with different lens options if available
- Use Portrait mode's blur slider for depth
- Refine your images with Adjust, Filters, and Crop
Don't forget useful accessories. A tripod with a center-column mount helps steady your shots. A Bluetooth remote shutter cuts down on shaking, foam-board diffusers offer soft lighting, and a portable charger lets you keep shooting longer.
Composition Techniques for iPhone Photography
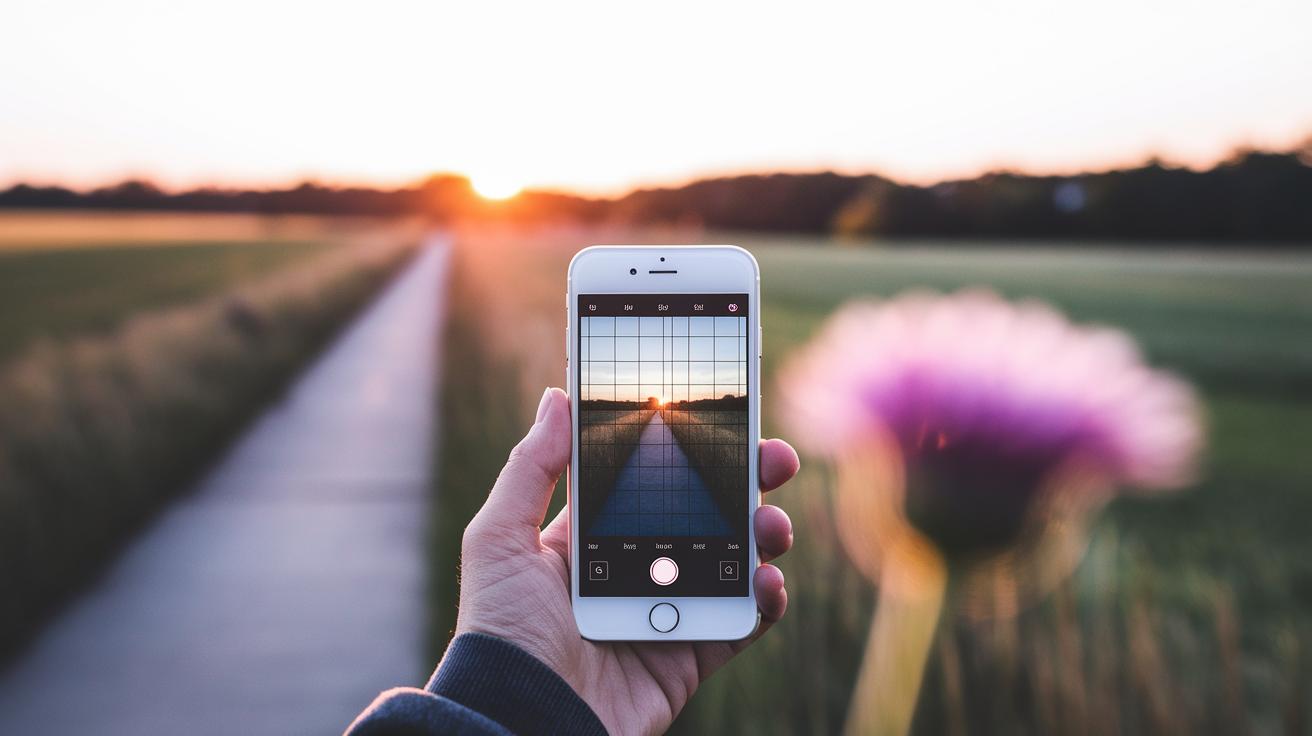
Your iPhone’s grid overlay is a handy tool for better framing. When you turn it on, the screen splits into nine squares. This helps you place your subject off-center, which makes your photos more interesting. Using features like leading lines (trails or edges that draw the eye), symmetry, and empty space guides the viewer naturally. Have you ever noticed how a long walkway leading to a sunset pulls your focus toward the horizon?
Adding layers by mixing foreground and background elements gives your photos extra depth. For example, try taking a picture of a flower up close, with a gently blurred landscape in the background. Look for natural frames like doorways or clusters of leaves; these elements help isolate your subject and create a balanced look.
Don't be afraid to try different angles. Shoot from above, below, or even at eye level to see which view tells your story best. And a little tip: steer clear of digital zoom. It can make your image look less clear, so it's better to physically step closer to what you're shooting.
Here are some simple tips to boost your photography:
- Enable the grid overlay to use the rule of thirds.
- Use leading lines, symmetry, and negative space to direct the eye.
- Blend foreground and background elements for a three-dimensional feel.
- Frame your subject using natural features like doorways or greenery.
- Experiment with various angles and avoid using digital zoom.
These techniques turn everyday scenes into captivating photos you can be proud of.
Choosing the Right Lenses and Accessories for iPhone Photography
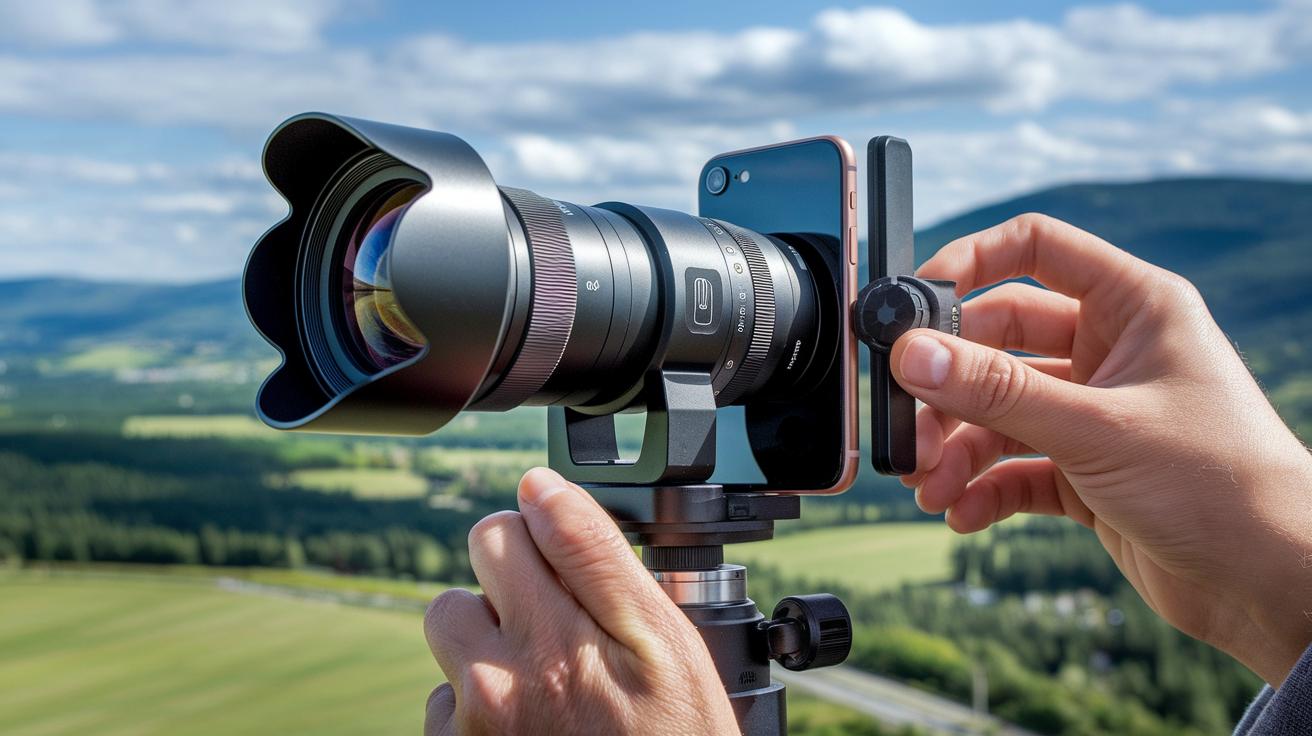
When it comes to snapping great photos with your iPhone, the right lenses and add-ons can make all the difference. Attach wide-angle and macro lenses (lenses for broad scenes and close-ups) to your phone with precision mounts to capture sharp details in landscapes and intricate close-ups. Telephoto lenses, which offer 2–3× optical zoom (zoom that uses real glass to keep details clear), help you get clear pictures of far-off subjects without moving closer. You can start with a 3-in-1 clip-on lens kit for around $30 to $60, or choose a premium glass set for about $80 to $120. Both choices give you extra creative control, so think about your style and budget.
Staying steady is key. Mini tripods, which weigh about 150 grams and fold down to roughly 8 inches, are great for quick setups when you need extra stability. Handheld gimbals (battery-powered devices that keep your phone steady) weigh close to 300 grams and smooth out your video even when you’re moving around.
Another handy tool is a Bluetooth shutter remote. This lets you take a picture without touching your phone, which is perfect for long exposures where even a tiny shake can blur your image.
- Choose a lens kit that meets your budget and fits your shooting style.
- Use a mini tripod or gimbal for stable shots.
- Try a Bluetooth shutter remote for sharper pictures.
Each of these options can help you take clearer, more controlled photos by enhancing the natural strengths of your iPhone camera.
iPhone photography: Stunning Tips for Perfect Shots

Portrait mode is a fun way to make your photos pop. It uses depth mapping (which tells the camera what’s near and far) so the background gets a soft blur. You can slide the bokeh control up to f/1.4 to give your picture a smooth, professional look. For example, if you’re snapping a friend’s photo in a park, a bit of blur in the background makes the subject really stand out.
Night mode kicks in when lighting is low, below 30 lux. It takes longer exposures, from 1 up to 30 seconds, depending on the light you have. To avoid any blur during these long shots, use a tripod or find a steady surface for your phone. Picture capturing a cityscape at dusk; steady support keeps the details clear in both shadows and highlights.
If you want a long exposure effect without extra gear, try using a Live Photo. After you snap it, apply the Long Exposure effect in the Photos app. This trick works great for silky waterfalls or smooth trails of traffic lights in city scenes, adding a creative twist to your photos without needing professional equipment.
When shooting in low light, the phone might bump the ISO (the camera’s sensitivity setting) up to 3200, which can add noise. Keep your phone as steady as possible and avoid digital zoom over 2× to help keep your images sharp. Also, you can use Time-Lapse mode; it records at 30 frames per second for various durations, making it a fun way to capture sunsets or busy street scenes with a lively feel.
Key tips:
- Use Portrait mode with the bokeh slider to highlight your subject.
- Rely on a tripod in Night mode for longer exposures.
- Transform Live Photos into long exposure shots for creative effects.
- Keep the phone steady in low light and stick to minimal digital zoom.
- Experiment with Time-Lapse mode to capture dynamic movement.
Top iOS Camera Apps and Editing Tools for iPhone Photography
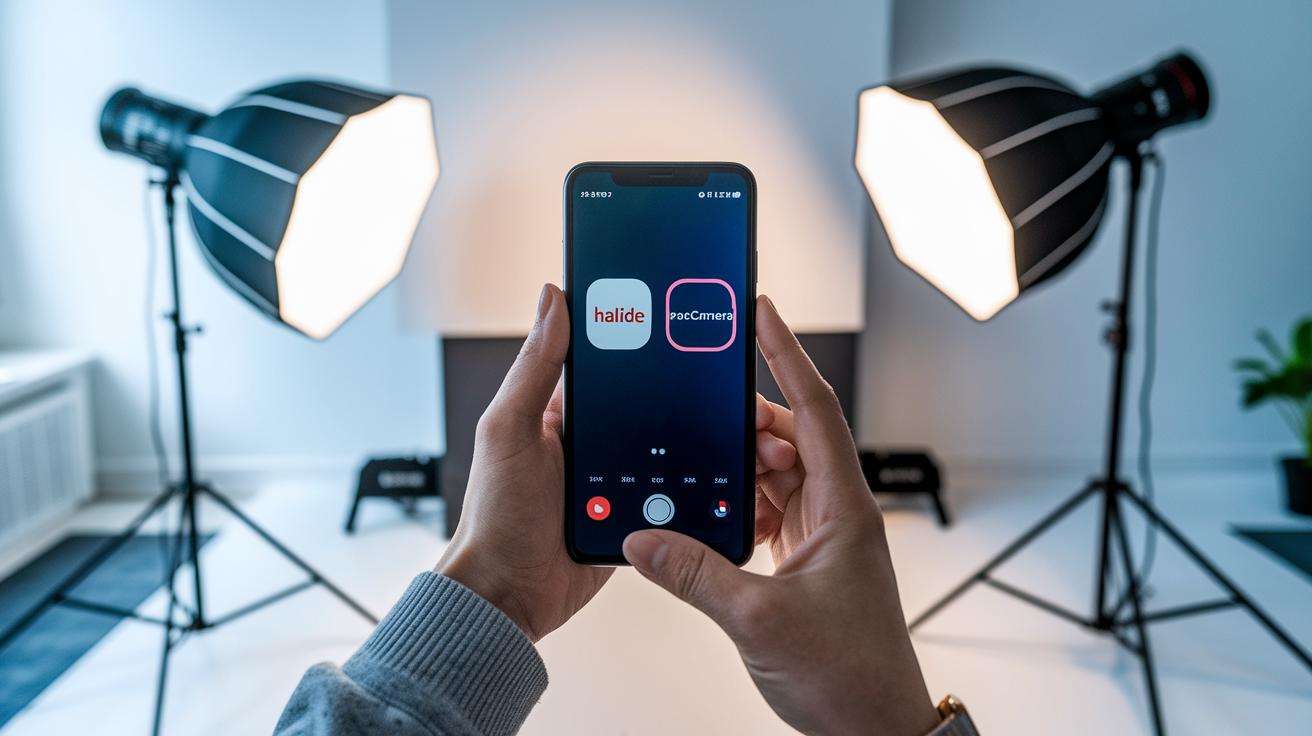
If you need full control over your photos, Halide and ProCamera are great options. They let you adjust ISO and shutter speed and even shoot in RAW (an uncompressed photo format). Halide runs about $8, and ProCamera is roughly $7. These features help you handle various lighting situations and give you more options when editing later on. For those who want extra help with composition, Moment Pro Camera comes in at about $10 and offers handy framing guides.
Adobe Lightroom Mobile is another favorite when you’re on the go. Its free version covers the basics like exposure, brightness, and contrast. If you upgrade to the premium version (around $10 a month), you get more advanced tools and can even edit photos in batches. Plus, its cloud sync keeps your adjustments consistent across your devices.
Snapseed is a strong free option that brings a solid set of tools. It includes features like Healing and Details to fix small flaws and enhance textures. Since Snapseed works locally on your device, you never have to worry about uploading your images to the cloud.
VSCO costs about $20 per year and offers film-style filters that give your photos a creative, artistic vibe. Its presets are perfect for those who want a unique look without a lot of fuss.
Key points to note:
- Halide, ProCamera, and Moment Pro Camera focus on manual controls and detailed settings for capturing photos.
- Adobe Lightroom Mobile excels in editing and batch processing, with cloud sync for smooth work across devices.
- Snapseed gives you robust, on-device editing tools.
- VSCO delivers creative filters that add a stylish, film-like feel.
Each app plays its part in the photography process, so you can mix and match based on your shooting style and editing needs.
Post-Processing Tips for Stunning iPhone Images
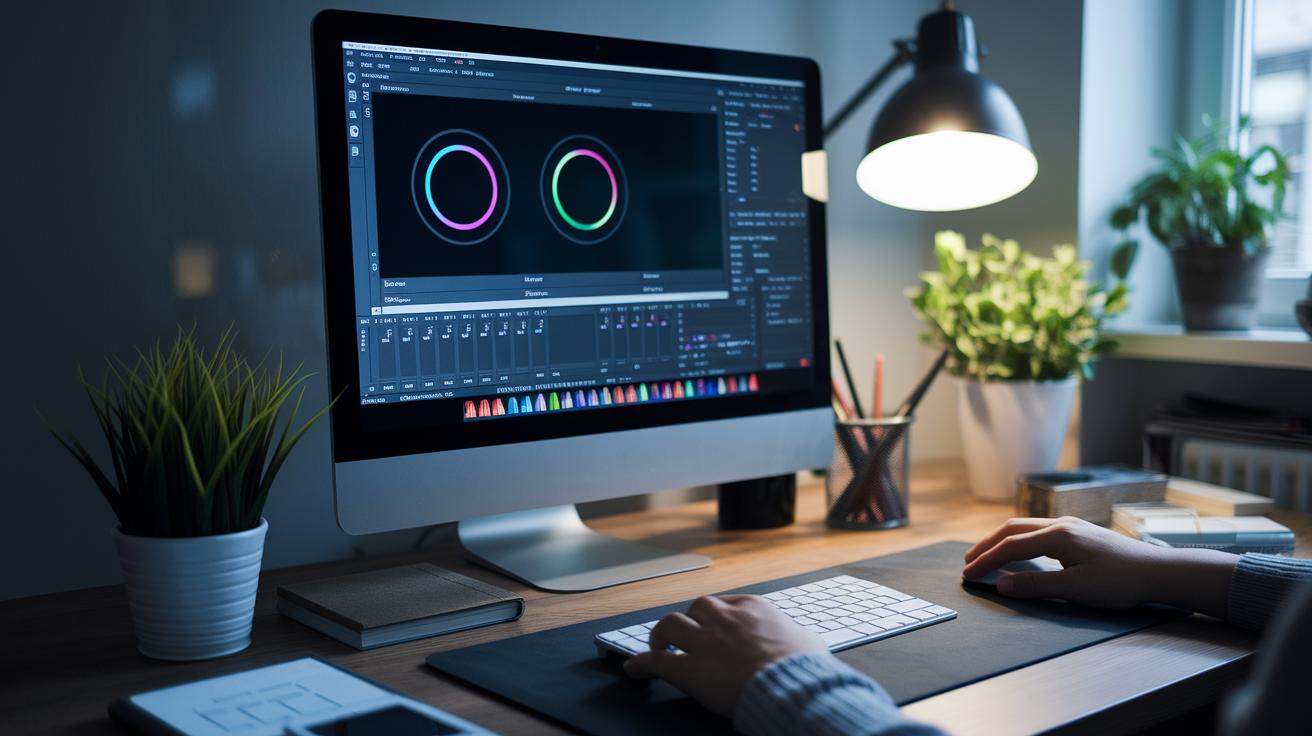
Begin your edits with the Adjust tool. Tweak the exposure by about one stop (plus or minus) to set the right brightness. Then, boost the contrast by around 10 to 20 percent to add some punch. Fine-tuning the highlights and shadows helps bring balance and more detail to your shot. For example, a dark scene can come alive with a small push in exposure and contrast.
Next, open the Curves tool and lift the mid-tones by about 10 percent. This little change makes your image really pop by showing extra details in the bright and dark areas. If your photo was taken in low light, dial in noise reduction up to 50 percent to cut down on grain and sharpen the image.
Keep your shot clean by cropping it to a 4:5 ratio, which works great for Instagram posts. Adding a subtle vignette (about a 10 percent adjustment) will help steer the viewer’s eye to the main subject without taking away from the image. Finally, export your photo at 100 percent quality so every edit is captured. This makes sure your iPhone images measure up to DSLR photos.
| Adjust exposure, contrast, highlights, and shadows. |
| Lift mid-tones with the Curves tool (+10%). |
| Apply noise reduction up to 50% in low light. |
| Crop to a 4:5 ratio. |
| Add a subtle vignette (around -10%). |
| Export at 100% quality. |
Creative iPhone Photography Projects and Inspiration

Set up weekly challenges to spark your creativity. One week, try capturing reflections; the next, focus on shadows or different color moods. This keeps your photos fresh and helps you develop a unique style. For a fun challenge, try a 30-day time-lapse. Place your iPhone in the same spot each day and watch how the clouds and colors change.
A Moment Macro Lens is a handy tool for showing off textures. It helps you see small details in leaves or fabric that you might miss otherwise. Check out the “Shot on iPhone” posts for tips on framing and lighting. They can give you new ideas for angles and setups.
Here are some ideas to get started:
| Idea | Description |
|---|---|
| Weekly themes | Focus on reflections, shadows, or color moods each week |
| 30-day time-lapse | Record the sky daily to capture subtle changes |
| Macro lens use | Document textures like leaf patterns and fabric details |
Join communities like Reddit’s r/iphonography to share your work and get feedback. Talking with other photographers can lead to new ideas and help you grow your portfolio.
Final Words
In the action, we broke down how to clean lenses, lock focus, and apply grid lines to nail your shot. We covered smartphone shoot settings, lens choices, and creative projects to boost your iPhone photography skills.
Our guide kept details practical, from editing tweaks to accessory tips. We hope the tips help you save time and avoid costly mistakes. It’s all about capturing your best moments with clear, real-world steps in mind. Cheers to more confident shots ahead!
FAQ
What is an iPhone photography course?
An iPhone photography course offers step-by-step instructions on shooting and editing with an iPhone. It covers essential techniques, settings tweaks, and composition strategies to help you capture professional-looking photos.
What do iPhone photography tutorials cover?
iPhone photography tutorials explain both basic and advanced shooting methods. They show how to adjust settings, use composition tricks, and employ editing tools to enhance your mobile photography.
What is featured in an iPhone photography gallery?
An iPhone photography gallery displays a variety of images taken with an iPhone. It provides inspiration through creative compositions, effective use of lighting, and examples of editing tricks.
What information do iPhone photography PDFs provide?
iPhone photography PDFs offer a handy guide with tips on shooting techniques, recommended settings, and composition advice. They serve as a quick reference for improving your iPhone image quality.
What is an iPhone photography case?
An iPhone photography case is a protective accessory designed to support your mobile shooting needs. It often includes features that improve grip or allow mounting additional accessories for steadier shots.
What iPhone photography settings improve image quality?
iPhone photography settings that boost image quality include enabling the grid for rule-of-thirds framing, locking focus and exposure for consistency, and choosing modes like Portrait or Night for optimal results.
What are iPhone Photography School reviews saying?
iPhone Photography School reviews highlight clear, practical lessons with real-world tips. Users appreciate the step-by-step guidance that helps them enhance their shooting techniques and photo composition.
How is iPhone photography discussed on Reddit?
iPhone photography on Reddit involves real user experiences, tips, and creative project ideas. Members share honest feedback on gear and techniques, making it a lively forum for improving your skills.
How can I take professional pictures with my iPhone?
Taking professional pictures with your iPhone means cleaning your lens, using grid overlays for better framing, locking focus and exposure, and selecting a mode like Portrait to add depth to your shots.
Which mode is best in iPhone photography?
The best mode depends on your scene. Portrait mode provides great depth effects, Night mode works best in low light, and Live Photo Long Exposure offers creative motion effects.
Is the iPhone good for photography?
The iPhone is good for photography as it packs advanced camera features, multiple shooting modes, and built-in editing tools. This setup makes it capable of capturing high-quality images that rival dedicated cameras.
What is the 20 60 20 rule in photography?
The 20 60 20 rule in photography guides balanced composition by focusing 60% of the frame on the subject while leaving 20% on each side to support visual context with background or foreground elements.