

Have you ever thought about making your home work smarter for you? Home automation could be the answer. Some folks choose to hire experts for a setup that is well-tested and smooth. Others prefer a DIY approach to keep costs low.
We break down the main benefits and the trade-offs. On one hand, a professional setup can save you time and reduce hassle. On the other, building your own system gives you full control over the details.
This guide looks at cost, ease of use, and control. It helps you decide which method fits your needs best. Smart living might be simpler, and closer, than you think.
Comparing Professional and DIY Home Automation Installation Solutions
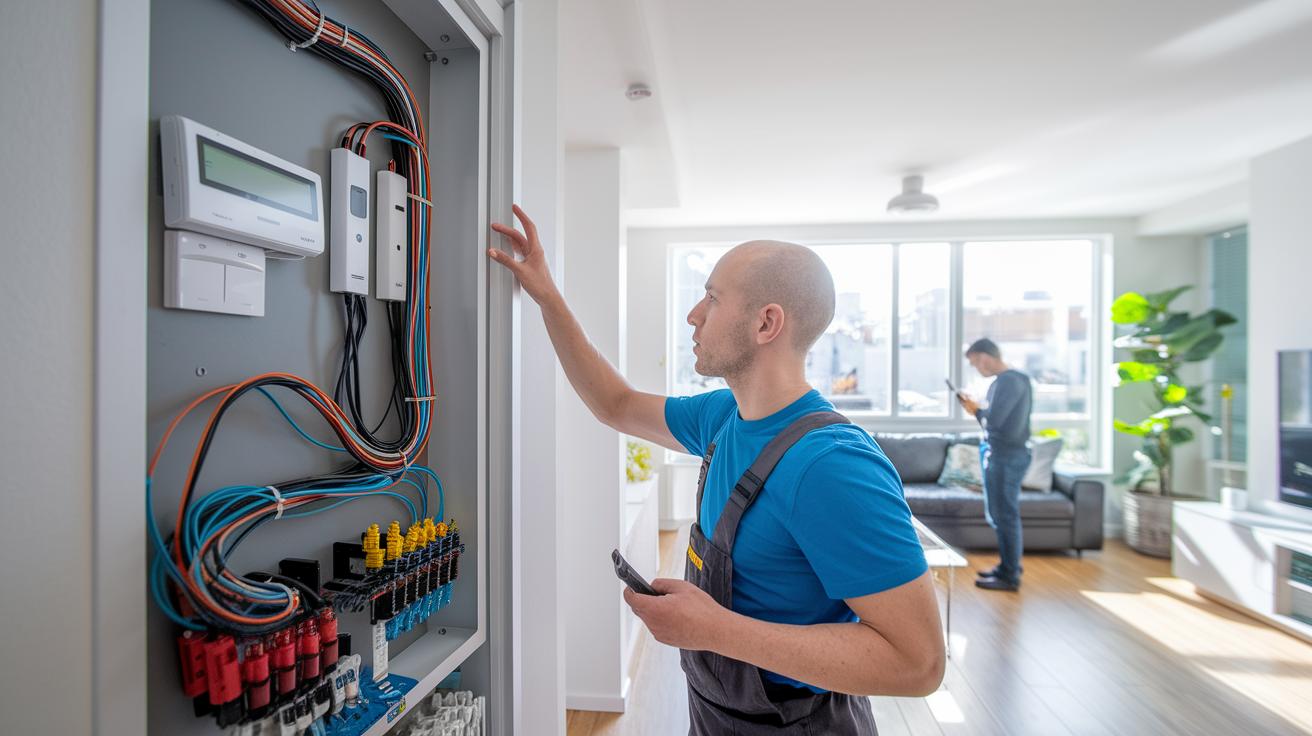
Professional installation means your smart home system is built by experts. They handle everything from hooking up smart lights, thermostats, cameras, and locks to testing them so they all work together. They use the right tools and know-how to set up different areas like networking, lighting, security, and entertainment. They also build a strong network that supports protocols (rules for device communication) such as Wi-Fi, Zigbee, Z-Wave, and Bluetooth. For example, one service built a system that kept steady connections across multiple rooms even during heavy network use.
DIY smart home setups can be a cost-effective choice if you're comfortable with technology. You buy a kit that includes a hub, sensors, and smart devices and add parts as you go. You might start with smart lighting in key rooms and later add thermostats and locks. DIY gives you full control over your choices, but it can come with a learning curve. Troubleshooting to make all parts work in sync can take extra time and research.
Your choice depends on your comfort with tech and what you need from your system. Consider these points:
- Professionals offer smooth integration with fewer errors.
- DIY systems cost less upfront and let you customize your setup.
- Professional setups are tested for security and network performance.
- DIY is ideal for non-critical setups like basic lighting or entertainment.
Both methods have their trade-offs. DIY might save you money but can lead to some inconsistencies, while professional installations promise reliable performance across all devices. Think about the size of your project and the complexity of your needs. If you want a system that works right away in every key area, professional installation might be the best investment over time.
Home Automation Installation Elevates Smart Living
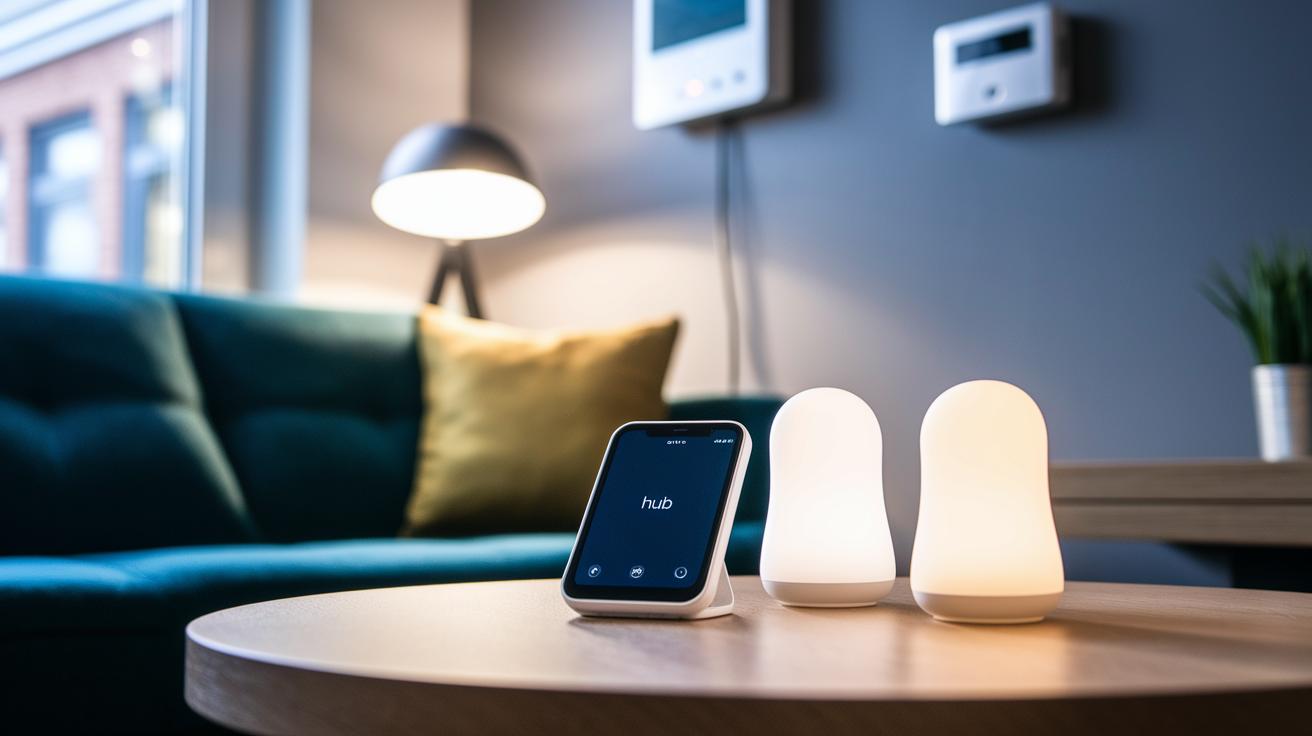
Getting your smart home up and running starts with good planning. First, decide what you want to improve, security, saving energy, or just making life easier. Begin with a smart home hub (a controller that links all your devices) like the one we often recommend. This hub connects things like smart lights, thermostats, locks, cameras, and sensors so they can all talk to each other.
Next, make sure you set up a reliable network. Walk through your home and check that every room gets a strong Wi-Fi signal. Your system should work with protocols such as Wi-Fi, Zigbee, Z-Wave, and Bluetooth. When you install smart lights or sensors, test the connection in different spots to avoid areas with weak signals.
Also, pay attention to device compatibility. Write down the devices you plan to use and check they work with your hub. For example, include smart thermostats for energy control and security cameras for monitoring. Map out each room’s needs and even sketch a wiring diagram if you have to. This helps manage the electric load and makes it easier to add more devices later.
Finally, test each item before you finish your setup. This hands-on check makes sure your devices work well together. A careful, step-by-step installation leads to a home that is reliable, quick to respond, and truly smart.
Professional Home Automation Installation Services: What to Expect
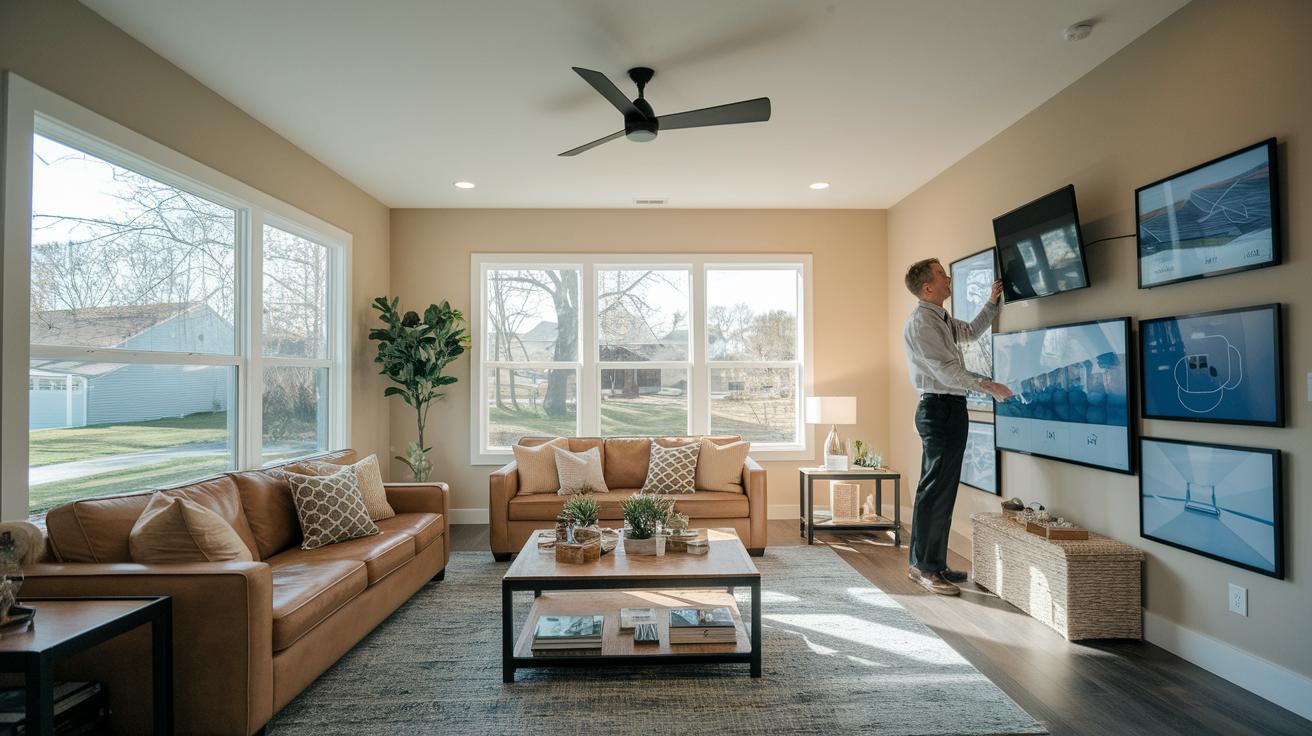
When you choose professional installation, you get a full package that builds a smart, connected home. Certified technicians set up your network so your smart lights, thermostats, cameras, and locks all work together. They also install lighting controls that adjust brightness and color in each room. Plus, they set up cameras and access controls to help keep your home safe. Motorized shades add a modern touch and help manage natural light, while whole-home audio and theater systems turn your space into a fun entertainment zone.
Skilled experts in places like Atlanta, Marietta, Decatur, and Roswell provide solid, reliable service. One installer mentioned, "Our detailed wiring plan kept a strong network signal in every room of a large house." This careful plan cuts down on issues and makes fixing problems much simpler.
Certified pros review every project closely. They handle planning before the work begins, test each device in detail, and offer support after installation. You can count on regular system checks and timely software updates to keep everything running smoothly.
- Certified experts on the job
- Tailored installation for your home
- Continuous technical support and maintenance
Choosing professional home automation services means you get a system built for precision, reliability, and peace of mind.
DIY Home Automation Installation Guide and Best Practices
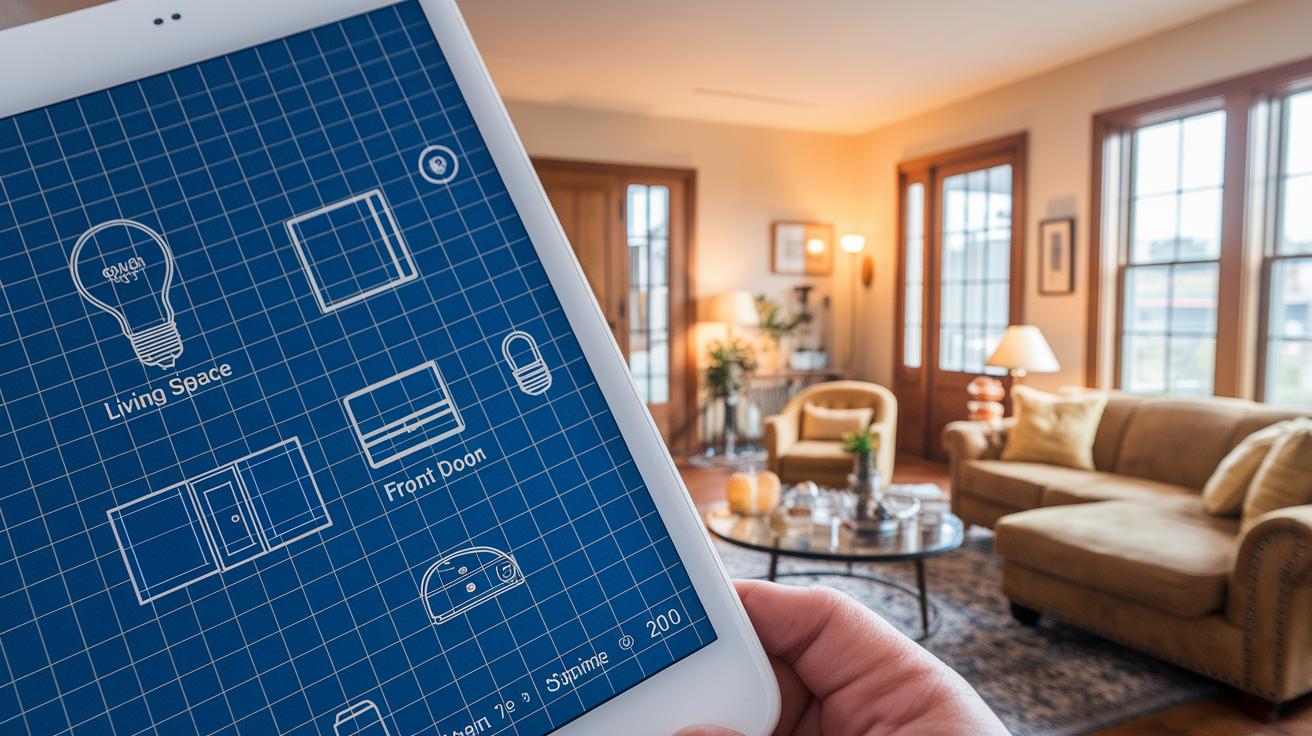
Start by drawing a simple map of your home to plan where each smart device will go. Think about which rooms need brighter lighting or extra security. For an easy start, try a smart bulb or a door sensor. For instance, put a smart light in your living room and a sensor by your front door.
Next, get ready for a hands-on setup by following these steps:
- Plan device placement. Draw a basic floor plan or write down key spots. This helps you avoid areas with weak Wi-Fi and makes sure your devices can talk to each other.
- Install the hardware. Securely mount your smart devices on walls or shelves and connect them to a power source.
- Connect devices to your central hub. Use a smart home hub (a controller that links your devices) to keep everything working together. For more details, check out the getting started guide at https://circuitcritics.com?p=226.
- Set up automation routines. Create routines like turning on lights at dusk or adjusting the thermostat when you leave.
- Test the system. Walk around your home and trigger each device to make sure everything works as planned.
This step-by-step guide helps tech-savvy homeowners learn smart device installation and control their lighting and security systems easily.
Home Automation Installation Cost Analysis and Pricing Guide
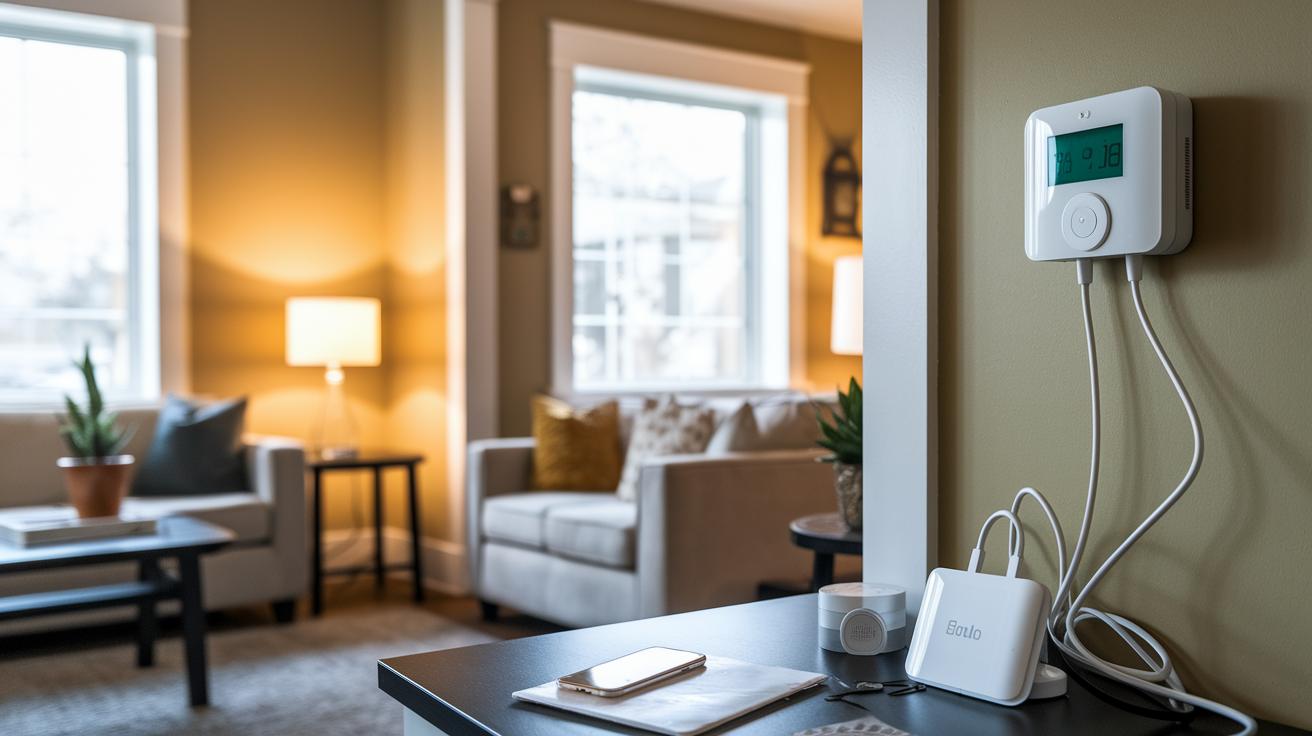
When upgrading your home with smart gadgets, it's important to know where your money goes. Devices can cost anywhere from $20 to $250. For instance, a basic sensor may run you around $20, while a top-tier smart thermostat might cost closer to $250. The central hub, which connects all your devices, typically costs between $50 and $300.
Labor also adds to the cost. Hiring a professional usually costs between $75 and $150 per hour. This fee covers the time for installation, setup, and testing. While a professional ensures everything works smoothly, it can make your initial expense a bit higher compared to doing it yourself.
Overall, you can expect the total project cost to fall between $1,000 and $5,000. The final price depends on how many devices you need, the layout of your home, and whether you choose professional help or a DIY approach.
| Cost Item | Price Range |
|---|---|
| Devices | $20 – $250 each |
| Hub | $50 – $300 |
| Labor | $75 – $150 per hour |
Planning your smart home setup means finding the right balance of quality and cost. Have you ever thought about how each choice affects your overall budget? We hope this guide helps you measure your options and build a system that meets your needs without breaking the bank.
Troubleshooting and Maintenance for Home Automation Installation Systems
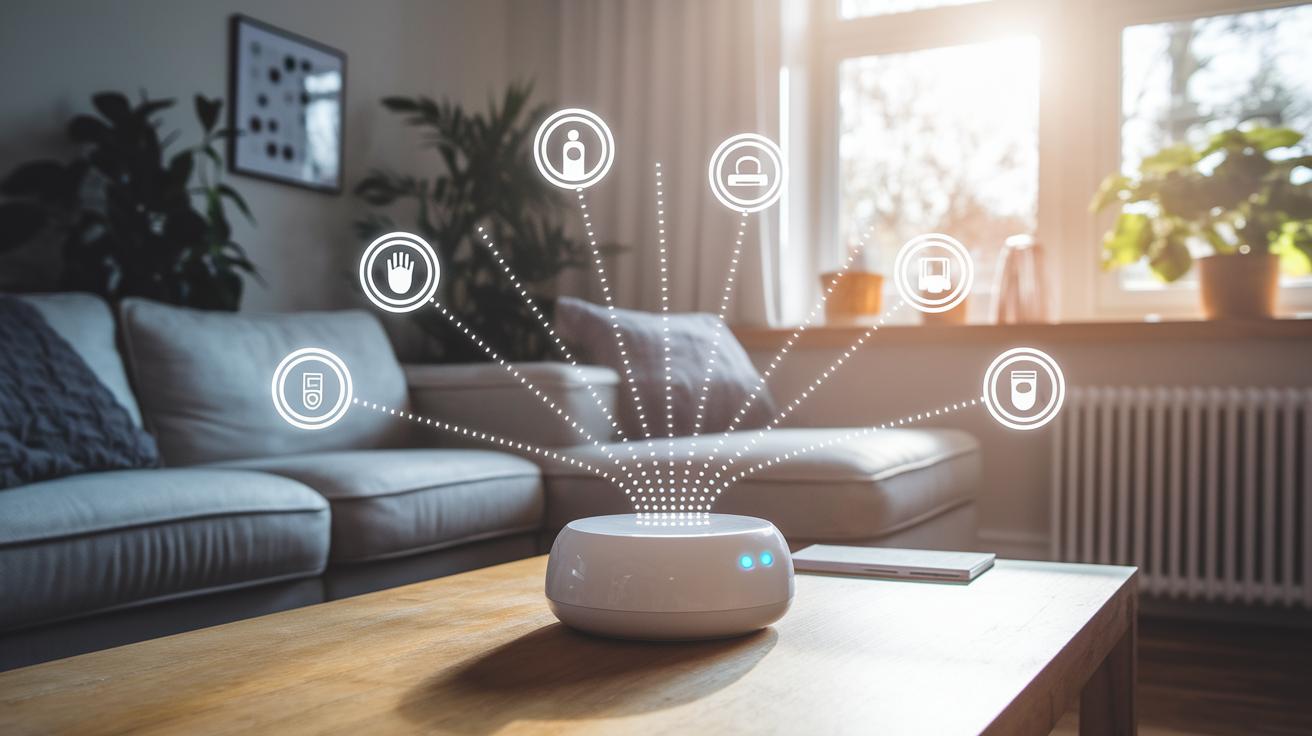
Keeping your smart home working well starts with a simple routine. Regular checks and updates are key. Update your device software often because new updates help gadgets run better. We suggest doing a scan once a month to see if any device needs a fix or upgrade.
Another important step is to check your device connections. Make sure every sensor, camera, lock, and light stays linked to the central hub. A loose connection can lead to a quick drop in performance or even false alerts. Tip: If a sensor gives a wrong reading, check that it is connected properly and that its battery is not low.
It also helps to keep an eye on battery levels. Battery-operated gadgets may shut down unexpectedly if their power runs out. Spend a few minutes every two weeks to make sure each sensor and remote has enough battery power.
Finally, testing your automation routines is a must. Walk around your home and trigger actions like dimming lights or changing the thermostat. If things don’t work as expected, try restarting your hub or resetting the device that is not behaving correctly.
- Check firmware and software updates every month
- Verify device connections, especially after any network changes
- Monitor battery levels in all devices every two weeks
- Test your automation routines on a regular basis
Finding and Evaluating Local Home Automation Installation Contractors

Start by checking local directories and contractor listings that focus on smart home installations. Look at online reviews to see if customers are happy and verify that the pros have the proper certifications (proof of training). We often compare work in areas like Atlanta, Greensboro, and Sandy Springs to see real examples of their projects.
Take a close look at each contractor’s portfolio. It shows you the range and quality of work they offer. Make sure to ask for detailed quotes so you know exactly what you’re paying for and check that their service area covers your neighborhood.
It’s a good idea to ask about warranties and ongoing support. A clear contract that breaks down costs, timelines, and the scope of work is key. Ensure that your installer has handled both simple setups and more complex networks that connect sensors, locks, and cameras.
Also, get recommendations from neighbors or local tech groups if you can. A contractor who explains things clearly and offers upfront pricing can save you from unexpected surprises.
- Verify certifications
- Review portfolios
- Compare quotes
Final Words
In the action, we compared DIY methods with professional services for home automation installation. We broke down costs, showed planning tips, and covered troubleshooting tricks. Short explanations helped map out what to expect with each approach.
This guide shows what works best for a tight budget versus a hands-on setup. It points to real steps for device selection, network planning, and local contractor evaluation. Enjoy stepping into a smarter, well-planned home automation installation process.
FAQ
What is Home Assistant docker compose?
The Home Assistant docker compose allows users to deploy Home Assistant using a docker-compose setup. It simplifies management by letting you run Home Assistant alongside other containers on the same system.
How do I install Home Assistant using Docker?
Installing Home Assistant with Docker means pulling the Home Assistant image and setting up a docker-compose file. This method streamlines updates and helps integrate Home Assistant with your existing container services.
What is Home Assistant OS?
Home Assistant OS is a dedicated operating system built for the Home Assistant platform. It bundles necessary software into one package, making it easier for users to start automating their home.
How do I run Home Assistant on Raspberry Pi?
Running Home Assistant on Raspberry Pi means downloading the proper Home Assistant image, flashing it to an SD card, and booting the Pi. It creates an affordable, compact smart home hub.
What is Home Assistant Green and where can I buy it?
Home Assistant Green is a hardware kit optimized for Home Assistant. It offers improved performance and is available through online retailers like Amazon and other trusted sources.
Where can I download the Home Assistant OS iso?
Downloading the Home Assistant OS iso involves visiting the official Home Assistant website, where the latest version is available for users who want a straightforward installation process.
What does home automation installation involve and what is its cost?
Home automation installation involves setting up smart devices like lights, locks, and cameras, all connected through a central hub or controller. Costs typically range from about $1,000 to $5,000, depending on system complexity.
Which home automation system is easiest to install?
The easiest home automation systems to install are those with plug‑and‑play devices and clear setup guides, making them ideal for DIY enthusiasts who prefer a simple, hassle‑free integration process.
Where can I watch home automation videos?
Home automation videos can be found online on platforms such as YouTube and on the official Home Assistant site. They offer step‑by‑step guides and practical tips for setting up your system.
What are common home automation systems?
Common home automation systems integrate smart lights, thermostats, locks, cameras, and sensors. They use protocols like Wi‑Fi, Zigbee, and Z‑Wave to ensure smooth communication between devices throughout the home.