
Ever been frustrated by a jumble of cables and a desk that just won't go your way? A well-set docking station can turn that chaos into an efficient, clean workspace.
In this guide, we explain how to check if your laptop works with your docking station, sort your cables carefully, and run a simple plug-and-play test. We also look at power requirements, cable management, and portability so you can set up a docking station that really works for you.
Stick with us as we share clear, step-by-step tips for a smooth and reliable setup.
Essential Steps for Setting Up Your Docking Station

First, check if your laptop works with your dock. Look for ports like USB-C or Thunderbolt that can deliver up to 100W of power and handle data speeds up to 40Gbps. Make sure your laptop model fits with the dock, especially if you own a special model from Dell, HP, Lenovo, or Apple, or if you're planning to use a universal dock.
Next, set up your cables. Docking stations turn one port into many options like extra USB-A slots, DisplayPort or HDMI, card readers, LAN, and audio jacks. Plug each cable carefully into its right spot. Start with the power adapter and ensure it meets your laptop’s wattage needs. Plug the AC adapter into the dock’s power delivery port and give the cable a gentle wiggle to make sure it’s secure.
Then, decide how you want to use your dock. Will it stay fixed on your desk or travel with you? Desk docks give you a steady workspace, while portable docks are great for moving around. Place your dock so the cables aren’t pulled or bent. It helps to tuck cables under desk channels or behind monitors for a tidy look.
Finally, do a plug-and-play test. Connect your laptop to the dock and watch for any new devices on your screen. Check each part, monitors, keyboards, Ethernet, to make sure everything works smoothly. This simple test sets you up with a reliable workspace.
Managing Power Delivery for Reliable Performance

Make sure your dock’s power adapter meets your laptop's wattage needs. Many laptops require up to 100 W via USB-C or Thunderbolt, so stick with the adapter that came with your laptop or choose a certified one. Check that the power cable fits snugly in the dock’s power port. A loose connection can cause power drops or data glitches when the device is working hard. I once gave my cable a little wiggle before use, and it saved me from trouble later.
Also, add surge protection to your setup. Plug your dock into a surge protector or an uninterruptible power supply. This step helps protect both your laptop and any connected devices from power spikes. Using proper grounding practices can also cut down on shock risk and cable wear. When everything is grounded right, the connectors face less strain, which can help them last longer. Take a moment now and then to inspect your power cables for any signs of bends, kinks, or damage. Following these simple tips keeps your docking station running safely and smoothly every day.
Organizing Cables and Peripherals for a Clean Workstation
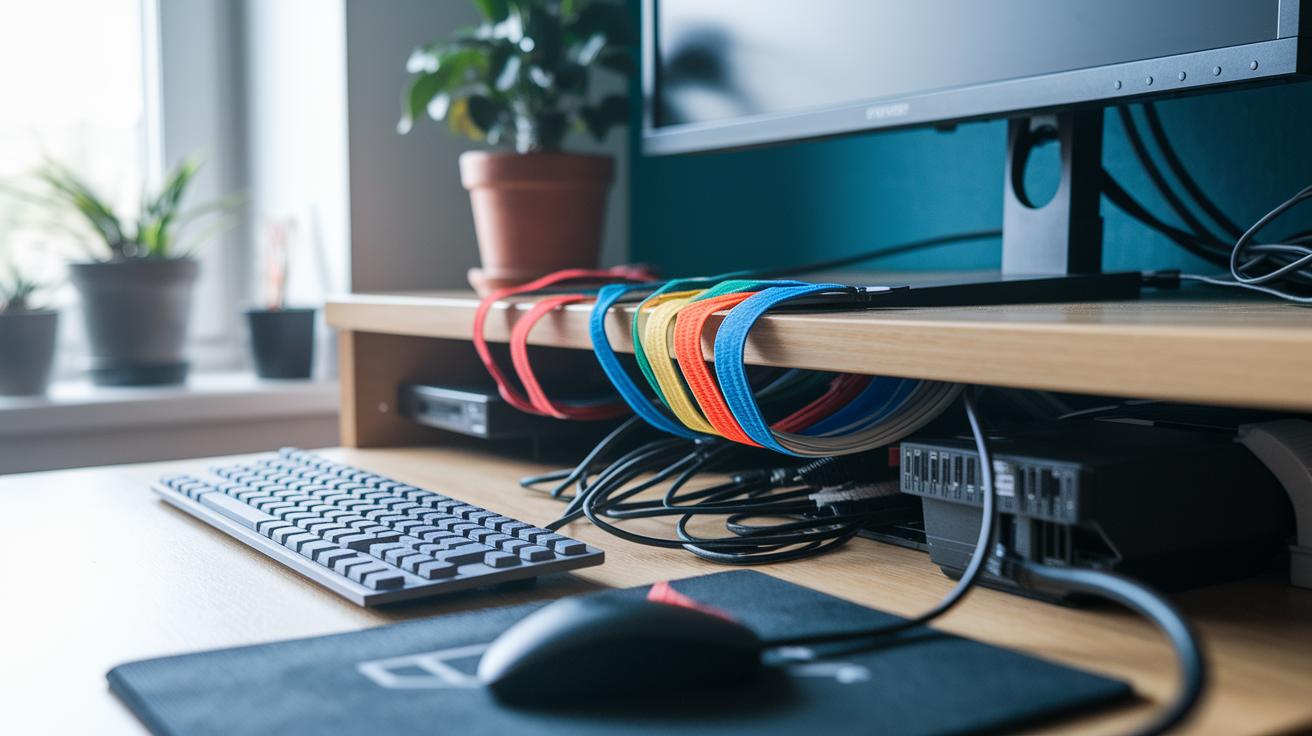
Start by grabbing some cable ties or Velcro straps. Bundle together your USB-A, HDMI, DisplayPort, Ethernet, and power cables. For example, you can secure your HDMI and USB-A cables with a Velcro strap and add simple tags like “HDMI: Red” and “USB-A: Blue.”
Now, run your cables along the back of your monitor or under desk channels. This keeps them from bending too much and stops them from becoming loose. A clear, straight path helps your connections stay strong.
Next, add color-coded labels to each cable end. This makes it much easier to troubleshoot if one cable stops working. For instance, use a green tag for your Ethernet cable and yellow for your power cable.
Finally, cover idle docks with dust-resistant port covers. This helps keep the dust out and gives your cables room to breathe, reducing heat buildup. A well-organized setup can boost your productivity and keep your hardware safe.
Configuring Display and Audio Settings on Your Docking Station

First, plug in all your cables and open your computer's display settings. On Windows, go to Display Settings. On macOS, open the Displays pane. Your computer should find all your external screens. Once they appear, set the proper resolution and refresh rate for each monitor, like 4K at 120 Hz or 8K at 60 Hz. Then choose your main display and arrange them to fit your workflow.
Next, double-check that each video cable is in the correct port. For example, picking between DisplayPort and HDMI helps you get the most from your video signal. Look at the dock's labels to guide you if any connection issues occur. Make sure each monitor shows the right resolution and lines up well with the others.
Finally, open your computer’s Sound Settings to set up audio. Pick the dock’s built-in jack or the USB-C audio output as your default sound device. Some docks have both 2.5 mm and 3.5 mm jacks, so choose the one that works best with your headset or recording gear. A quick review of these settings will ensure your audio matches your video, giving you a smooth, well-balanced setup.
Updating Drivers and Firmware for Maximum Compatibility

Start by visiting the dock maker’s website to grab the latest drivers for Windows, macOS, or Linux. If your dock uses Thunderbolt (a fast connection for data and video) or USB-C, install those drivers right away. Fresh drivers not only boost performance but also unlock new features. Also, download any firmware updates available. These updates fix common bugs and improve how fast data moves, while updated microcode helps keep ports stable during heavy use.
If your dock comes with an update tool, open it and check your firmware version. If not, try using the U-EFI tool for universal docks. Once you have the updates, run the installer and restart your computer. That restart clears errors and makes sure the new drivers work properly.
Make a note of your driver and firmware versions. If you notice dropped connections or slow performance, check that you have the correct versions installed. Following these steps helps your docking station stay fully compatible and work reliably with all connected devices.
Troubleshooting Common Docking Station Issues

Start with the video output. Make sure your monitor cable is snug in the right port. Check that your computer sees the external display. If nothing shows up, try switching to a different port or using a spare cable. This helps rule out a cable or port problem.
For USB devices that do not respond, unplug the device and plug it into another port. Test each port one by one to see if the issue is with one spot only. Look at your computer’s device manager or system logs for any error messages. Also, avoid bending cables sharply because it can damage the pins over time.
If you get an Ethernet link but no internet, review your network settings. Try using a different cable to see if that fixes the issue. If you can, test the docking station on another network. This step helps you check if the problem is due to the network environment.
When the dock is not charging your laptop, check that you are using the correct power delivery port that matches your laptop’s wattage. Swap in a certified power adapter if you can. Sometimes a loose connection can cause charging issues, so make sure everything is tightly connected.
If multiple monitors are not recognized, it may be a sign of bandwidth limits on your graphics card or an issue with the Thunderbolt port. Verify that your system can handle two or three displays. Inspect all cables for any damage and avoid tight bends. This checklist helps you quickly find and fix connection problems.
Enhancing Ergonomics and Efficiency with Your Docking Setup

When you set up your workspace, put your main screen at eye level and about an arm's length away. This helps reduce neck pain. Keep your dock close so plugging in devices is easy and you don't have to stretch too far. Make sure air flows freely around the vents to lower fan noise and keep things quiet.
Add rubber feet or a shock-absorbent mat under your dock. This little step can cut vibrations and keep your setup steady. A clear desk also makes it easier to move around without bumping into things.
Consider these tips:
- Arrange your monitor and speakers along your natural line of sight.
- Keep the things you use most within reach.
- Organize cables to avoid clutter and damage.
A tidy desk makes work smoother and more comfortable.
Selecting the Right Dock for Your Needs
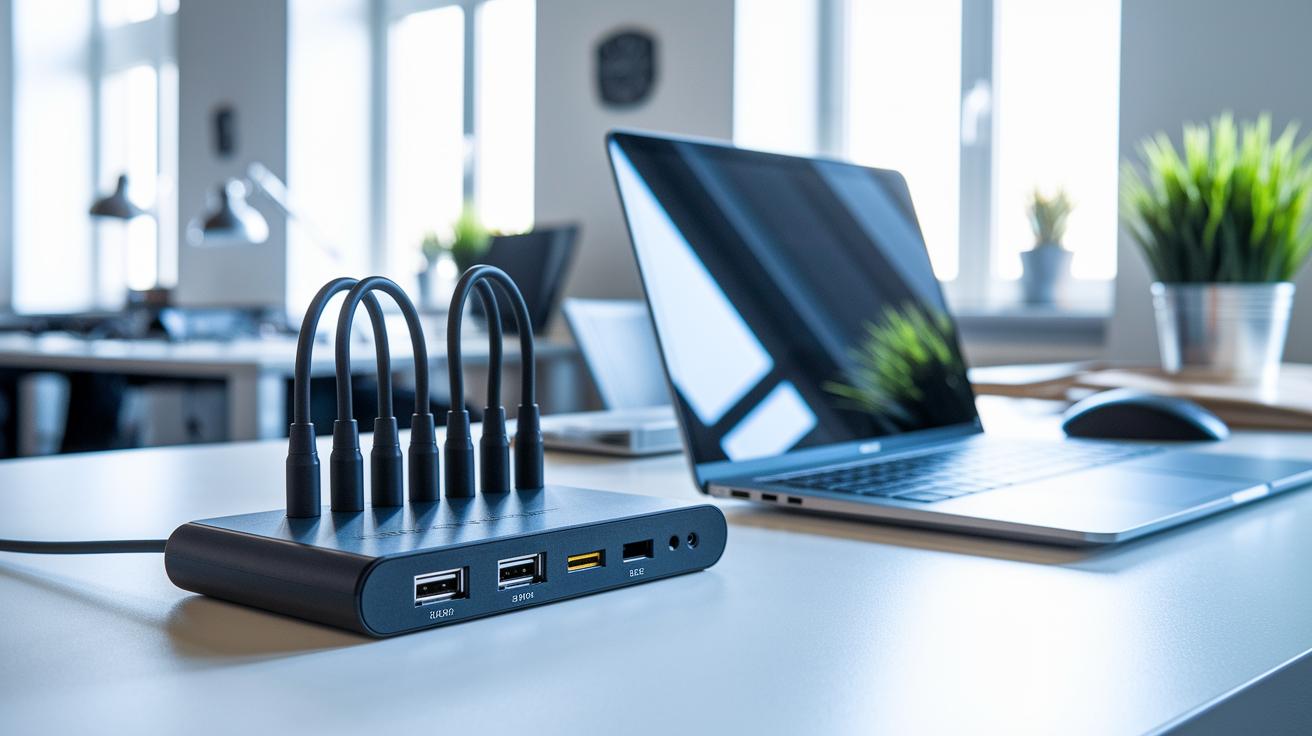
When picking a dock, start by listing the ports you need. Do you need HDMI, DisplayPort, USB-A, Ethernet, or audio jacks? This quick check makes sure you cover your basic office and media needs. Then, compare a full-size desk dock with a small portable dongle based on your work setup and mobility.
Next, check which ports the dock supports. Look for USB-C (a modern, reversible plug), Thunderbolt (for very fast data transfer), or USB-A. Some brands like Dell, HP, Lenovo, and Apple have docks tailored for their laptops. But if you want more flexibility, go for one that works with many devices. Many docks deliver between 45 and 100 watts (a measure of power), so matching the right wattage to your laptop is key.
Finally, weigh the price against the features. Compare the number of ports, maximum video resolution, and power delivery against your budget. A clear review of your needs helps you pick the best mix of performance and flexibility, ensuring all your devices connect smoothly and work reliably.
Final Words
In the action, we walked through the key steps of setting up your docking station. We covered everything from checking port compatibility to securing cables and updating firmware. Each step was designed to keep your workstation neat and your device performing well.
By following these docking station installation tips, you can create a reliable, efficient setup that works great day to day. Keep your setup clean and organized for best performance and maximum value.
FAQ
What do docking station installation tips on Reddit recommend?
Docking station installation tips from Reddit suggest checking your laptop’s compatibility, firmly securing all cables, and verifying plug-and-play functionality to prevent data errors and cable wear.
How does one set up a Dell docking station with two monitors?
Setting up a Dell docking station with two monitors means connecting each monitor to its designated port, then adjusting your operating system’s display settings for resolution and orientation.
How do you connect a docking station to a laptop and monitor?
Connecting a docking station to a laptop and monitor involves plugging the correct cables into designated ports, ensuring secure connections for both power and data transfer.
What are the steps for a Dell docking station setup?
A Dell docking station setup starts with verifying port compatibility, connecting the power adapter, plugging in peripherals, and then checking that all devices are recognized by your computer.
How are Dell docking station ports explained?
Dell docking station ports include options like USB-A, USB-C, DisplayPort, HDMI, and audio jacks, each serving different functions for monitors, peripherals, and network connectivity.
How do you turn on a Dell docking station?
To turn on a Dell docking station, simply connect its power adapter securely; the dock typically powers on automatically once it receives power and is connected properly.
What is the purpose of a Dell docking station mounting kit?
A Dell docking station mounting kit lets you attach the dock securely to a workstation or desk, helping manage cables neatly while keeping the dock easily accessible.
How do you install a docking station?
Installing a docking station means confirming your laptop’s compatibility, plugging in both power and data cables, and positioning the dock safely on your desk for optimal performance.
Does a docking station need to be plugged into the wall?
Whether a docking station needs to be plugged into the wall depends on its design; many require wall power to deliver proper charging and stable data transfer.
How do you wire a docking station?
Wiring a docking station involves connecting each cable—power, USB, HDMI, etc.—to its proper port, allowing for secure, reliable connectivity without undue cable strain.
Can any laptop be plugged into a docking station?
Any laptop may connect to a docking station if its ports support the needed protocols like USB-C or Thunderbolt and if it meets the dock’s power delivery and data speed requirements.