

Ever wished your home could practically run itself while saving you money? DIY home automation lets you control your thermostat, adjust your lights, and even boost your security with simple gadgets. Imagine your smart speaker starting the heater before you even get home. This guide will show you how to start small, plan clearly, and build a system that gives you power over your home and cuts your bills, all at your own pace.
DIY Home Automation: Save Money, Love Control
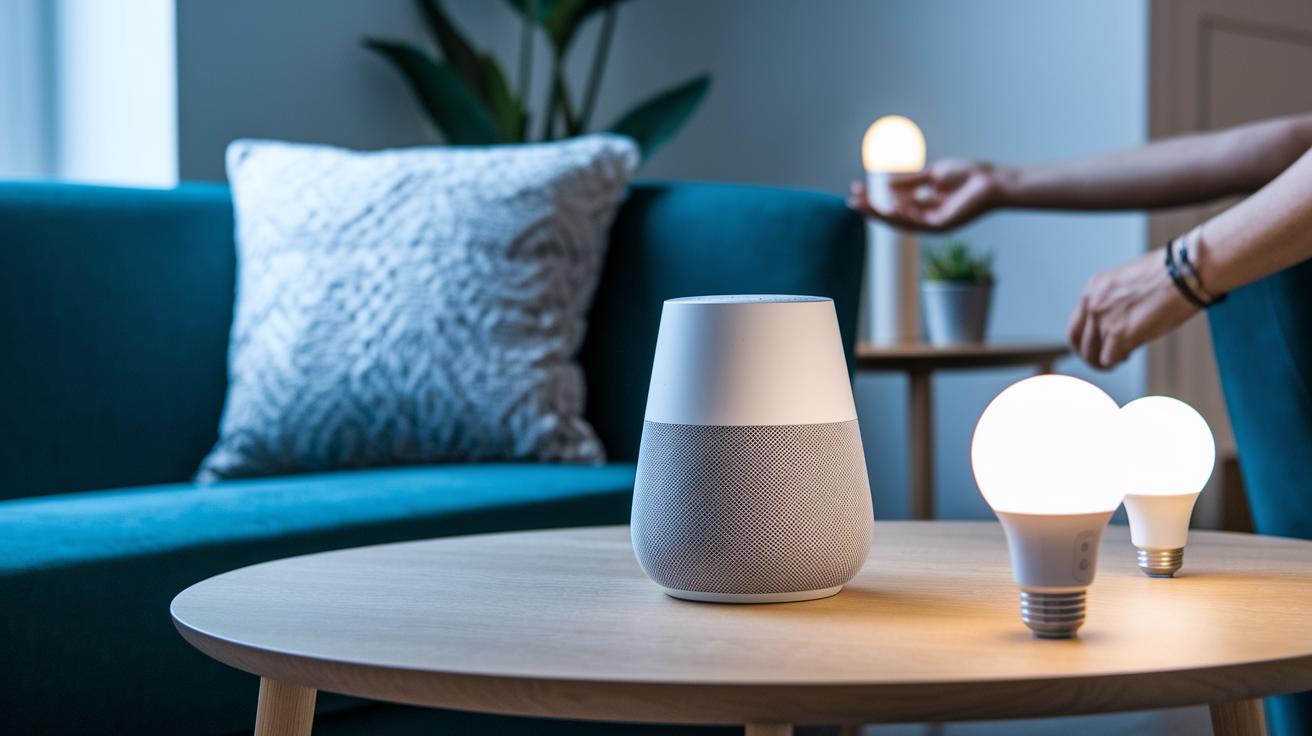
Before you begin, decide what you want your smart home system to do. Home automation can handle things like turning lights on and off, adjusting your thermostat (a device that controls temperature), keeping an eye on security, and managing energy use. For example, you might want your lights to come on when someone enters a room or have your thermostat cool down the house when you leave.
Start small with one or two smart devices. Try a smart speaker like the Echo Dot 4th Gen for about $50 or a Philips Hue White A19 LED bulb pack for around $30. Imagine a setup where your smart speaker triggers both the lights and adjusts the temperature while you relax in the living room. This simple start helps you learn the ropes without spending too much right away.
Next, set clear goals. Make a quick sketch of your home and note where you plan to place sensors and devices. Writing down what you want to control, like lights or temperature, makes it easier to pick the right tools.
Plan to spend between $500 and $2,000 depending on how many devices you add. This budget is enough for sensors, controllers, and network gear.
Work step by step. Write a list of tasks, set a timeline, and check each device as you connect it. For instance, focus on getting the lighting right before you add security tools.
Following this clear plan helps you save money by buying only what you need and gives you full control over your home from day one.
Selecting Your DIY Home Automation Controller
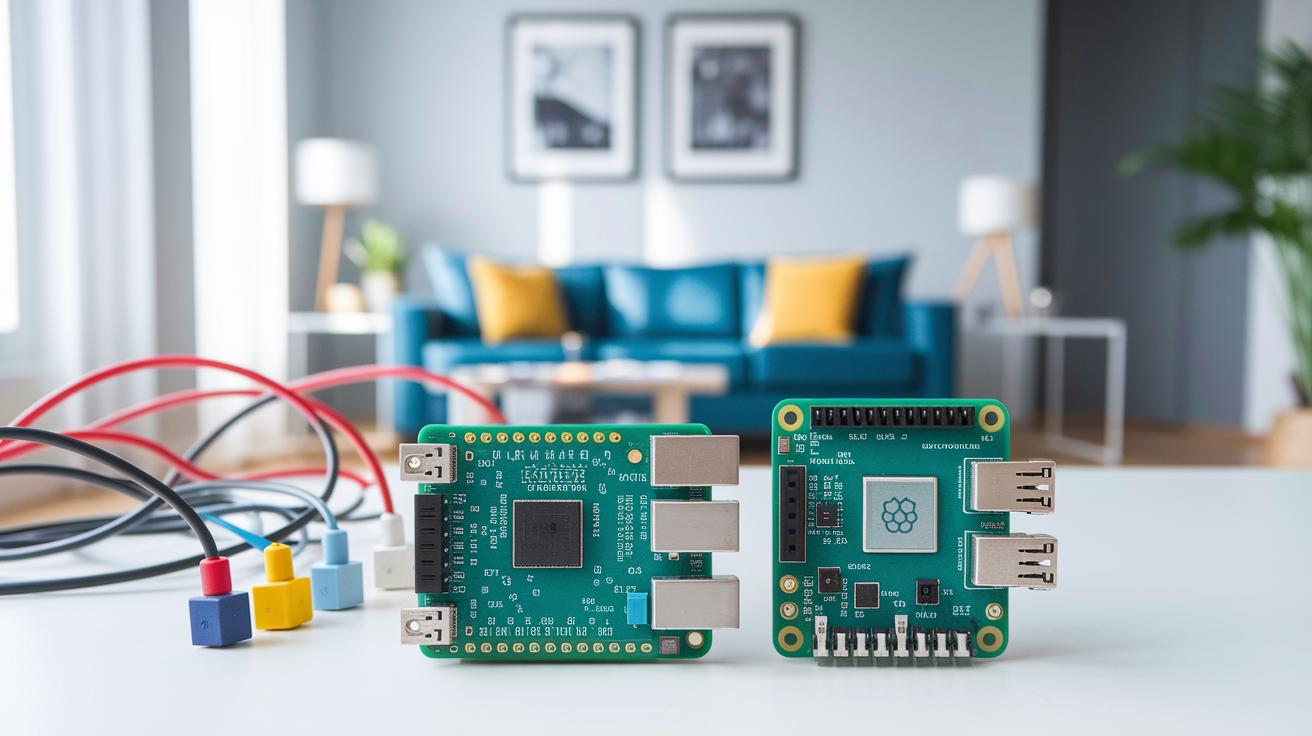
Picking the right controller is a must for your smart home project. Arduino and Raspberry Pi each have their strengths. Arduino is great for tasks that need fast sensor data while using little power. For example, if you're keeping an eye on door sensors in a low-energy setup, Arduino does the trick. Raspberry Pi acts more like a full computer. It handles things like web interfaces, various protocols, and even supports Wi-Fi, Z-Wave (a wireless communication protocol for smart devices), and Zigbee (another low-power wireless protocol) all at once.
You can also look at open source tools like Home Assistant or OpenHAB. These tools let you set up rules to make sure all your sensors and devices talk to each other. When you start, install a fresh operating system (OS) so everything runs cleanly. Next, set up a static IP address (an unchanging network address) and enable SSH access (a secure way to manage your controller remotely). This helps keep your system stable and easy to manage.
For better performance and smoother sensor network connections, try using USB or serial controllers that already support Z-Wave and Zigbee. This makes adding new sensors or switches straightforward. If you need more ideas on hubs, check out the smart home hub link provided. In the end, choose the controller that meets your needs and test your hardware under real conditions. Look at the results yourself and tweak the settings until your smart home runs just right.
Essential Hardware Components for a DIY Home Automation System
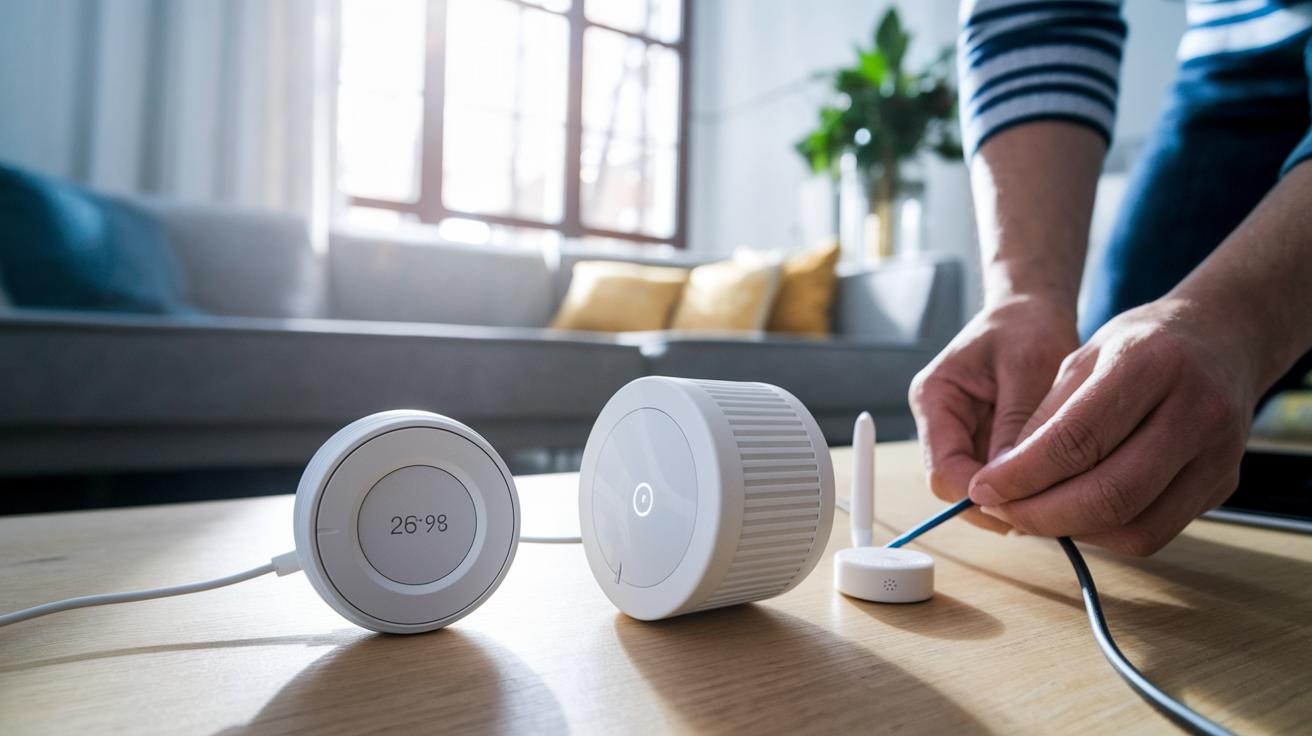
Every DIY home automation project starts with good, well-matched parts. Imagine installing a sensor that alerts you immediately when a door opens or when the room temperature changes. Picking the right parts helps your system react fast.
Common sensors include temperature and humidity monitors, motion detectors, door/window contacts, and light sensors. These simple devices watch your environment and trigger actions exactly when needed. For example, a motion sensor may turn on lights as you enter a room. It's fun to see how one small sensor can set off a whole chain reaction.
Actuators turn sensor signals into real actions. You might use a relay (a switch that controls electrical current), servo motors (small motors that adjust parts), LED strips for shifting lights, or solenoid valves to control water flow. Each piece plays its part in creating a smart home that actually responds to your needs.
Building circuits means you also need the right supporting hardware. Breadboards help you test designs, jumper wires make connections, and resistors and capacitors (small electrical components) fine-tune your setup. These bits and pieces are the basics of any solid system.
Finally, a digital multimeter is a must-have tool. It checks voltage, current, and continuity to ensure every connection works as it should. This hands-on testing cuts mistakes and builds your confidence as your project takes shape.
Wireless Networking Tips for DIY Home Automation
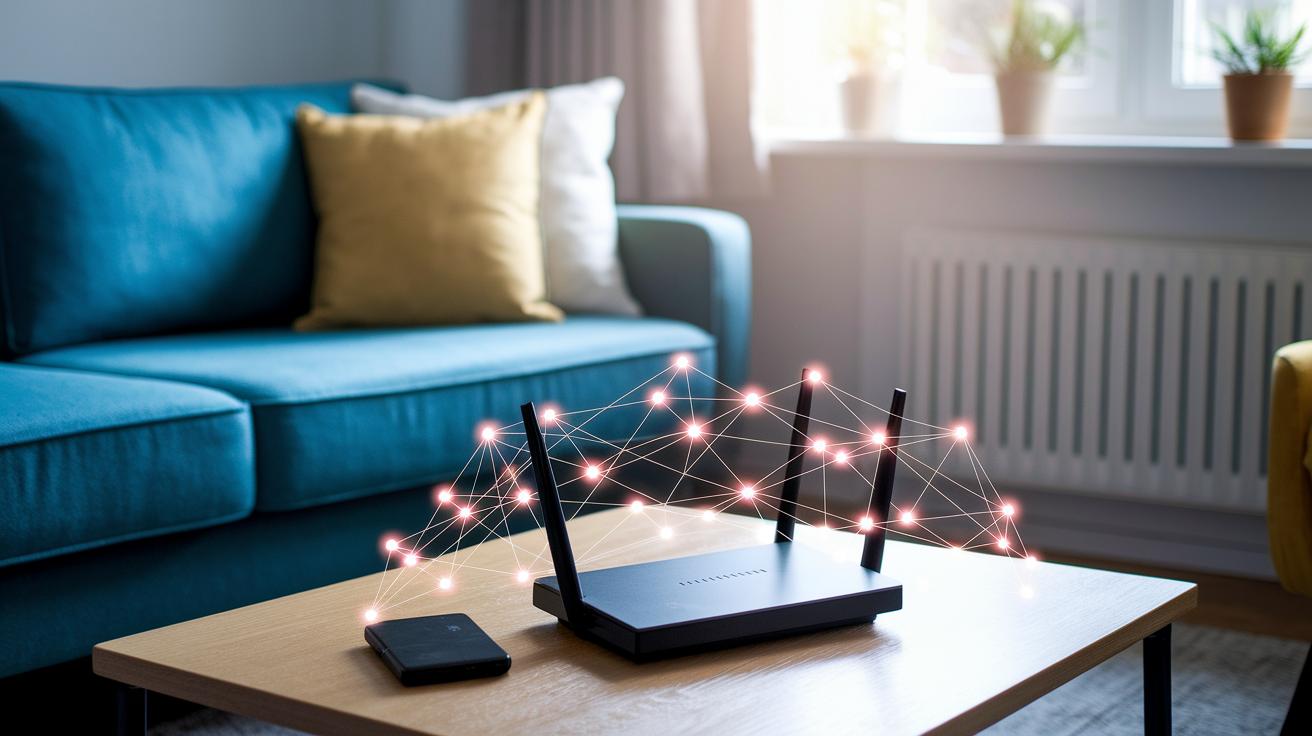
Build your wireless network like you’re laying the foundation for your smart home. Mesh protocols such as Z-Wave and Zigbee (wireless systems that help devices talk to each other) can boost your network's reach and reliability. Think of it like a garden where every device gets just enough light to thrive. Spreading out your nodes stops dead spots and helps each controller connect well.
Plan your node spots to cover your whole space. Draw a simple floor plan or jot your home's layout on paper. This makes it easier to spot where the signal might drop. When you see these gaps, try adding extra extenders to keep your connections steady.
Choosing less crowded channels can reduce radio interference. Tools like spectrum analyzers (devices that check the quality of signals) help you pick clearer channels. They scan for the best frequencies so your network runs smoothly.
Finally, lock down your network by picking unique names (SSIDs) and strong encryption like WPA3 or WPA2-AES. Pair these with tough router passwords. These steps build a safe, strong wireless backbone for your DIY automation, ensuring your devices always communicate reliably.
DIY Automated Lighting Configuration in Home Automation
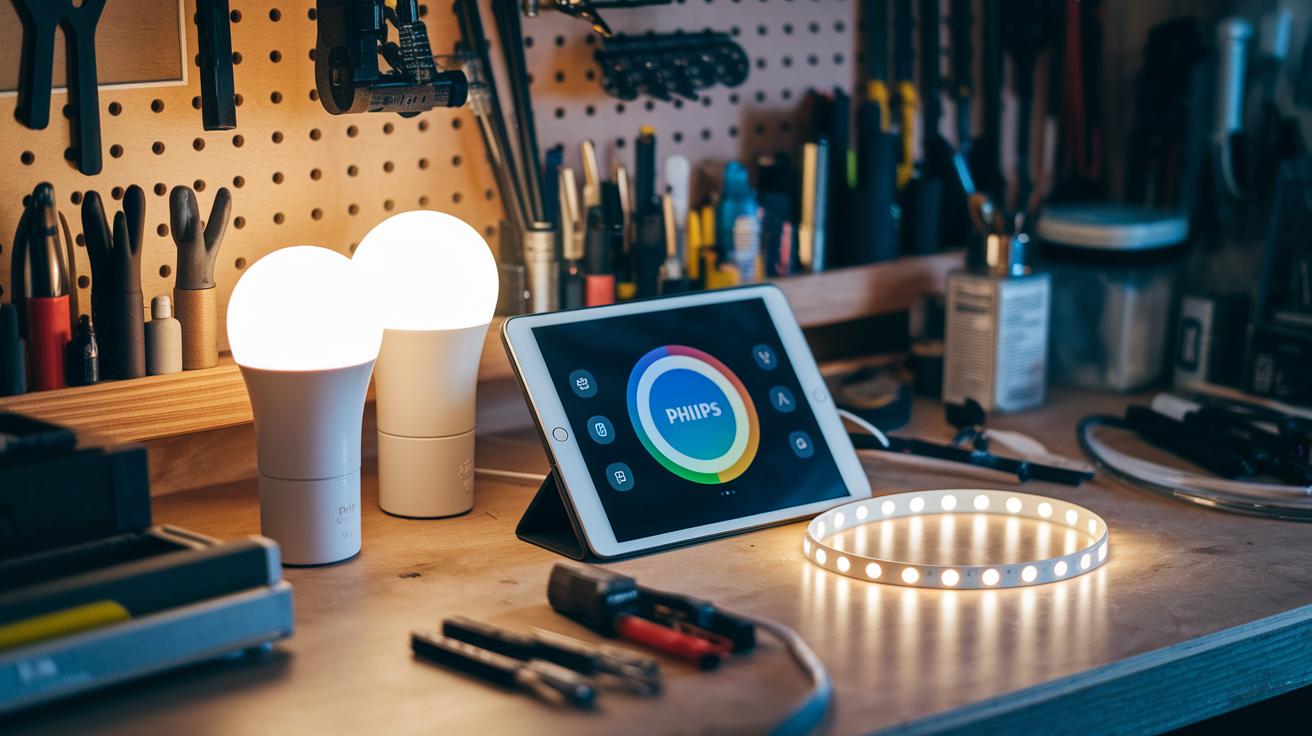
Start by blending off-the-shelf bulbs with a DIY project to set up smart lighting. Try using Philips Hue White A19 LED Smart Bulbs; you can grab a pair for about $30. They only shine white light, which works well if you don’t need color. Plus, they’re simple to wire into your current fixtures.
Next, build a light-activated LED strip project using an Arduino. This project uses sensors (devices that detect light changes) to trigger the LED strips when the room light shifts. You can adjust the sensor sensitivity to set when the lights should turn on or off. It’s a smart way to add mood lighting that reacts exactly to your space.
Then, create routines on your automation platform. For instance, program your lights to turn on at dusk and off at bedtime, or have them start up when motion is detected or the room brightness changes. This makes sure your lights work automatically based on time or sensor input.
Finally, test a few setups on a breadboard first. This lets you check all connections before permanently installing anything.
Building DIY Home Security and Surveillance Modules
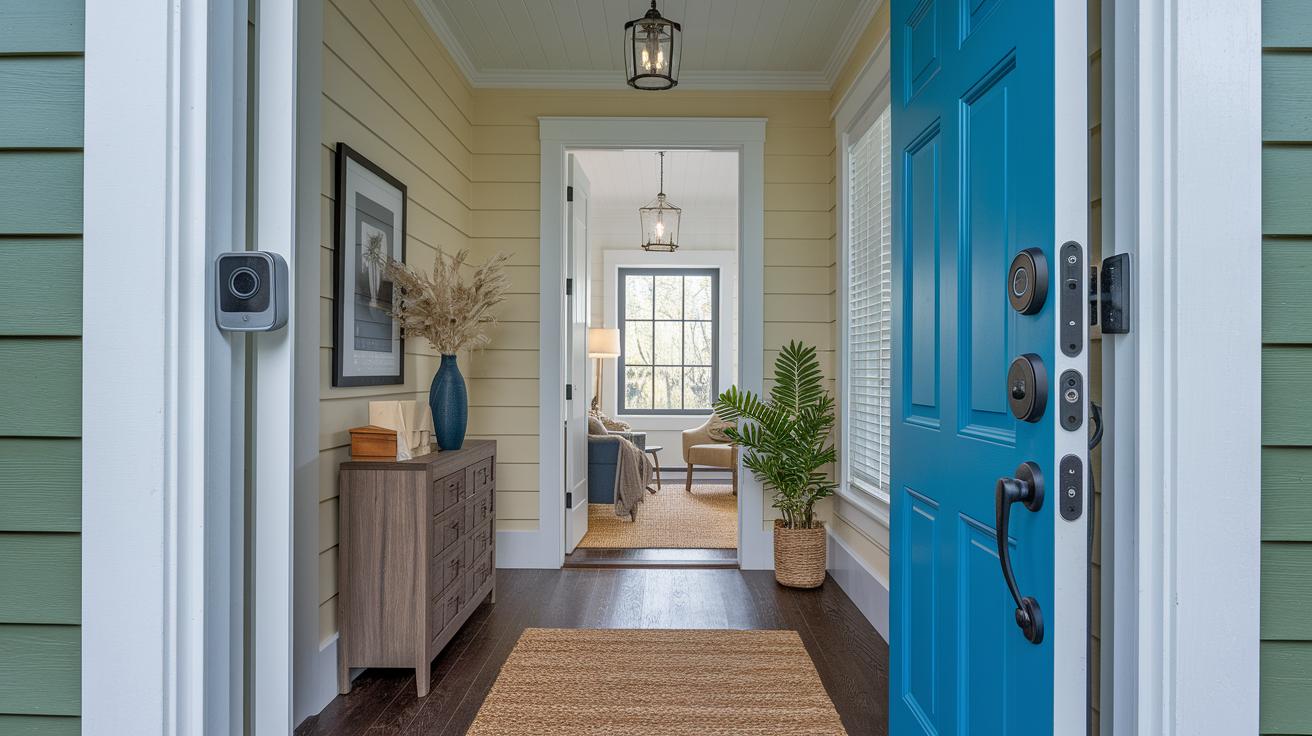
Start with a video doorbell. You can choose the Ring Video Doorbell for about $100 or the Arlo Pro 4 for around $200. These devices show you clear footage of visitors and send instant alerts, even when you're away.
Next, add a smart lock to protect your entrance. The Schlage Encode smart lock with a keypad costs roughly $300 and works without a physical key. Pair it easily with your DIY system. Connect it to motion sensors and door/window contacts so that you get real-time alerts when something odd happens. For example, if a motion detector senses movement while the door is unlocked, an Echo Dot with Alexa can announce, "Suspicious activity detected at the front door," letting you act fast.
Finally, place additional sensors in key spots. Use door/window contacts on areas that seem vulnerable, and set up motion detectors in hallways. Test each module on a breadboard (a simple circuit testing tool) to ensure they work well together before you install them permanently. This simple plan helps you build a custom security setup that is both quick to react and easy to expand as your needs grow.
DIY Energy Management and Climate Control Setup
Managing energy smartly cuts your bills and boosts your comfort. Begin with digital sensors that keep track of your room's temperature and humidity all day. These sensors let you trigger heating or cooling when certain limits are met. For example, if a room gets too hot in the sun, the system can automatically switch on the cooling.
You can use automation routines to control your heating, ventilation, and air conditioning (HVAC) by time or occupancy. Set the system to lower the heat when the house is empty or to add extra cooling on hot afternoons. This smart setup keeps you comfortable while avoiding waste.
It’s like having a smart schedule for your home. One tip: change your thermostat settings at night to take advantage of cooler outdoor air.
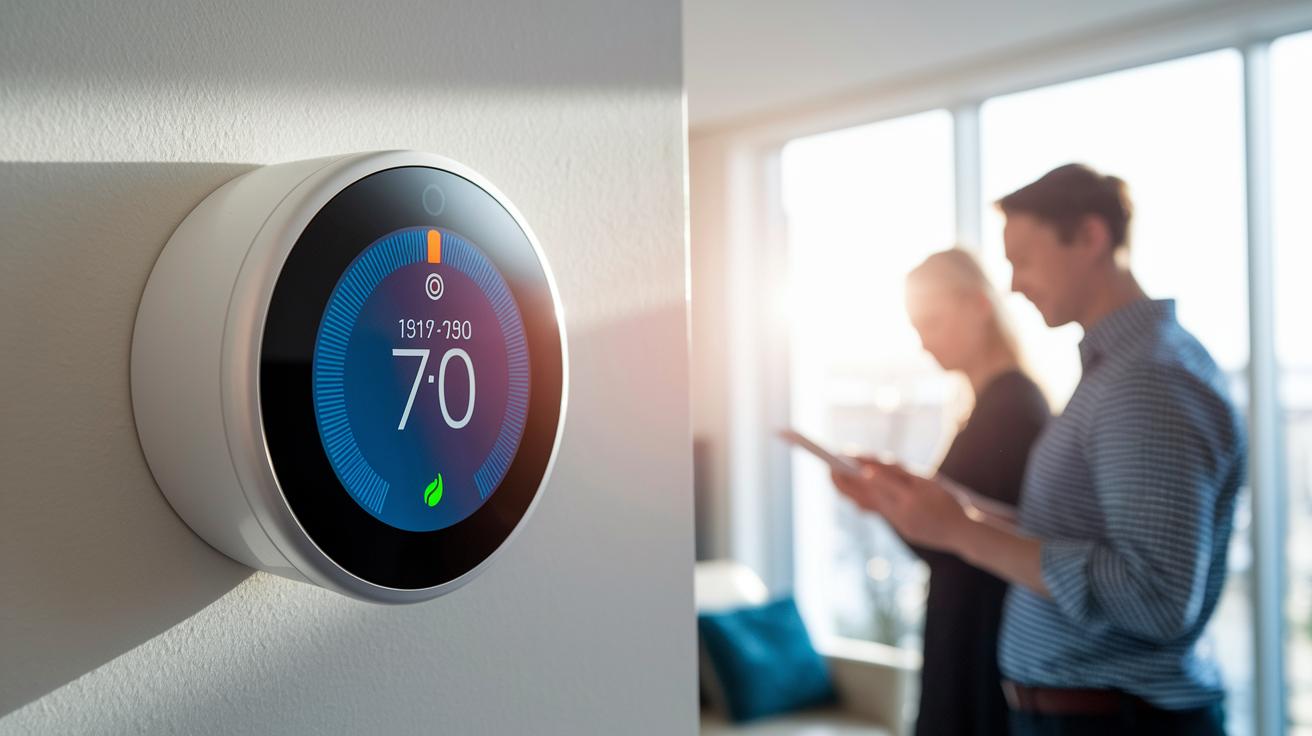
If you prefer a simpler option, consider a smart thermostat like the Nest Learning Thermostat. Priced around $250, it picks up your daily routine and adjusts itself over time. It even tracks your energy use so you can see your savings.
By mixing automation with reliable sensor data, you can build a DIY system that fits your lifestyle perfectly. Fun fact: homes with smart climate control can cut energy bills by nearly 20%. Tweak your setup so that every degree truly counts.
Troubleshooting and Safety for DIY Home Automation
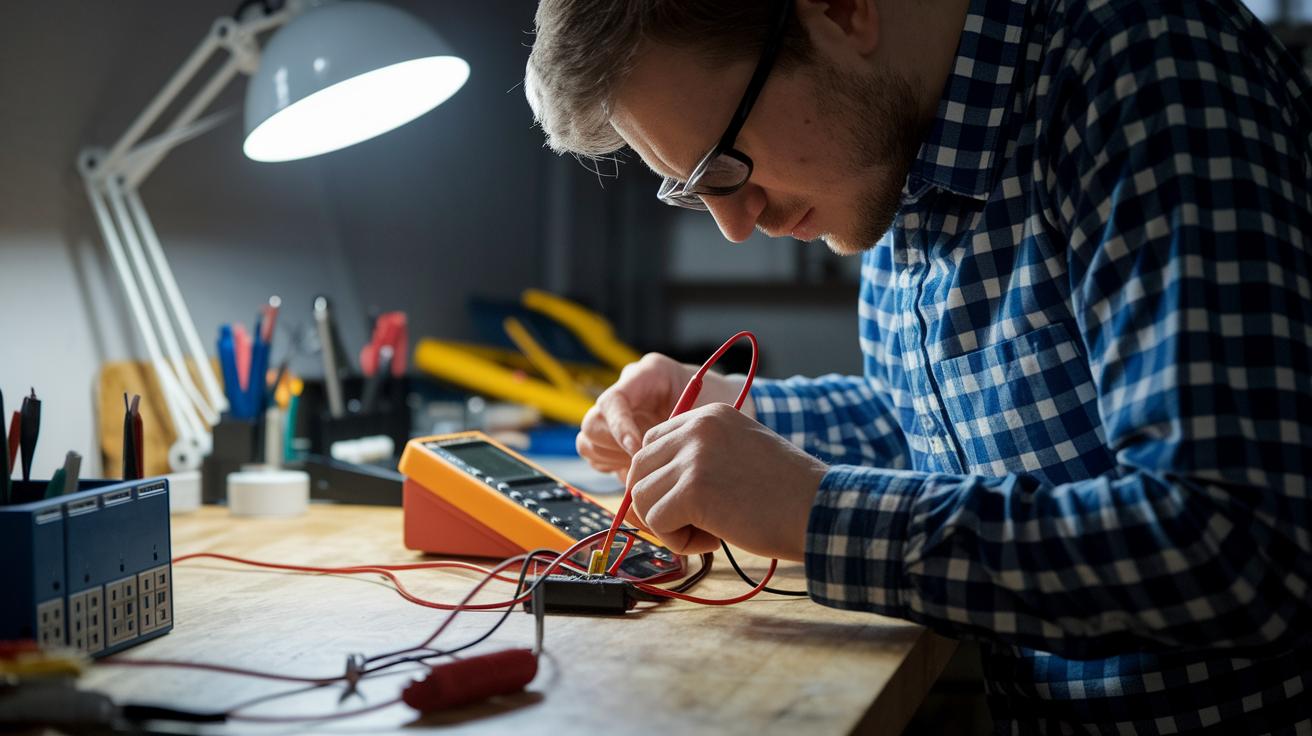
When your system starts acting up, check the power first. Faulty power can lead to sudden shutdowns or odd behavior. Use a digital multimeter (a tool that measures voltage) to check each connection. For example, if a sensor isn't reading correctly, test its output like you would check a heartbeat with a stethoscope.
Next, inspect your wiring. Make sure all jumper wires and soldered joints are secure. Even one loose wire can bring the whole network down. If your sensors aren't reacting as they should, recalibrate them and check that their settings match your automation platform.
Sometimes, radio frequency interference (RF interference, which messes with wireless signals) might be the quiet troublemaker. An oscilloscope (a tool that shows electrical signals) can help you see if the signal is clean or if there are any issues. It might help to jot down a checklist that covers power supply, wiring, and sensor calibration.
Always keep safety in mind. Stick to certified devices so you don’t risk using substandard parts. Protect your network by using strong passwords and two-factor authentication. Even a small software bug can lead to serious problems like unlocked doors or water leaks.
Before making any changes, write down your current settings. This way, you can reset things if something goes wrong. By working carefully and checking all your connections, you build a home automation system that is both secure and reliable.
Scaling and Future-Proofing Your DIY Home Automation
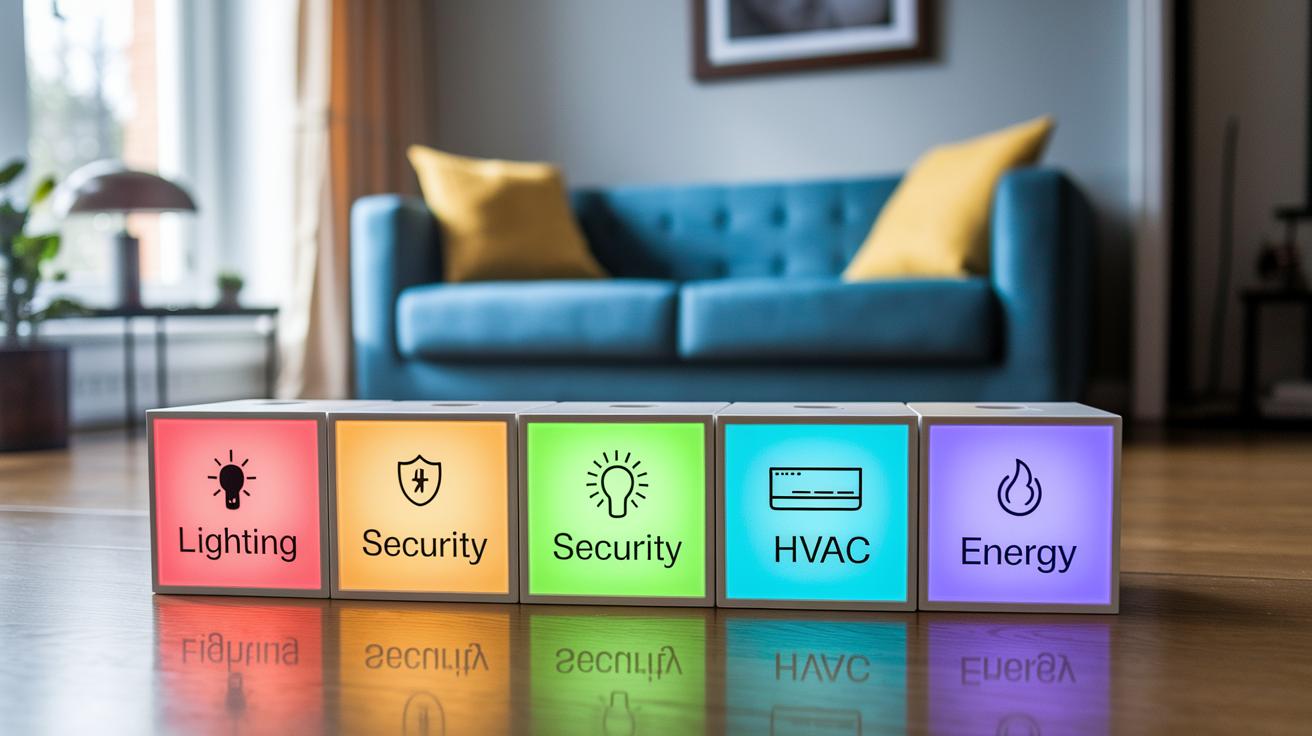
Building a smart home that grows with you starts with a modular design. Think of your system as a series of independent blocks, each handling its own task. If one block stops working, the others keep everything running.
Begin with simple devices like lighting and security. Once they play well together, gradually add HVAC (heating, ventilation, and air conditioning) and energy systems. This step-by-step method makes it easier to spot and fix any issues. A quick tip: test each new device on its own before adding it to the main network. Picture it like putting together a puzzle where every piece fits just right.
It’s also smart to plan your network protocols. Whether you opt for a mesh network or a bridge setup, make sure your system can handle new options like Z-Wave or Zigbee (common ways for smart devices to communicate). For instance, if you plan on using Zigbee sensors later, reserve a channel in your design now.
Keep the focus on a spread-out, flexible system. As your home automation grows, take time to review your layout and network settings. For a detailed guide on the next steps, check out the getting started guide at CircuitCritics. With a little planning today, your smart home will easily keep pace with new tech as it comes out.
Final Words
In the action, you learned how to set up a diy home automation system from the ground up. We broke down key components like smart lighting, security modules, and energy control devices while weighing your controller options with Arduino and Raspberry Pi.
You also saw tips on network setup, safety, and troubleshooting. Each section guides you to build a flexible system that matches your budget and goals. Happy building and enjoy bringing your smart home to life!
FAQ
What does DIY home automation with Raspberry Pi mean?
DIY home automation with Raspberry Pi means setting up a low-cost, small computer to control smart devices like lights, sensors, and thermostats using open source software and customizable code.
How can I make my own home automation system?
Making your own home automation system involves planning your needs, choosing a controller (such as Raspberry Pi or Arduino), and connecting DIY kits and devices with open source platforms like Home Assistant or OpenHAB.
What is the best home automation system for beginners?
The best home automation system for beginners is one that offers easy setup and clear guides, using affordable kits and trusted software like Home Assistant to simplify initial learning and expansion.
What home automation devices and software should I use?
Home automation devices include smart lights, sensors, smart locks, and cameras, while trusted software like Home Assistant supports control routines and integrations needed for everyday use.
How can I automate my house overall?
Automating your house involves setting clear control goals, integrating devices such as lighting, security, and HVAC, and using a central hub or open source software to manage routines and remote access.
How much does it cost to automate your home?
The cost to automate a home varies based on device choices and scale, with DIY projects typically ranging between $500 and $2,000 for kits that cover lighting, security, and energy management.