
Have you ever thought your PC might run better with a custom loop water cooling setup? This method cools your system more efficiently and gives it a neat, custom look.
In a custom loop, each part works together to keep temperatures low. For example, waterblocks (small parts that help transfer heat from your CPU or GPU) play a big role. Planning where to run your tubes and picking the right parts is key.
Follow our clear, step-by-step guide to see how careful planning can lead to a smooth and leak-free system. With these tips, your PC will run cool and look great.
Planning Your Custom Loop Water Cooling: Components and Layout
Begin by learning what each part does in your water cooling system. Your setup has waterblocks for the CPU and GPU, radiators in sizes like 240 mm or 360 mm (built from 120 mm modules), a pump to push the liquid, and a reservoir that holds extra fluid and helps remove air. You also need fittings, tubing, and special fluids that stop corrosion. Sketch your plan on paper to see how these parts fit in your case. A clear draft now saves headaches later.
Plan your tube paths before you cut anything. Measure several times to make sure the tubing has enough space and makes smooth turns around other parts. In any DIY water cooling project, careful planning stops mistakes and wasted materials. For example, label each tube with simple tags like "CPU in" or "CPU out" using masking tape. This basic step sets you up for a neat and leak-free system.
Double-check that your cooling parts work well with your case. Research the mounting spots and make sure any built-in features, like pumps or temperature sensors on your radiators, meet your needs. Verify part sizes and connector types so every piece fits together perfectly in your custom design. With clear planning, you not only boost cooling performance but also give your PC build a personal, appealing look.
Selecting Waterblocks for Custom Loop Water Cooling Performance
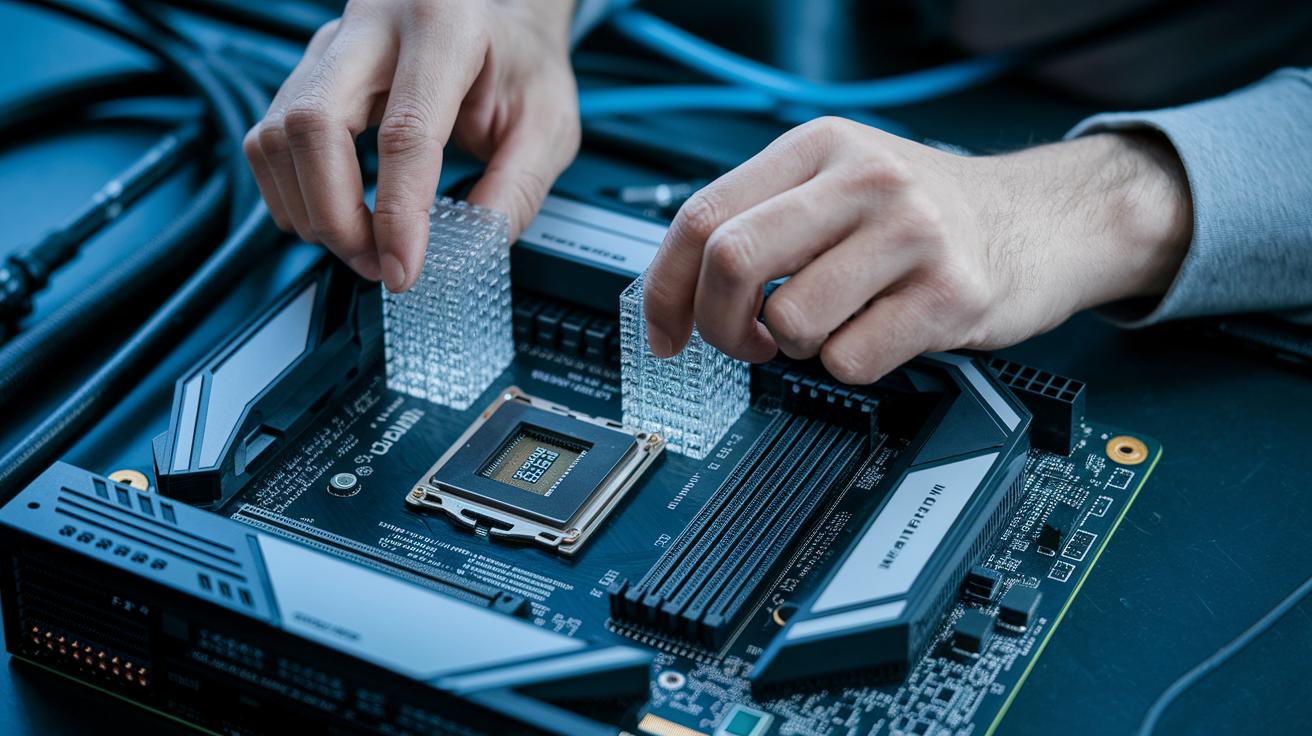
When picking waterblocks for your CPU, choose blocks that are made precisely for your CPU socket. Check that the block is made for your processor type. Also, make sure it fits your heat spreader and mounting system. Doing this helps keep your temperatures stable.
For your GPU, pick a full-cover waterblock. It should cool the GPU chip and also handle other parts like the VRM (voltage regulator module) and power circuits. Some high-end GPUs might even need a block for the memory on the back. A well-chosen GPU block keeps your system running smoothly, especially during heavy use.
Make sure every waterblock has enough clearance around memory and VRM heatsinks. Start by reading the manufacturer’s specifications and compare them with your system layout. Use a tape measure to check the available space in your case. This extra step can save you from fit problems later. A well-planned waterblock setup not only boosts performance but also builds a custom cooling circuit that handles long sessions and heavy loads.
Choosing Radiators and Airflow Management in Custom Loop Water Cooling
Radiators usually come in sizes that use 120 mm fan spacing, like 240 mm or 360 mm setups. They have thicker cores and more fins to help carry heat away from your system. Some even pack extra features such as built-in pumps or sensors that check the fluid temperature.
Some designs use copper tubing with pressed fin arrays, similar to automotive radiators, to move heat faster. These models are built tough and work well for high-performance setups that need to stay cool under heavy loads.
When planning airflow, look at your case and note the radiator's thickness, fan clearance, and where you can mount them. We want to use the fans to bring in cool air, pass it through the radiator, and push the warm air out of the case. This method keeps the cooling loop steady. Always double-check that the radiator fits your case and that the fans have plenty of room to run. Good airflow planning is as key as choosing the right parts.
| Radiator Size | Fan Configuration | Notable Features |
|---|---|---|
| 240 mm | 2 x 120 mm | Slim core fits in tight spaces |
| 360 mm | 3 x 120 mm | Dense fins for better heat spread |
| 420 mm | 3.5 x 120 mm | Extra room for air, very sturdy |
Pump and Reservoir Integration for Reliable Custom Loop Water Cooling
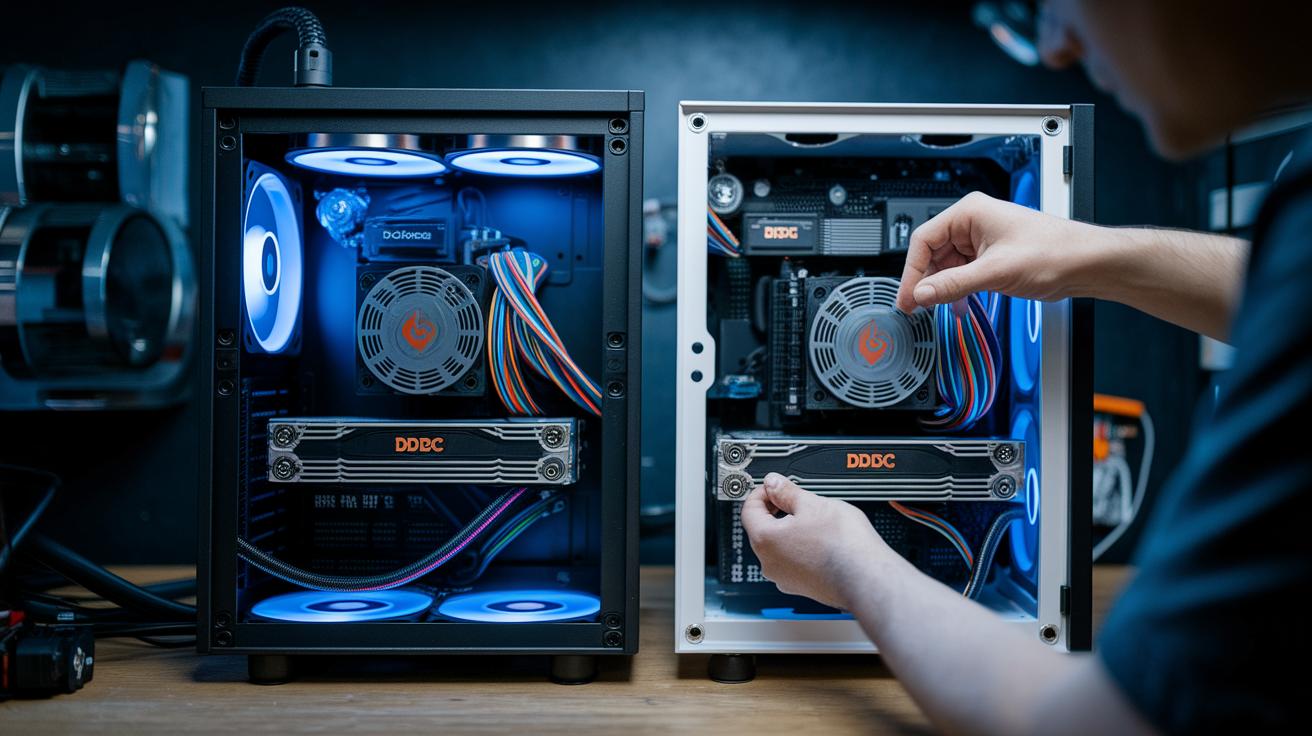
Picking the right pump is a big deal when you build your own water cooling loop. You have a choice: the D5 pump gives high water flow with less pressure, making it perfect for open setups, while the DDC pump packs high pressure into a small design, ideal when space is tight. We tested both and found that the D5 is more suited for loops with plenty of room, while the DDC shines when clearance is limited.
Combining the pump and reservoir into one unit can make your build a lot easier. This integration shortens the tubing runs, which helps keep the liquid flow steady and cuts down on installation headaches. There are different styles to fit your setup. For example, cylindrical designs and bay-mount units both have their perks.
- Large reservoirs: They hold more liquid, which helps remove trapped air.
- Vertical mounting: Makes it easier to fill and purge the loop.
- Horizontal setups: May need extra steps to get all the air out.
Choosing the best setup means balancing pump power with reservoir size and placing them right in your loop. Do you ever think about how small changes can make a big difference? Getting these details right can lead to a stable and high-performing water cooling system.
Tubing, Fittings, and Coolant Choices in Custom Loop Water Cooling
When setting up a custom water cooling loop, picking the right tubing is a big deal. You can go with flexible PVC or rigid acrylic. Flexible PVC bends easily for tight corners, while acrylic gives a neat, clean look. Standard inside diameters are usually 10 mm, 13 mm, or 16 mm. Always check your measurements so the tubing fits well with your fittings.
Fittings are key to keeping your loop leak-free and simple to maintain. You’ll find options like compression fittings (which seal tightly), rotary connectors (that let you adjust angles), and quick-disconnect fittings (for fast, easy cleaning). Each fitting has its perks, so make sure it matches your tubing size to avoid any leaks.
Choosing the right coolant is just as important as your tubing and fittings. Look for fluids with corrosion inhibitors (to protect metal parts) and biocides (to prevent algae growth). Whether you pick a clear or colored coolant is up to your style and how often you perform maintenance. The correct coolant helps with heat transfer and keeps your components safe over time. Test it regularly and be ready to replace or tweak it as part of your routine upkeep.
Installation Step-by-Step Guide for Custom Loop Water Cooling

Before you begin, check every part. Look at all fittings and tubes to make sure they aren’t cracked or damaged. Test-fit your waterblocks, radiator, pump, and reservoir outside the case first. Make sure no tube touches a sharp edge, and plan your cables so they don't block the bends. This simple review helps you catch problems before any leaks or misalignment happen.
After you loosely put everything together, do a leak test. Fill the loop with distilled water or a special test fluid and use a power supply jumper to run the pump for 24 hours. This test makes sure all joins and fittings are tight before you power on your other components. When it passes, you can finish your setup without worry.
- Temporarily set up your waterblocks, radiator, pump, and reservoir in your chosen layout.
- Look over every fitting and connection for signs of wear or damage.
- Mark each tube clearly with masking tape (for example, "CPU in" or "CPU out").
- Measure your tube routes carefully, and mark each bend more than once to keep them consistent.
- Arrange your cables so they do not get in the way of the tubes.
- Connect the test fluid setup using a PSU jumper, and run the pump for 24 hours.
- Fill the reservoir, then run the pump one more time to remove any trapped air.
- Finally, boot up your computer to clear out the last bits of air and finish the installation.
Testing, Troubleshooting, and Maintenance for Custom Loop Water Cooling
Keeping your water cooling loop in top shape means regular checks and simple fixes. First, make sure all the fittings are tightened just like the manufacturer says and check the O-rings for any wear. It’s smart to look at the flow meters and fluid sensors to catch any blockages early and to test the pump speeds to see that the liquid flows as it should. Every 6–12 months, give your loop a good flush with a cleaning solution. For step-by-step advice, check out the electronics cleaning guide. Running the system under full load confirms it stays leak-free and keeps steady temperatures.
- Inspect and tighten fittings as the manufacturer recommends.
- Check O-rings for signs of wear or damage.
- Watch flow meters and fluid sensors for blockages.
- Flush the loop every 6–12 months with a proper cleaning solution (see the electronics cleaning guide).
- Disassemble waterblocks for a thorough clean if cooling performance drops.
Regular maintenance like this helps extend the life of your cooling system. Remember to add biocide flushes and corrosion inhibitors to your coolant. Using a maintenance checklist based on desktop maintenance best practices covers all the bases. Testing under full load gives you peace of mind by catching issues before they become serious.
Performance Tuning and Overclocking with Custom Loop Water Cooling
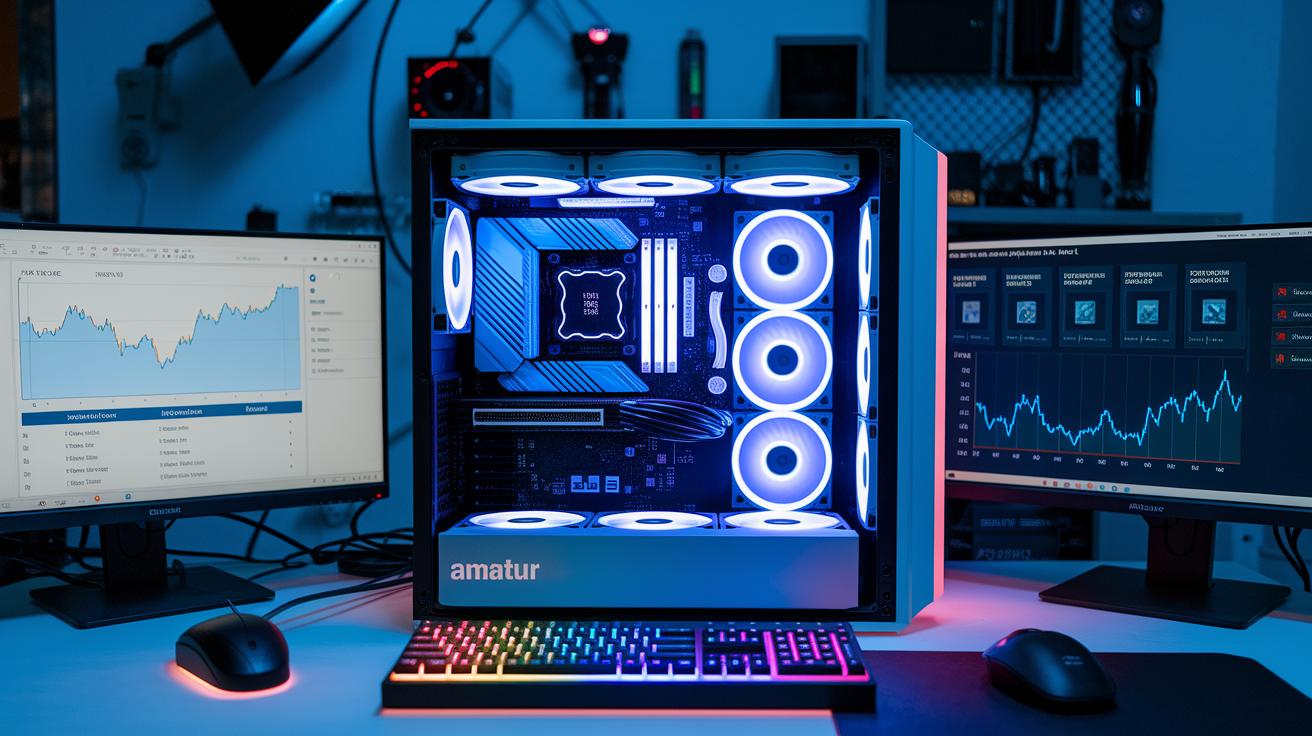
Switching from air to custom loop water cooling can drop your CPU and GPU temperatures by 10–20 °C, making overclocking a lot safer. We track these changes using tools like HWMonitor or AIDA64, which show real-time temperature updates as you slowly raise voltage and clock speeds.
For finding your system's sweet spot, we run stress tests. We use Prime95 for the CPU and FurMark for the GPU. These quick tests let us see the highest stable performance while keeping temperatures in check.
To get the best results, make small voltage increases and keep an eye on both your component and coolant temperatures. Watching coolant temps helps prevent pump issues and ensures your loop can handle extra heat under heavy loads.
We also run regular benchmarks with our stress tests. This way, you see clear data that your system stays in a safe temperature range. With small, careful tweaks and repeated testing, you can spot real improvements. It’s a practical way to push your overclocking limits while relying on the cooling power of your custom loop system.
Comparing DIY and Pre-Built Custom Loop Water Cooling Kits
DIY cooling kits give you total control over your build. With a DIY kit, you source each part yourself. A mid-range build usually costs between $200 and $500. For example, you might pick a waterblock for about $80, a radiator for around $60, and a pump/reservoir for roughly $70. Remember, you also need tools like hard-tube bending tools and extra fittings. These add both cost and time to your project.
Pre-built kits make things much simpler. They come with hoses, fittings, and even the basic coolant already picked out. This means you skip the hassle of matching each piece. However, you don't get as much control over the parts you use. Pre-built options work well for cost-effective cooling but might not please enthusiasts who want every detail to be just right.
In the end, your choice depends on what matters most to you. Do you want to fine-tune every detail, or do you prefer a system that’s quick and easy to set up?
Final Words
In the action, we walked through planning a custom loop water cooling setup, from sketching a layout and picking waterblocks to fine-tuning radiator placement and pump-reservoir setups.
We also stressed leak-testing, maintenance routines, and performance tuning to get reliable results. Our guide compared DIY builds with pre-built kits and put numbers on costs and benefits.
This hands-on approach leaves you ready to build a system that meets your needs and performs well. Enjoy the build and the cool results ahead.
FAQ
What is custom loop water cooling?
The custom loop water cooling system is a DIY liquid cooling setup built from separate components like waterblocks, radiators, pump, and reservoir. It lets you design a cooling solution that fits your PC’s needs.
What does a custom loop water cooling kit for PC provide?
The kit provides all the necessary parts to build a tailored cooling loop. It includes waterblocks, radiators, a pump/reservoir combo, fittings, hoses, and coolant to create an efficient cooling system for your PC.
How does custom loop water cooling compare to AIO and closed loops?
Custom loops offer greater performance and personalization compared to AIO (closed-loop) systems. They deliver improved cooling, permit component upgrades, and allow for aesthetic tweaks, though they require more research and maintenance effort.
What factors impact custom loop water cooling price?
Prices vary based on the quality and brand of components. A typical mid-range setup might cost between $200 and $500, with cost influences from parts like waterblocks, radiators, pumps, fittings, and coolant.
What is a custom loop configurator?
A custom loop configurator is an online tool designed to help plan your cooling system. It lets you map out component placement and tubing routes while checking part compatibility before you start building.
What parts are needed for a custom loop water cooling build?
A build requires waterblocks for the CPU and GPU, radiators, a pump, a reservoir, fittings, tubing, and coolant. Each part plays a role in forming a system that meets your PC cooling demands.
Which custom loop water cooling systems are considered best?
The best systems use high-quality, tested parts. Reviews show that setups with proven waterblocks, efficient pump/reservoir units, and correctly sized radiators provide reliable and consistent cooling performance.
How long does a custom water loop last?
A custom water loop can last several years when properly maintained. Regular cleaning, periodic coolant replacement, and routine checks on components help ensure long-term performance and durability.