

Ever notice that your Android photos sometimes fall short? A few small changes can help you snap sharper, clearer shots. Start by cleaning your lens, it’s like wiping a foggy window for instant clarity. Try using the volume buttons to take steadier pictures, and tap the screen to lock focus on what matters. These simple tweaks can turn ordinary moments into memories that truly stand out.
Core Android Mobile Photography Tips for Instant Improvement
Mobile photography gets better with small, smart tweaks. Clean your lens before every shot to get rid of smudges that blur your image. Think of it like cleaning a foggy window, you get a clear view, and your photos pop. Have you ever noticed how much sharper your picture becomes after a quick wipe?
For steady photos, use the phone's volume buttons as a shutter. This helps cut down on shaking, which is really handy in action shots or low light. Just tap the screen to set your focus and adjust the light on your subject. This simple move makes sure your picture has true color and clear details.
Quick tips:
- Clean your lens every time you shoot.
- Use volume buttons to reduce shake.
- Tap the screen to lock focus and adjust light.
- Stay away from digital zoom; get closer or crop later.
- Try different lenses (wide-angle, telephoto, ultra-wide) for fresh views.
- Shoot in RAW (a file type that saves all the sensor details) for better editing.
Modern Android phones can take magazine-quality photos with these tricks. Instead of digital zoom, move in closer to keep your image crisp. Each setting works together to bring out clear focus and balanced light. Try these fixes now to make your photos look more professional without extra gear.
Optimize Android Camera Settings for Pro-Quality Shots
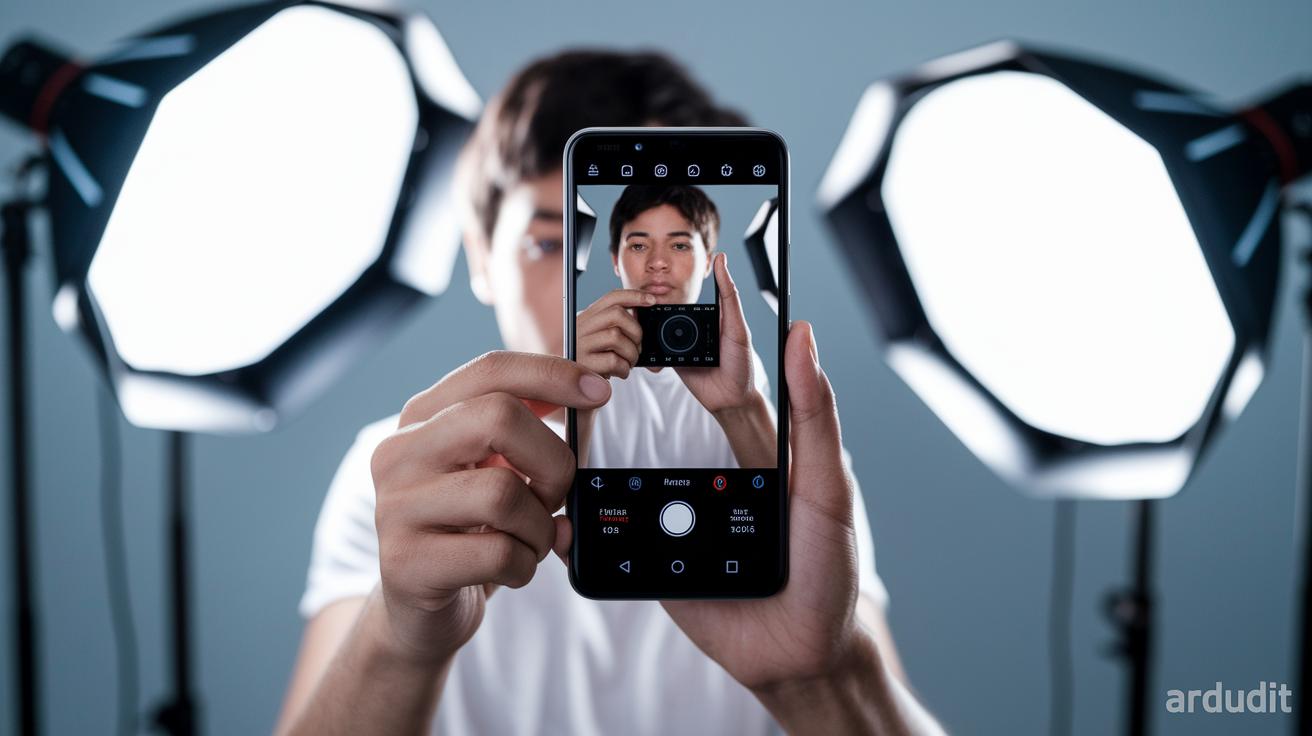
If you want your Android photos to really pop, it helps to explore Pro mode. Manual controls give you the power to change a simple shot into something more interesting. Adjusting the focus (the control that sharpens what you see) can create a soft background blur (bokeh) or keep your main subject clear. Playing with ISO (the sensor's sensitivity to light) and shutter speed (how long the shutter stays open) lets you handle everything from bright days to dim evenings. This hands-on tweaking helps you capture rich images that are easy to polish later.
| Setting | Recommended Range | Best Use |
|---|---|---|
| ISO | 100–400 in bright, 800–1600 in low light | Balancing noise with clarity |
| Shutter Speed | 1/100 s handheld, 1–2 s on tripod | Freezing motion or capturing light trails |
| White Balance | Preset options or custom Kelvin | Achieving accurate color temperature |
| RAW Capture | N/A | Preserving maximum sensor detail |
Try using HDR mode when the light is tricky. HDR (High Dynamic Range) merges several exposures to even out shadows and highlights. And when you shoot in RAW, you keep all the details from the sensor, giving you more freedom to adjust the picture later. This setup works great in scenes with high contrast or in low light where details might vanish. So grab your Android, experiment with these controls, and see how even small changes can lead to professional-looking results.
Android Photography Composition Techniques to Elevate Your Shots
Smartphone photos come to life with a solid sense of arrangement. Simple methods can make your subject pop. When you set up your shot, think about where each element fits in the frame. Try to balance the components and guide the viewer's eye.
Here are five tips to improve your photos:
- Rule of thirds: Turn on the gridlines in your camera app. This breaks the view into nine equal parts, and placing key elements near the intersections helps draw the eye. For example, lining up the horizon with the top or bottom line creates a pleasing balance.
- Leading lines: Find natural lines like roads, fences, or building edges. These lines pull your viewer into the image and focus attention on your main subject.
- Rule of odds: Shoot with odd numbers of subjects, such as three or five. This can make your picture feel more lively and less stiff.
- Horizon leveling: Use the on-screen level tool on your phone to keep the horizon straight. A well-aligned horizon makes your photos look more professional and avoids unwanted tilts.
- Perspective shifts: Change your angle by shooting from a low or high point. This change can highlight details in the foreground or add context to a wider scene.
Each tip works best with the right lens. Experiment with your phone’s wide-angle or telephoto lens (a lens that zooms in on details) to suit your scene. This helps you capture the image just as you see it, whether it is a sweeping landscape or a tight close-up.
Harness Natural Light with Android Device Lighting Tips
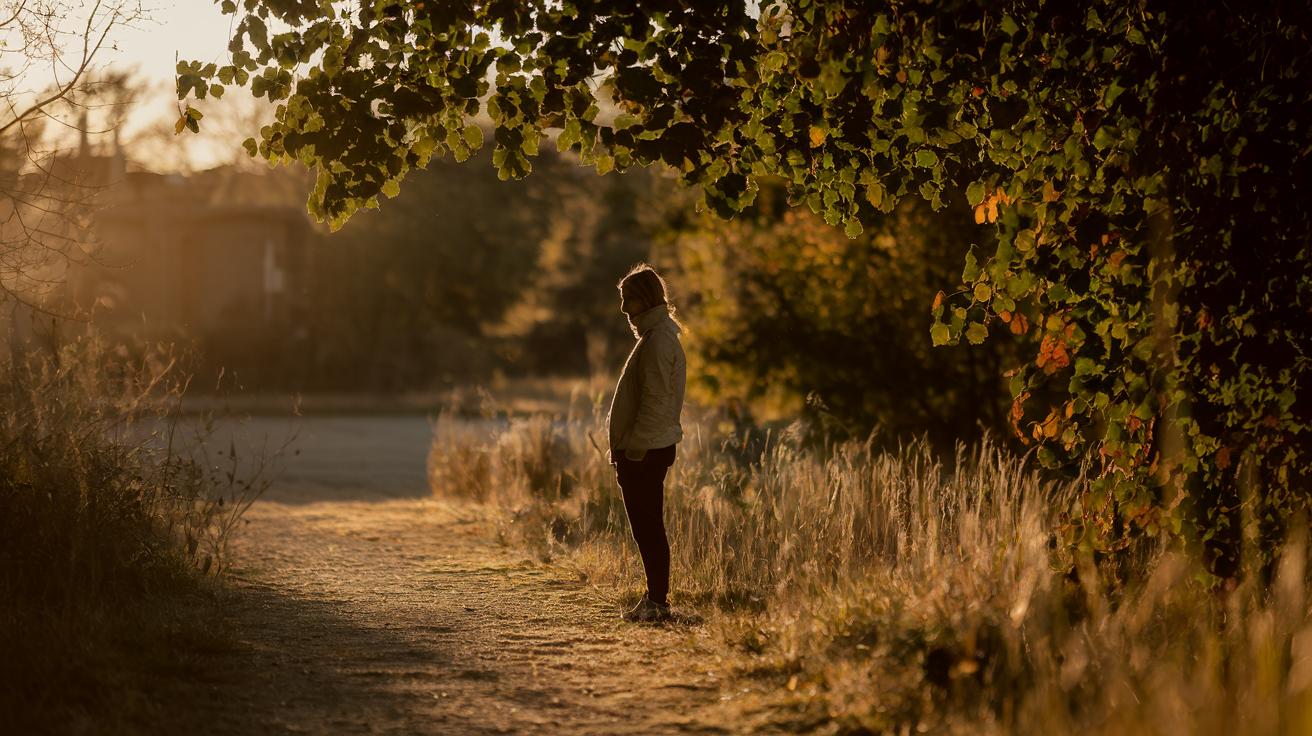
Golden hour gives your photos a natural glow. This special time lasts about 60 minutes after sunrise or before sunset, when the light is soft and warm. It helps you capture gentle shadows and appealing colors that give your pictures a cinematic feel, even with basic cameras.
Turn off the flash to keep your shots looking true to life. Instead, use your phone's built-in Night Mode (it might be called Night Sight, Bright Night, or Nightscape). This mode works with the available light instead of adding harsh bursts, preserving the natural balance and preventing glare or overexposure.
For tough low-light photos, mix Night Mode with HDR (high dynamic range, which blends multiple exposures into one). This pairing improves detail and exposure balance by keeping both bright highlights and deep shadows in check. When the light is very low, put your phone on a tripod and try a long-exposure Night Mode for extra sharpness. You can also experiment with backlit silhouettes by exposing for the bright areas or using a reflector to gently fill shadows. These tips help you master natural light on your Android device and turn everyday scenes into artistic shots.
Best Android Photography Apps for Enhanced Image Capture
If you want to snap great photos on your Android phone, try these handy camera apps. Open Camera is free and lets you control ISO (sensor sensitivity), shutter speed (how long the camera collects light), and exposure (brightness). It even lets you shoot in RAW, which keeps more detail from your sensor. Google Camera ports, known as GCam, add cool features like portrait blur and Night Sight to help in low light. Other choices like Camera FV-5 and ProCam X show handy on-screen histograms (light graphs) and detailed controls. They give you the power to tweak each shot, turning ordinary pictures into crafted images. For example, setting a slower shutter speed can capture light trails, almost like painting with light.
Editing is just as important as capturing. Lightroom Mobile offers non-destructive edits, custom presets, and selective tools so you can improve your photos without losing quality. Snapseed comes with a healing tool for quick fixes, perspective correction, and many creative filters to fine-tune your colors and composition. These apps make editing simple while giving you enough room to be creative. Experimenting with both capture and editing tools can really boost your Android photography skills.
Editing on Android: Post-Production Workflow for Mobile Photos
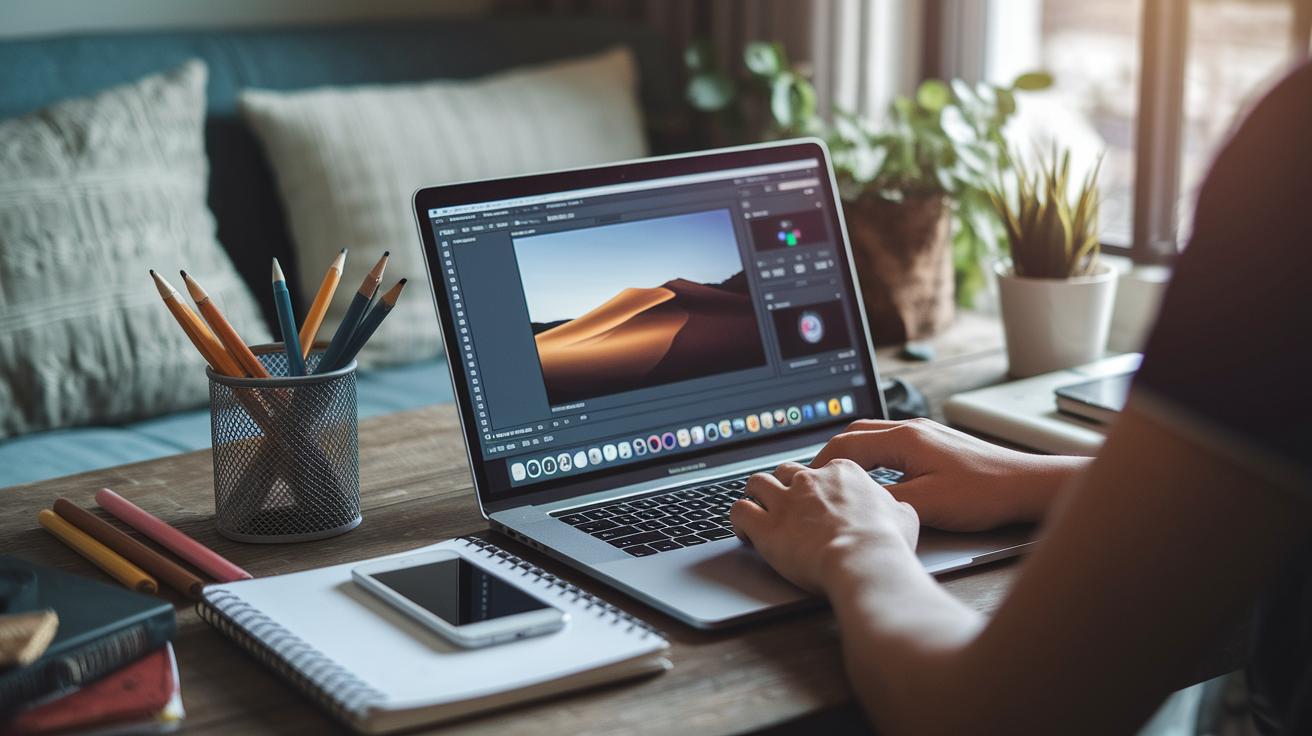
Start by importing your RAW or high-res JPEG photos into your go-to editing app, like Lightroom or Snapseed. Begin by adjusting the overall exposure (brightness) and white balance (color tone) to build a solid base. Next, adjust the highlights (bright parts) and shadows (dark parts) so you can see details in both areas. Then, use the clarity slider to boost mid-tone contrast without causing unwanted halos. Even a small nudge on clarity can bring out subtle textures while keeping your photo natural.
After your basic tweaks, move on to advanced editing. Use noise reduction on high-ISO shots to lessen grain (small, random spots) while keeping key details sharp. Try creative color grading with HSL curves (tools that adjust hue, saturation, and lightness) or presets to give your photo a warm, vintage feel or a cool, modern look. Keep fine-tuning until your image matches your vision. Finally, choose the right export setting: 1080 px width for faster social uploads or 300 dpi (dots per inch, a measure of print quality) for printing, while keeping the correct color profiles intact. This clear, step-by-step workflow turns a good shot into an image that pops with clarity, balanced contrast, and a polished finish.
Final Words
In the action, we walked through key steps from cleaning your lens and using volume buttons as shutter triggers to leveraging manual settings for better control. We explored practical composition ideas, natural lighting tricks, and the best apps that push your Android phone to its full potential. Post-production tips rounded out our guide with clear editing workflows. These android mobile photography tips make it easier to capture sharper, well-composed photos that really pop. Enjoy experimenting, and have fun shooting!
FAQ
Q: What are the top Android mobile photography tips for beginners, including those shared on Reddit?
A: The top Android photography tips for beginners focus on cleaning the lens, using the volume button as a shutter, tapping to set focus, and avoiding digital zoom. These tips help create clearer photos.
Q: Where can I find mobile photography tips and tricks in PDF format?
A: The mobile photography tips and tricks PDF guides offer step-by-step instructions and practical techniques. These downloadable resources are handy for learning new methods and boosting your photo skills on the go.
Q: How can I improve my Android mobile photography and take better photos?
A: Improving Android mobile photography involves using pro modes, adjusting ISO and exposure by tapping the screen, keeping your lens clean, avoiding digital zoom, and taking advantage of built-in editing tools to polish your images.
Q: What is the 20 60 20 rule in photography?
A: The 20 60 20 rule in photography describes a guideline where image elements are divided into 20%, 60%, and 20% segments, helping to balance the frame by emphasizing the middle section, which is key for the subject.
Q: What creative ideas can I use for mobile photography photos?
A: Creative mobile photography includes using gridlines for the rule of thirds, experimenting with low or high-angle shots, capturing spontaneous moments, and playing with different lighting conditions to craft unique visuals.
Q: What defines professional mobile photography?
A: Professional mobile photography uses advanced techniques like manual focus, accurate exposure settings, and RAW capture to produce detailed, high-quality images. Professionals also refine their shots through careful post-production editing.
Q: What mobile photography settings should I adjust for better image quality?
A: Adjust key settings on your phone such as ISO (100–400 in bright light), shutter speed (around 1/100 s for handheld shots), white balance, and try RAW mode to balance highlights and shadows for sharper, more detailed photos.