

Ever notice your WiFi struggling to reach every room? A weak signal might be because your extender isn’t placed right. In this guide, we share simple steps to set up your extender and get a smoother online experience.
First, we check if your extender works well with your current gear (compatibility means your devices work together). Then, we help you find the best spot for it so your WiFi can cover more of your home.
We also show you how to run a speed test (a tool that shows how fast your connection is) to make sure your network stays steady. Small changes can make a big difference.
Follow these tips and enjoy smoother streaming, gaming, and browsing in every room.
Step-by-Step Installation Guide for Your WiFi Extender
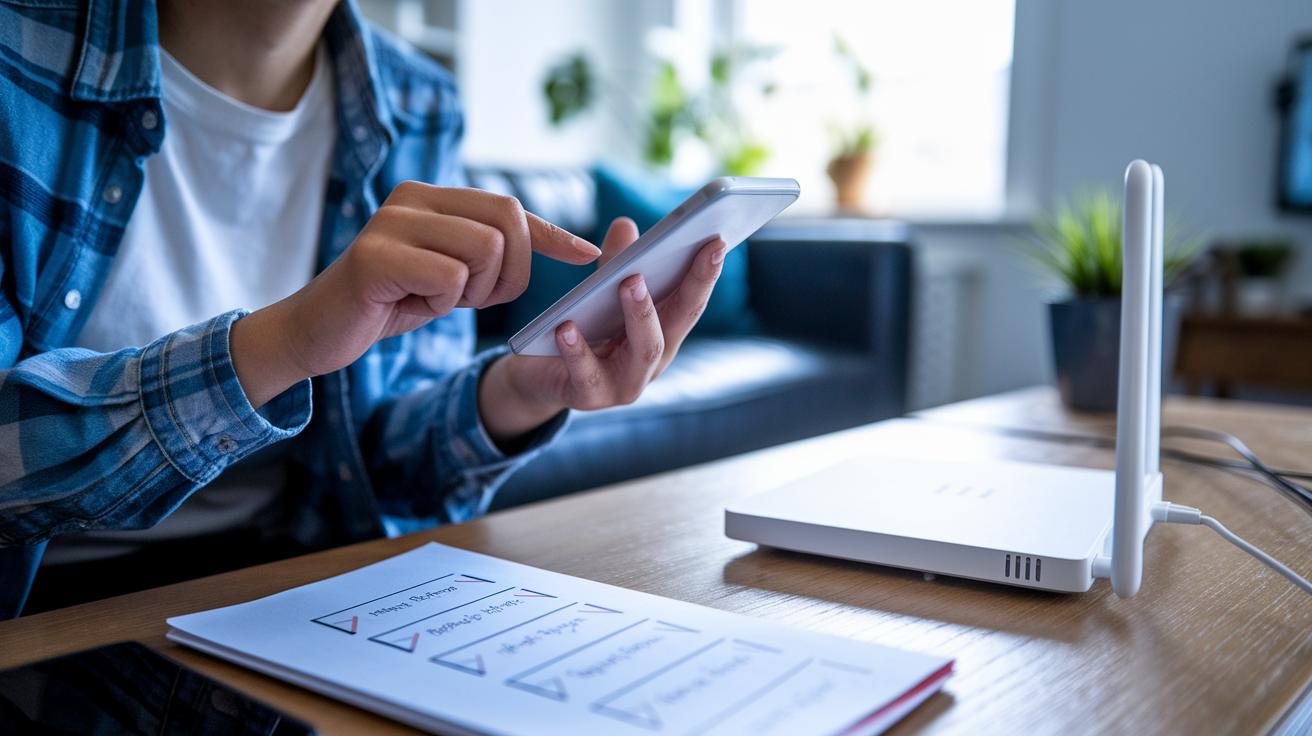
This guide will help you set up your extender quickly and avoid common issues like weak signal or connection drops.
-
First, check that your extender is compatible with your router and grab an Ethernet cable if you plan to use access point mode (this means converting the extender to work over a wired connection). For example, look up your extender’s specs before you start.
-
Unplug your extender and plug it directly into a wall outlet located in the middle of the room. This setup avoids power strip problems and places the extender between your router and the area with a weak signal.
-
Choose how to sync your extender. You can either press the WPS button (a simple pairing method) or use the web interface. Your choice depends on your extender model, so use the method that fits your device.
-
Connect the extender to your home WiFi by selecting your network name (SSID) and typing in your WiFi password. Make sure you type the password correctly so the extender joins the network without issues.
-
Check the LED indicator on your extender. A steady green light means it’s working well, while a red light suggests you might need to move the extender closer to your router.
-
Run a speed test on your laptop or smartphone to see if the signal boost meets your needs. Use any speed test app or built-in tool to measure the performance.
Here’s a quick recap of the steps:
| Step | Action |
|---|---|
| 1 | Check compatibility and have an Ethernet cable if needed. |
| 2 | Plug the extender directly into a mid-room wall outlet. |
| 3 | Choose to sync with either WPS or the web interface. |
| 4 | Connect using your SSID and WiFi password. |
| 5 | Confirm the LED is solid green. |
| 6 | Run a speed test to check the boost. |
If the LED stays red, check the manufacturer’s guide for more tips.
Optimal Positioning to Maximize WiFi Extender Coverage
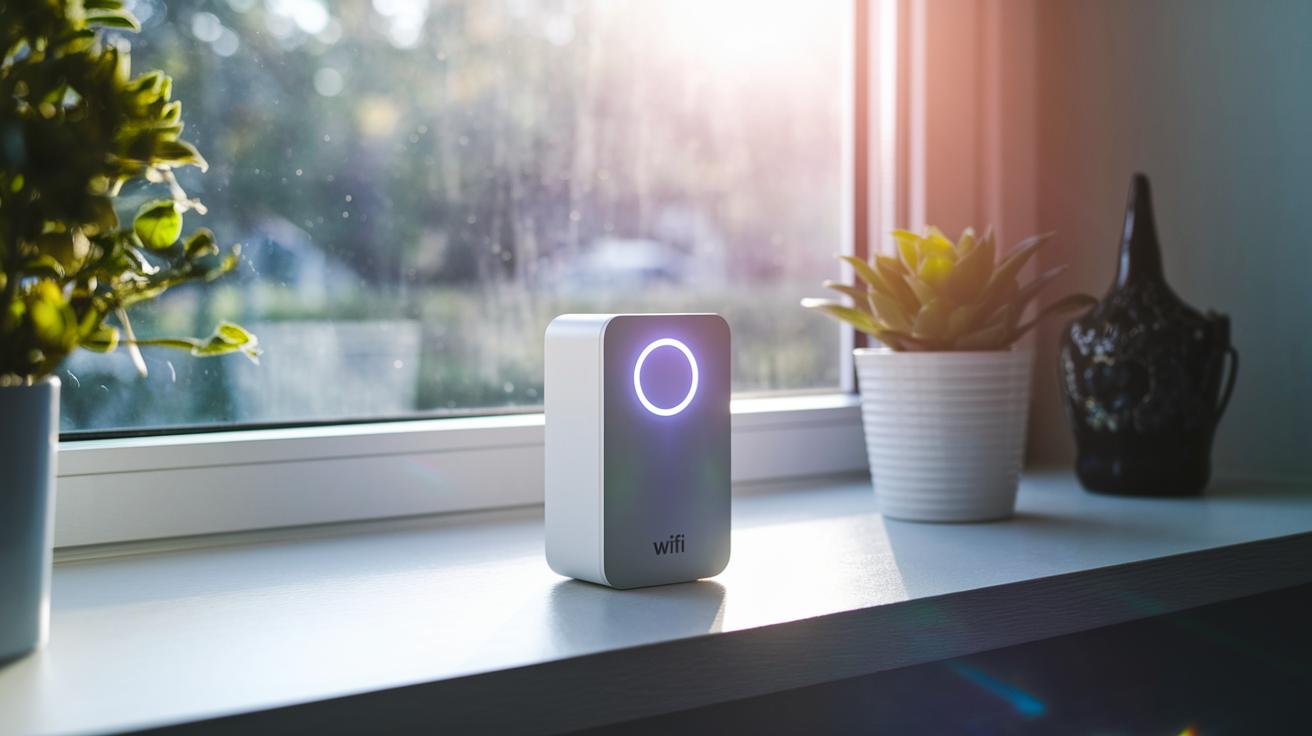
To get a stronger, more even WiFi signal, you need to pick the right spot for your extender. When you set it up well, the signal spreads evenly, cutting down on dead zones so every room gets a better connection. Try placing your extender about 30–50 ft from your router, right in the middle between where the signal is strong and where it’s weak.
Avoid placing it near thick walls, large metal objects, or appliances like microwaves and refrigerators since these can block or bounce the signal. You might find a smartphone app that maps signal strength handy; the LED signal can guide you to a spot with the least interference.
| Placement Tip | Benefit |
|---|---|
| Midpoint between router & dead zone | Balanced signal strength |
| Avoid metal/large appliances | Less signal absorption |
| Wall-mount at chest height | Even vertical coverage |
| Clear line of sight | Fewer reflections/interference |
Do a quick survey with mapping tools to check your chosen spot. Try a few different places until the LED shows strong signal bars. Slowly adjust your extender's position to fine-tune its performance and lessen any interference in your home.
2. wifi extender installation tips for better performance
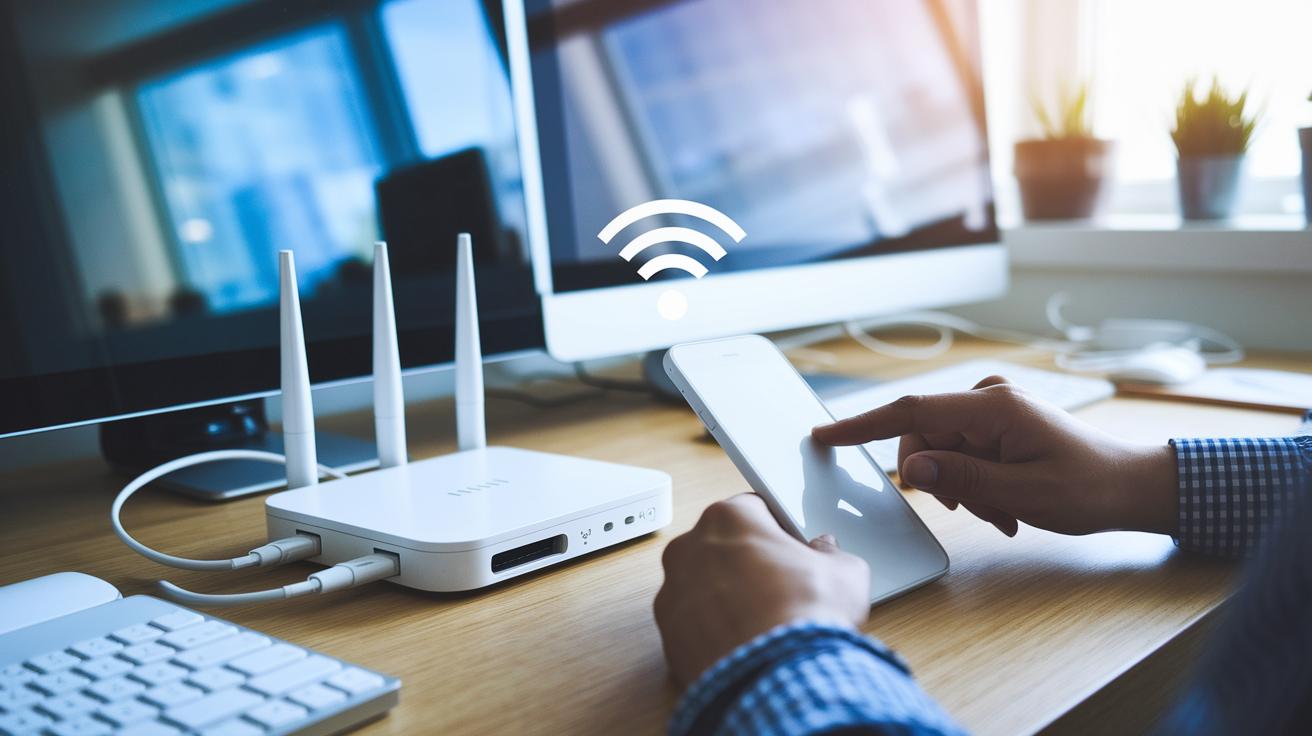
When you set up your extender, you have two easy ways to get it working. You can either use the WPS method or set it up through your computer. Both options help keep things simple and avoid extra tech troubles.
Before you start, decide if you want the extender to use the same network name (SSID) as your router or have its own name. If you have a dual-band extender, you can give the 2.4 GHz and 5 GHz bands different names to suit your devices better. It’s also smart to disable Bluetooth to reduce interference and ensure the firmware is set to match your router’s mode.
WPS setup method
Press the router's WPS button, then press the extender's WPS button within two minutes. A solid LED means they linked up correctly.
Web interface configuration
Connect your computer to the extender’s default URL. Log in, pick your home network, and choose your network name (SSID) and mode. Then save your settings and let the extender join your network.
Performance Optimization Techniques for Strong Wireless Range
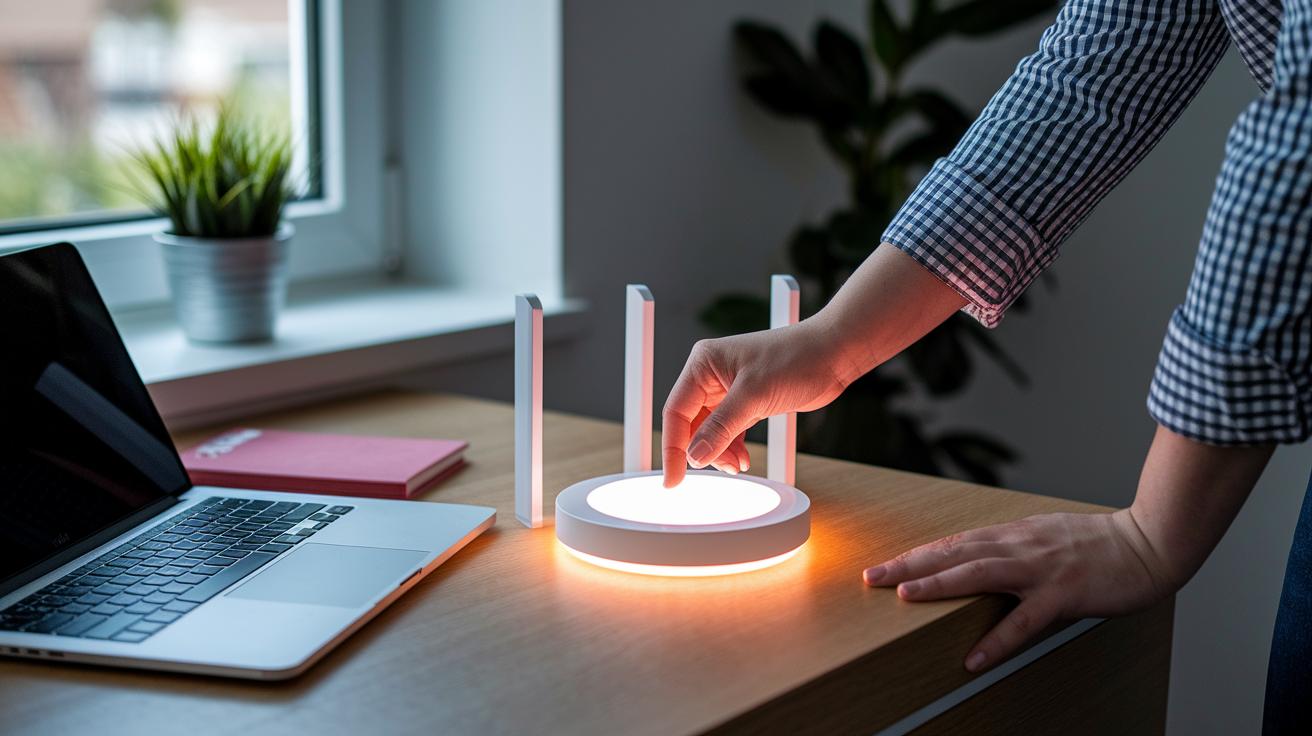
To get the best out of your extender, make sure its firmware is up to date and pick the right channel to cut down on interference. These small tweaks can speed up your network and stretch out your wireless range. A WiFi analyzer (an app that shows how crowded each channel is) can help you find a less crowded channel.
It also matters when you use the 5 GHz band versus the 2.4 GHz band. The 5 GHz band works well for high-speed tasks, while the 2.4 GHz band offers wider coverage. This balance helps you get the right mix of speed and range for your devices.
- Confirm your extender has the latest firmware and update if needed.
- Use a WiFi analyzer app to choose a clear channel.
- Pick the right band: use 5 GHz for fast speeds and 2.4 GHz for more coverage.
- Run a test on speedtest.net and check if the LED shows below 3 bars, if it does, adjust the extender’s position.
- Reboot the extender after major changes.
Keep an eye on the LED status and run regular speed tests. These steps not only show you how your extender is doing but also tell you when it might be time to switch to access point mode using an Ethernet cable for heavier bandwidth tasks.
Troubleshooting Common WiFi Extender Installation Issues
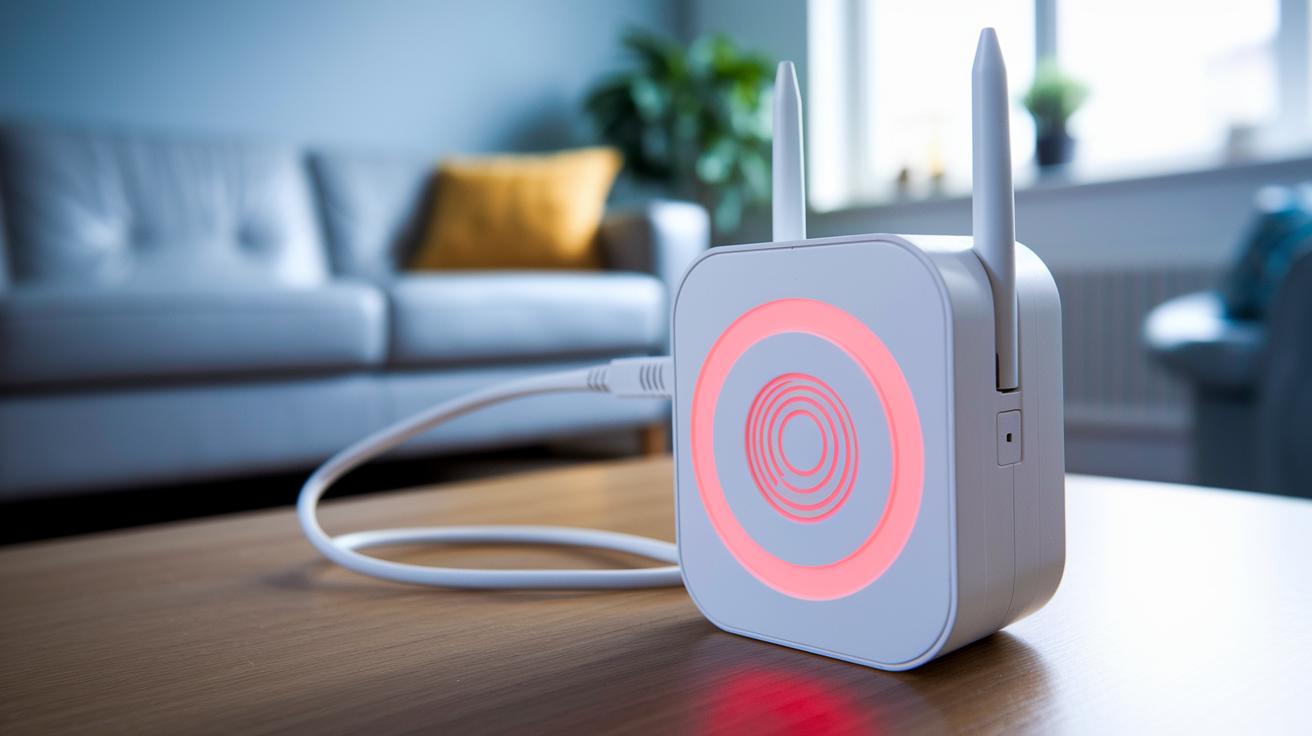
If your extender shows a red LED, it means the connection is too weak. Try moving it closer to your router to boost the signal. Sometimes, if you see no internet, your router might have run out of IP addresses, a result of the DHCP range being full. When that happens, devices cannot get an IP.
If you’re stuck on the login page or see it looping endlessly, the extender might not have made a proper connection with your network. In this case, connect it directly with an Ethernet cable. And if WPS pairing fails, it might be due to crowded wireless channels or interference from things like microwaves or phones.
The LED indicators are a handy way to check what's going on. A red light points to a weak link. Try repositioning the extender, or press and hold the reset button for about 10 seconds to do a factory reset. On the other hand, a steady green light means the extender is properly linked with the router.
If you run into login issues or the extender appears stuck, check the device manual for error codes that might give you a clue on how to fix it. Here are a few tips that have worked well for us:
- Confirm your router’s DHCP pool has enough IP addresses.
- Set up a static IP (a fixed address you assign manually) for AP mode if it keeps failing.
- Change the WPS channel if you still can’t pair.
- Use an Ethernet cable during the initial login to bypass any wireless glitches.
If these steps don’t fix the problem, check the FAQ section in your device manual for more help.
Securing and Managing Extended WiFi Networks
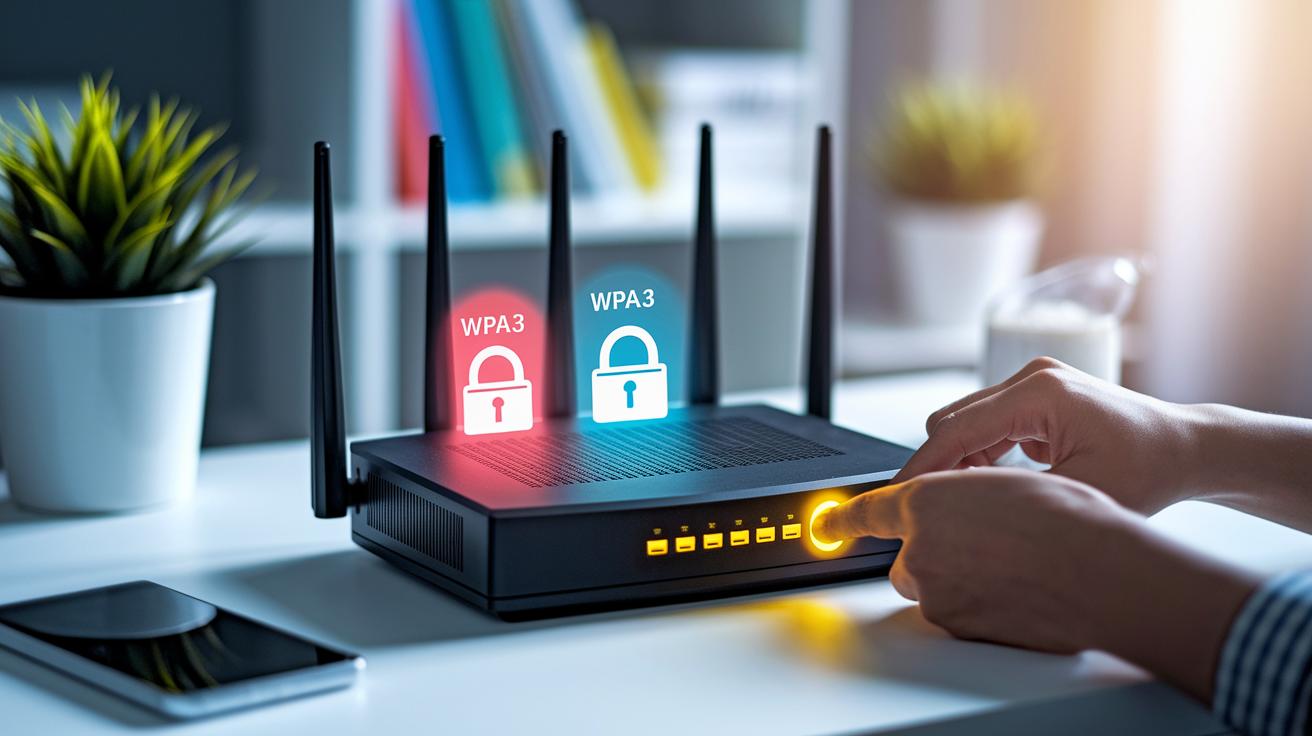
Boost your network’s defense by locking down its security settings from the start. As soon as you begin setup, change the default admin username and password so that only you have access. Use strong encryption like WPA3 or WPA2-AES (a method that scrambles your data) to protect your connection with a solid password. Turn off features such as the WPS-PIN that might let unwanted users in, and never leave your network open. Check the list of connected devices often to spot any unfamiliar activity. These steps build a strong barrier against intruders and keep your network safe.
Create a separate guest network (SSID) to keep visitor access apart from your main setup. Use MAC filtering (a way to allow only devices you trust) to restrict access further, and set your system to scan for firmware updates every night so you automatically get vital security fixes. If your device supports auto-updates, keep that feature enabled. For any deeper tweaks, visit the vendor’s online support portal where you can find clear guidelines on updating security protocols and deploying them safely. This approach creates a steady, well-protected network for both home and work environments.
Advanced Maintenance: Firmware Updates and System Adjustments
Keeping your extender in top shape isn’t a one-time job. Over time, firmware updates help your device stay safe and work well. It’s a good idea to check the vendor’s website every few months for any new updates. Before you change anything, back up your current settings so you have a fallback if things go wrong.
We also recommend testing any new firmware in a controlled lab setting before you use it for important tasks. Updating over a wired Ethernet connection cuts down on risks that come with unstable wireless links. This process not only boosts performance but can also cut energy waste by adjusting the device’s transmit power.
- Export your current settings.
- Upgrade the firmware using a wired connection.
- Tweak the transmit power for better efficiency.
- Check stability and restore your backup if needed.
It’s best to schedule these updates during off-peak hours to avoid disruptions. Also, keep an eye on environmental factors such as room temperature or ventilation when adjusting advanced settings. Finally, document any changes so that troubleshooting down the line is much easier.
Final Words
In the action, this guide broke down everything from checking compatibility and plug-in spots to pairing methods and performance tweaks. We covered optimal placement, safety steps, and even firmware updates. Our wifi extender installation tips show simple steps to avoid common mistakes and boost your network's reach. The hands-on pointers here aim to help you set up a solid, secure connection. Enjoy smoother coverage and let these smart tips guide you to a better home network experience.
FAQ
Q: Wifi extender installation tips reddit
A: The tips shared on Reddit for installing a WiFi extender suggest plugging the device directly into a wall outlet, placing it midway between your router and dead zones, and monitoring LED indicators to confirm proper operation.
Q: Wifi extender installation tips for home and best wifi extender installation tips
A: The best home installation tips recommend checking compatibility first, using a wall outlet instead of a power strip, positioning the extender about halfway between your router and weak signal areas, and verifying the LED status during setup.
Q: WiFi extender setup TP-Link
A: The TP-Link WiFi extender setup involves connecting to its web interface (for example, tplinkrepeater.net), logging in, selecting your home network, entering your WiFi password, and saving the configuration for a seamless connection.
Q: How to connect wifi extender to router and how to connect wifi extender to router wirelessly
A: The connection process for linking a WiFi extender to a router wirelessly involves either using a WPS setup—pressing the router’s button and then the extender’s—or configuring the device via its web interface for proper network integration.
Q: Netgear WiFi extender setup
A: The Netgear WiFi extender setup generally uses the WPS method by pressing the buttons on both your router and extender to create a strong connection, monitored by a change in the LED indicator to a solid green.
Q: How to set up a WiFi extender with WPS
A: The setup using WPS on a WiFi extender means pressing your router’s WPS button, then pressing the extender’s WPS button within two minutes, and confirming a successful connection when the LED indicator turns solid green.
Q: Do you just plug in a WiFi extender and it works?
A: The idea that a WiFi extender works by simply plugging it in is a misconception; you still need to complete the pairing process either via WPS or a web interface to join it with your home network.
Q: How close should a WiFi extender be to the router?
A: The ideal distance is about halfway between your router and the area with poor coverage, typically around 30 to 50 feet away, so the extender receives a strong signal while reaching the dead zones effectively.
Q: What are common WiFi extender setup mistakes?
A: The common setup mistakes include poor placement (too far from the router), using surge protectors or power strips, selecting the wrong pairing method, and skipping the confirmation of LED indicators, which can lead to weak connections.
Q: Should a WiFi extender be placed high or low?
A: The appropriate placement for a WiFi extender is at chest or mid-floor height, as this level typically provides balanced vertical coverage and minimizes obstructions compared to placing it too high or too low.