
Ever wonder why some PC builds don’t work well? A small mismatch between parts can stop your dream machine in its tracks. In this article, we explain how pairing key components like CPUs and motherboards really affects your build. We show you how smart choices can save you time, money, and a lot of headaches. With a handy checklist of must-match parts, you can boost your system's performance and stability right from the start. Let's drop the guesswork and get your PC running smoothly.
PC Components Compatibility: Overview of Key Matching Criteria
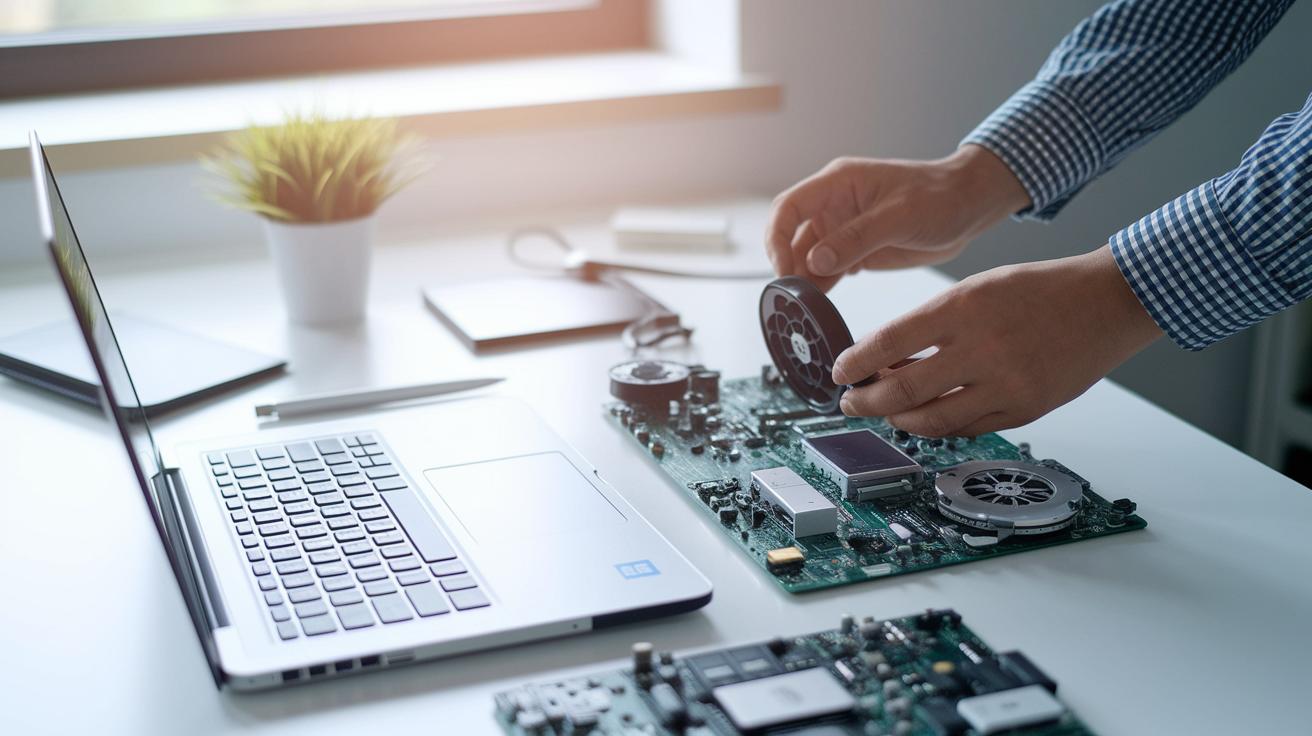
When building a PC, making sure all parts work well together is key. If you mix up the CPU socket or get a power supply that falls short, your computer might never start. Tools like BuildMyPC run over 100 checks (using algorithms) to help you pick parts that truly match. Even a small socket error can waste time and money.
It’s not only about the basics. You need to check the power draw, connector types, and even the case size. Matching everything right helps avoid issues like weak cooling, unstable performance, or slowdowns. A smart compatibility engine sifts through brands, features, and prices to warn you about parts that might not work well. For example, if your CPU needs a certain chipset, the tool will highlight any motherboards that might miss out on the latest BIOS updates.
| Component Pair | Compatibility Factor | Key Note |
|---|---|---|
| CPU↔Motherboard | Socket type and chipset | Make sure both use the same socket |
| GPU↔PSU | Power draw and connectors | The PSU must handle the GPU’s power needs with some extra headroom |
| RAM↔Motherboard | Speed and capacity | Choose RAM that fits the motherboard’s specs |
| Storage↔Interface | Drive type and form factor | A proper interface is key to avoiding boot problems |
| Case↔Cooling | Airflow and space | Ensure there is enough room for fans and proper airflow |
Automated tools take the guesswork out of building your PC. They filter options, point out mismatches, and update you constantly so you can focus on performance and design.
Matching Processors and Motherboards for Reliable Compatibility
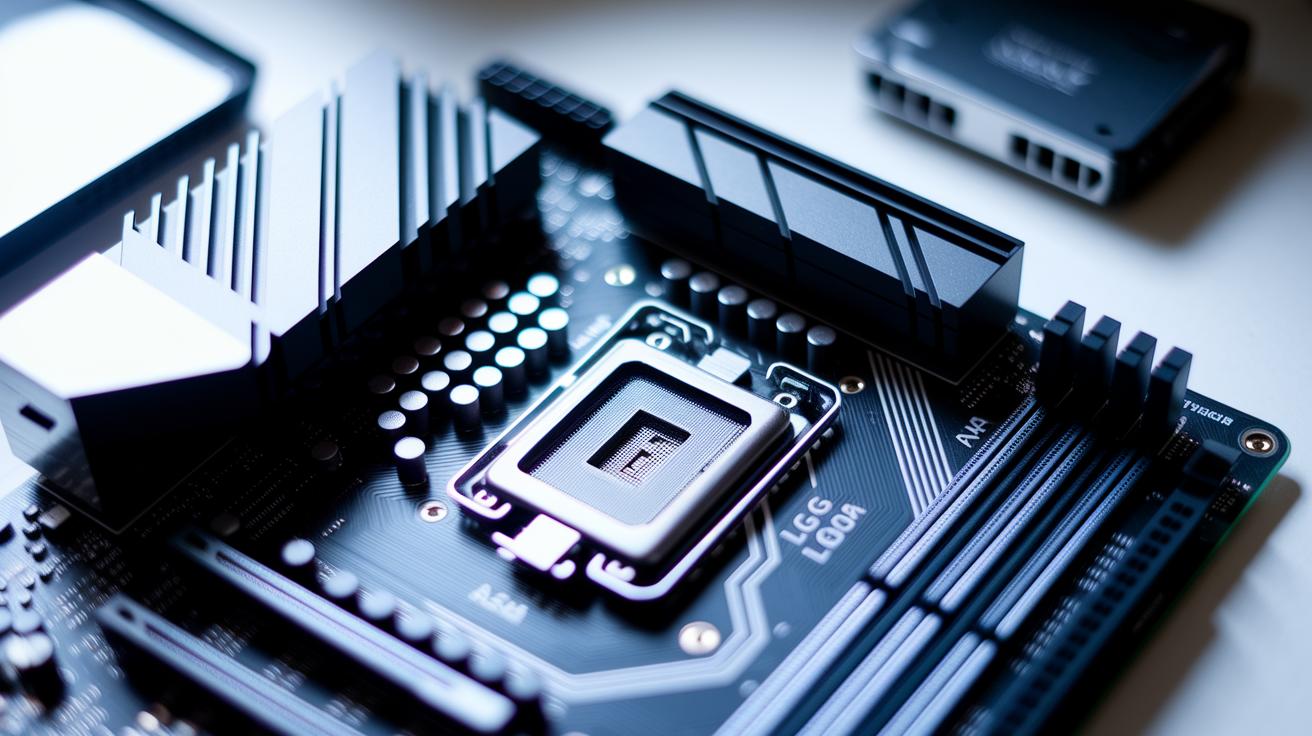
When picking a CPU, it helps to stick with trusted brands like Intel or AMD. Check the socket type (for example, AM4 for AMD or LGA1200 for Intel) and look at the chipset details, such as Intel’s Z590 or AMD’s B550. This simple check can save you time and money by preventing mismatches later.
It’s a good idea to read your motherboard manual next. The manual tells you which CPUs are supported and what BIOS version you need. An updated BIOS makes sure your board works well with newer CPUs. Taking a few minutes now can spare you a lot of trouble down the line.
Tools like BuildMyPC can also help. They automatically check socket and chipset details, flag any mismatches, and remind you to update your BIOS if needed. Using these tools means you catch any issues before you commit to your build.
Ensuring Graphics Card and Power Supply Pairing

When you plan a build, start by checking your graphics card's power draw. Manufacturers list a card's TDP (how much power it uses) which is usually between 200W and 350W. This helps you work out the total load for your system, including the CPU and other parts. For example, if your card uses 250W, you need a power supply that covers that and still has 20–30% extra room.
Next, check that the power supply has the right connectors. Look for the correct PCIe connectors, whether 6-pin or 8-pin, that your graphics card needs. Using the wrong connector setup can cause instability. Tools like BuildMyPC can help you spot any issues and choose a power supply that matches your system.
Finally, choose a high-efficiency power supply rated at 80 Plus Bronze or better. These models keep voltage steady and reduce wasted energy, which helps keep your build cool and reliable. A quality power supply means your graphics card runs safely and gives you steady performance under load.
RAM and Motherboard Integration Best Practices
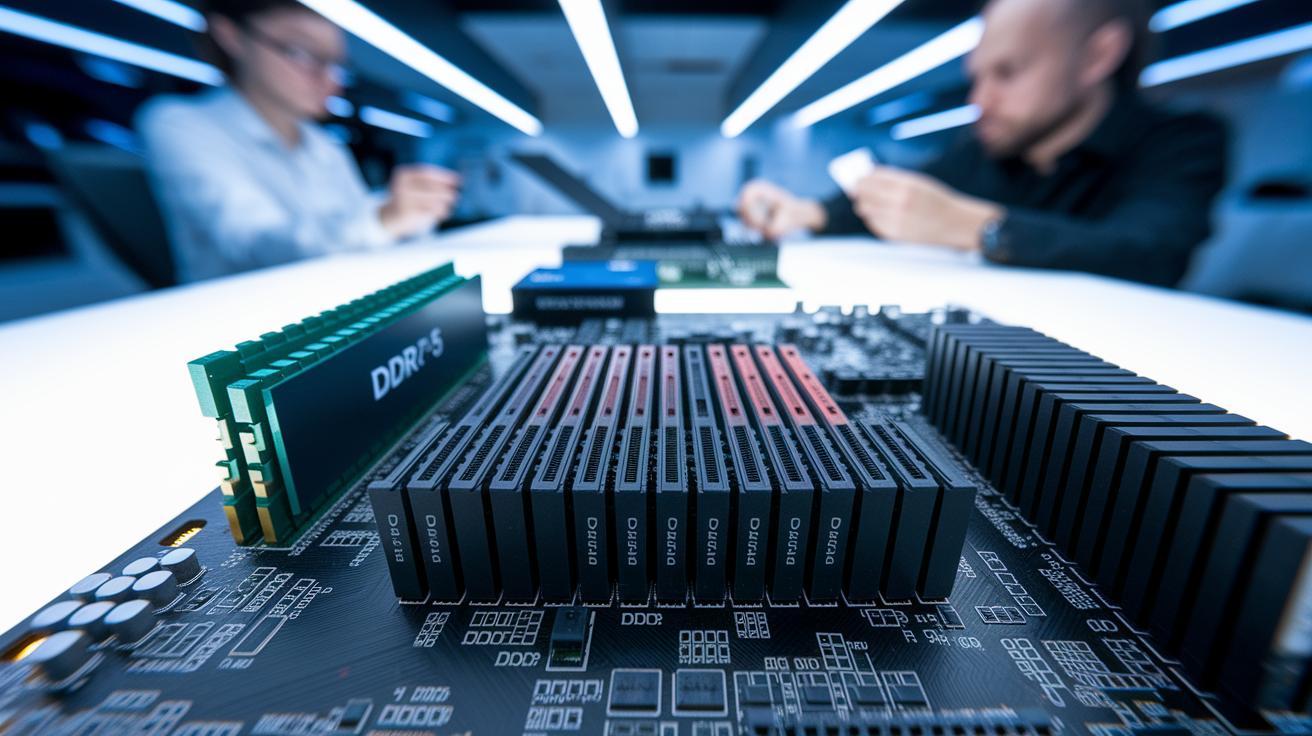
First, check your motherboard manual to see which DDR version it supports. Most boards clearly state if they work with DDR4 or DDR5 and list a top speed, such as 3200 MHz or 3600 MHz. This helps you pick memory that matches your board's limits and runs without hiccups. Knowing these details stops you from buying super-fast modules that your board can’t fully handle.
Next, look at your RAM module sizes and channel setup. RAM sticks come in sizes from 8 GB to 32 GB each. Using them in a dual- or quad-channel setup helps data move faster between the memory and processor, which can boost overall performance. Always check your board’s specs to make sure you don’t go over the total capacity or use an unsuitable configuration.
Finally, turn on XMP (Extreme Memory Profile) to safely boost performance. This feature adjusts your memory timings and speeds to match the specifications set by the manufacturer. Tools like BuildMyPC can help you spot any unsupported settings, so you can enable XMP with confidence knowing your overclocked setup will remain stable and reliable.
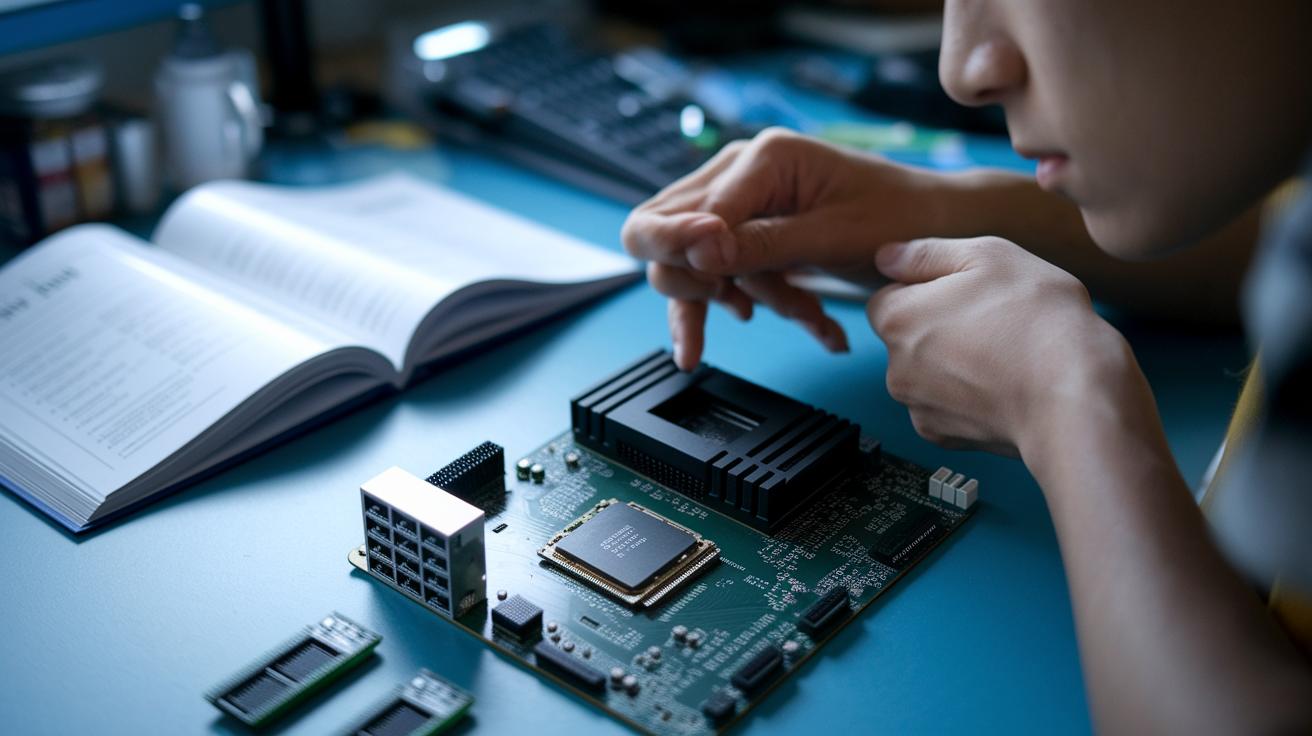
Storage Drives and Case Cooling Compatibility Essentials

Choosing the right storage drive is key to a smooth build. First, check your drive interface. For example, SATA III (6 Gb/s) provides steady data flow, while NVMe M.2 PCIe Gen3 and Gen4 drives move data much faster. Pick a drive that fits your motherboard, whether it's 2.5", M.2, or U.2.
Make sure the drive matches your needs. Check the specs to see if your case can handle different drive types. This helps prevent boot delays and slow file transfers.
Don't overlook case cooling. Measure your case to ensure there's room for both your drive and cooling parts. Look at the mounting options and note any height limits, such as a maximum of 160 mm for CPU coolers. Also, check how air flows inside the case so your HDDs and SSDs stay cool during heavy use, keeping your system reliable.
Final Compatibility Checklist and Troubleshooting Guide
Every build goes smoother when you have a clear checklist. Tools like BuildMyPC compare parts using manufacturer specs, so you won't waste time and money on mismatches. With daily price updates and detailed part info, you can focus on how everything fits and works instead of digging through paperwork.
Follow these steps to confirm your build is ready:
-
Check CPU and motherboard socket
Make sure your CPU's socket (for example, LGA1200 or AM4) matches what the motherboard supports. -
Confirm RAM type and speed
Look at the motherboard specs and verify that it supports the DDR version and top speed of your memory modules. -
Ensure your GPU gets enough power
Check that your power supply has enough wattage plus some headroom and the right PCIe connectors for your graphics card. -
Measure case size and expansion slots
Verify your case has the right dimensions and enough slots to hold every component. -
Verify cooler space and airflow
Make sure your case has sufficient room for your cooling setup to keep parts at safe temperatures. -
Check storage options
Confirm that the drive type (such as SATA or NVMe) and the number of bays on your case match your storage needs. -
Run POST diagnostics
Once you’ve put it all together, run a Power On Self Test (POST) to catch any errors. Then check the motherboard’s error codes to pinpoint problems.
Using online tools or vendor support can help solve issues after assembly. If you see a warning, these resources can reveal if a firmware update or a small tweak will fix it, so your build works reliably.
Final Words
In the action, our guide tackled matching criteria step by step. We covered everything from CPU and motherboard pairings to PSU and GPU power checks. We looked at RAM setups, checking storage interfaces, and confirming case cooling specs.
Breaking down the checklist simplified troubleshooting and helped flag common fit issues. Clear steps and practical tools can prevent unwanted surprises and save you time. With pc components compatibility as your focus, your build can run smoothly and reliably every day. Happy building!
FAQ
Pc components compatibility chart
The PC components compatibility chart explains how key parts match together. It highlights criteria like socket types, power needs, and form factors to help you avoid incompatible PC builds.
PC compatibility Calculator
The PC compatibility calculator evaluates your chosen parts. It checks that details such as CPU sockets, RAM speeds, and power requirements align correctly to prevent mismatches.
Pc components compatibility reddit
The PC components compatibility Reddit discussions share real user insights. These community threads offer practical advice and highlight common issues when matching PC parts.
Gaming pc components compatibility
Gaming PC components compatibility ensures that your parts work in harmony for smooth gameplay. It covers matching GPUs to PSUs, motherboards to high-speed RAM, and other vital gaming aspects.
PC build compatibility checker
The PC build compatibility checker reviews every part in your system. It flags issues like socket mismatches and insufficient power, helping you build a reliable and efficient gaming PC.
All parts needed to build a gaming PC
All parts needed to build a gaming PC include the CPU, motherboard, RAM, GPU, PSU, storage, case, and cooling solutions. Each component must be checked for proper compatibility and fit.
PC parts comparison
The PC parts comparison tool presents specs side-by-side. It lets you evaluate component performance, power consumption, and physical dimensions, ensuring you select parts that work well together.
PC parts list
The PC parts list details every component required for a complete build, from processor to storage. It serves as a checklist to ensure all parts are compatible and suitable for your needs.