

Can your phone capture bright highlights and deep shadows at the same time? Many folks think mobile HDR (high dynamic range) photography is too hard. But with a few simple tips and a steady hand, you can get bold, balanced shots. It's a bit like building layers in your favorite photo app, each capture adds more detail to the final image.
In this guide, we break down easy steps to help you use your phone's HDR mode for photos that really pop with clear, true-to-life detail.
Mobile HDR Photography Tips to Balance Shadows and Highlights
When you take smart photos with HDR (High Dynamic Range), your phone works hard to keep details in both dark and bright spots. First, the app checks the light in your scene. It then adjusts itself to capture a balanced image even when the lighting is mixed.
The app snaps three full-resolution DNG shots. Each photo captures a different part of the light range, from dark shadows to bright highlights. These three photos are automatically lined up, merged, and adjusted to remove any ghosting (little moving spots) and then tone mapped (adjusting the brightness mix). It’s a bit like stacking layers in editing software, where every photo gives a bit of detail to the final image.
Smart HDR is a handy tool many phones offer. Still, it pays to check your HDR settings. In scenes with lower contrast, too much blending can sometimes make your photos look a bit off. Keeping an eye on this setting helps your pictures stay true to life.
- Analyze the scene's light
- Turn on HDR or bracketing
- Keep your phone steady
- Capture the bracketed shots
- Check the raw DNG files
- Pick the merged final image
Tone mapping is the last step that makes the image pop. It adjusts the mid-range brightness to blend bright and dark areas smoothly. The end result is a photo where every detail, from your subject to the background nuances, stands out clearly.
Mobile HDR Photography Tips: Recommended Apps and Imaging Settings

When picking HDR apps, choose ones that are simple yet pack strong editing tools. Good apps capture several DNG (raw image) files and then line them up and merge them using built-in tricks to balance the brightness. This means your photos show real light and colors without extra hassle.
| App Name | HDR Features | Price (USD) |
|---|---|---|
| Lightroom Mobile | Align, merge, deghost, tone map | Free / Subscription |
| Snapseed | Tone EQ and curves | Free |
| Hydra Pro | manual exposure bracketing | ~4.99 |
| Pro HDR X | custom merging options | ~2.99 |
For best use of these tools, try these basic settings. In Lightroom Mobile, set the ISO to 100, use a small exposure boost of about +0.3, and stick with the standard tone curve to keep colors natural. With Snapseed, start with a neutral ISO and use a little push on the Tone EQ to brighten shadows. Hydra Pro shines with manual exposure bracketing and a flat tone curve to bring out details, while Pro HDR X works best with custom merging tweaks and a low ISO to keep both highlights and shadows in check.
Mobile HDR Photography Tips for Varied Lighting Conditions
Golden hour gives you soft, gentle light that cuts down on harsh contrasts and makes colors really pop. When you shoot at this time, your camera picks up natural tones and even lighting without needing lots of editing later.
When you capture a scene with the sun behind your subject, HDR mode really shines. It balances the bright sky with shadowed areas so faces stay clear and details don't get lost. This is key when the light is tricky, and every part of your image deserves its own moment to shine.
In darker settings or when your subject is moving quickly, HDR can sometimes add unwanted noise or ghosting. In these cases, turning off HDR might be your best bet to keep things looking natural and free from extra artifacts.
Adjusting your ISO (the setting that controls how sensitive your camera is to light) and exposure compensation can also help. Lowering the ISO keeps digital noise at bay, while a small boost in exposure can light up shadows or calm down bright highlights. These tweaks make sure your phone captures the scene as if you were really there.
Mobile HDR Photography Tips: Post-Processing and Tone Mapping Methods

When editing your HDR photos, start by aligning and merging the different exposures. The mobile app carefully lines up details from each shot so that shadows, midtones, and highlights join together nicely. This step makes sure every part of your scene shows up clearly. Advanced apps do this automatically, which saves you time and sets up a solid base for more tweaks.
Next, use deghosting when some parts of your scene move between shots. If you see duplicate trails or blur from slight motion, deghosting tools compare your images and remove these unwanted traces. This helps keep moving subjects sharp, which is very handy for event photography when people and objects are always in motion.
After your images are merged, adjust the tone curves, saturation, and clarity to fine-tune the look. Changing the tone curve helps balance the dark and light areas, while sliding the saturation and clarity controls boosts colors and detail. This makes your photo feel natural but still full of depth.
Finally, apply noise reduction and a bit of sharpening. Noise reduction smooths out the dark areas without losing detail, and a gentle sharpening step makes the edges stand out. Following these steps gives you HDR photos that are both balanced and striking.
Mobile HDR Photography Tips for Composition and Framing
Landscape and nature HDR composition
When you're out shooting nature, try using the rule-of-thirds. That means you place the horizon along one of the grid lines for a balanced look between the sky and the land. Adding a strong foreground element, like a tree or a rock, gives the image depth. Imagine a field of wildflowers under a vivid sky. Placing the horizon in the upper third lets both the sky and the ground share the spotlight. This simple trick brings out natural contrasts and makes the scene come alive.
Urban and architectural HDR framing
City scenes and buildings show off mixed lighting and reflections really well. Try shooting from a low angle to capture bold contrasts between bright neon lights and deep shadows. Picture standing on a busy street with skyscrapers reflecting the sunset. Using reflections in glass or water can turn a normal shot into something striking. Play with creative angles to reveal how both artificial and natural light work together. This method highlights structure and symmetry while giving your HDR photos a dynamic, urban feel.
Mobile HDR Photography Tips: Overcoming Common HDR Challenges
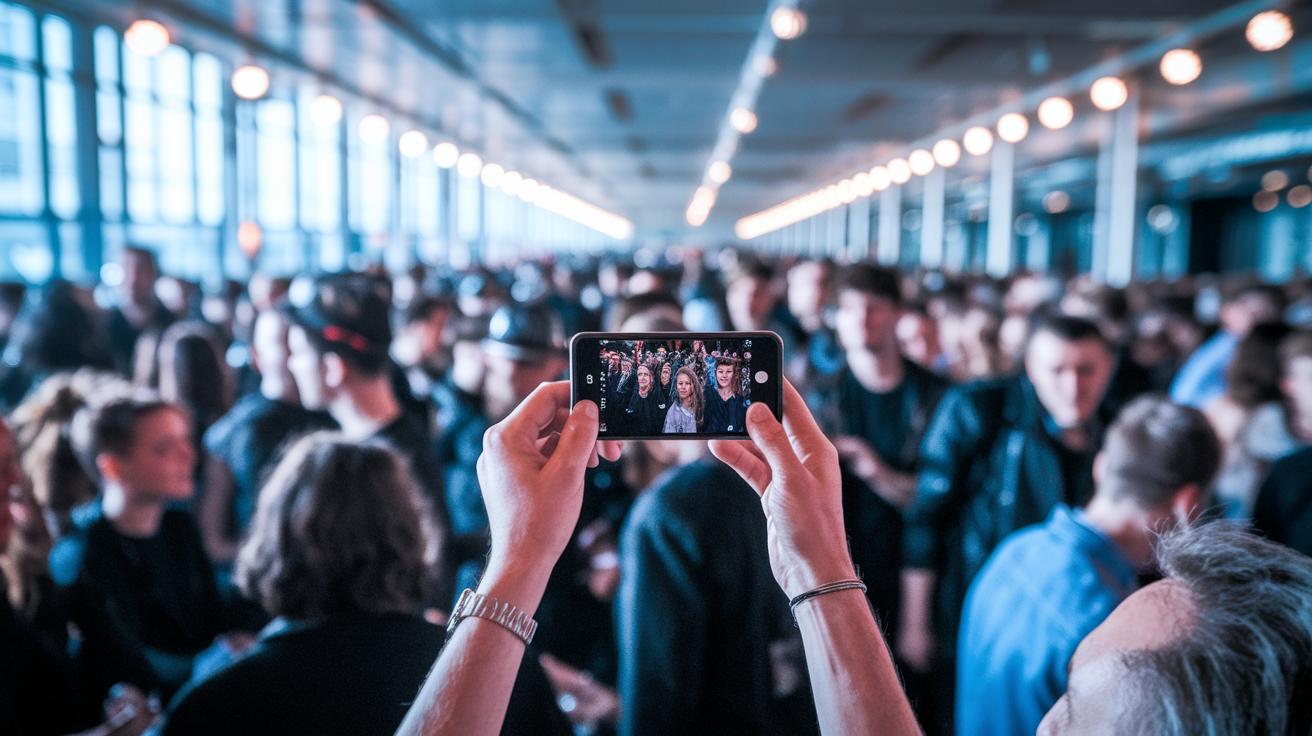
Ghosting can happen when your subject moves between shots in a burst mode. Most camera apps let you manually remove these unwanted effects. Using faster burst modes also cuts down on ghosting since many photos are taken quickly, reducing the chance of movement. Imagine snapping a busy event; these tools help line up the shots so your final HDR image is clean.
Scenes with a huge range of light can push your sensor hard, making bright parts look overexposed or dark areas lose detail. This light imbalance, called exposure clipping, occurs when one picture can’t capture both extremes at once. You can fix this by adjusting the exposure settings (a quick change to brighten or darken) or by using a graduated filter that darkens only part of the scene. Picture a bright sky over a dark field, the right tweaks balance both sides.
Sometimes low-contrast scenes make your image look flat, and extra noise in the shadows can turn your photo grainy. In these cases, in-app denoise filters can smooth out the rough patches while keeping details intact. If the light is even or if auto HDR doesn’t read a tricky scene right, turning off HDR might just give you a cleaner, more natural look.
Final Words
In the action, we've walked through balancing shadows and highlights on your smartphone using varied techniques. We broke down shooting, editing, and overcoming challenges into clear, actionable steps. The process, from capturing three DNG images to fine-tuning tone mapping, shows that real-world mobile HDR photography tips can improve your results. Follow the capture steps, experiment with recommended apps, and adjust settings for varied lighting conditions to transform everyday photos into dynamic visuals. Keep testing and refining your approach to capture images that pop with detail and natural contrast.
FAQ
Q: What are mobile HDR photography tips for beginners?
A: The mobile HDR photography tips for beginners focus on capturing several exposures to blend details from shadows to highlights. They guide you to set up stable shots and use in-app features like exposure bracketing.
Q: What are the best mobile HDR photography techniques, including taking HDR photos on an iPhone?
A: The best mobile HDR techniques involve using multiple exposures and Smart HDR settings available on iPhones. These tips help you balance light, avoiding overuse that can lead to an unnatural look.
Q: How do you make HDR photos in Photoshop?
A: The process in Photoshop for HDR photos uses several exposure layers, then aligns, merges, and tone-maps them. This method refines details in both dark and bright areas for a balanced image.
Q: What is HDR in mobile cameras and on Android devices?
A: The HDR function in mobile cameras, including Android, combines images with different exposures to capture a broad dynamic range. This technique preserves detail in both shadows and highlights.
Q: Where can I download HDR sample images?
A: The HDR sample images download option lets you access example files from various photography resources online. These samples help you study tone mapping and dynamic range when editing.
Q: What is an HDR photo?
A: An HDR photo combines several images taken at different exposures into a single picture. This process results in a final image with well-balanced details in both the shadows and highlights.
Q: What are common HDR photography mistakes?
A: Common HDR photography mistakes include shooting in low-contrast scenes, causing an over-processed look, and allowing ghosting when subjects move between shots. Correcting these issues often means checking stability and exposure settings.
Q: What do the 20-60-20 and 3:1 rules in photography mean?
A: The 20-60-20 and 3:1 rules guide composition and exposure balance. The 20-60-20 rule divides a scene into thirds for effective focus, while the 3:1 rule helps manage the contrast between shadows and highlights.