

Ever wonder if your phone could turn a simple scene into a work of art? Every picture can hold a story, and creative photography helps you find beauty in everyday moments. In this post, I show eight simple ways to play with your phone’s settings, angles, and editing apps. I include real examples and hands-on advice so you can go beyond basic snapshots and bring your photos to life.
Essential Creative Mobile Photography Techniques Overview
Mobile photography lets you grab life's moments with easy, hands-on methods. Using your smartphone is all about trying different settings and angles to tell a personal story.
Here are eight simple ways to boost your creative shots:
- Shoot in RAW: This mode saves all the sensor data so you can make deeper edits later.
- Use manual mode: Adjust settings like shutter speed, ISO (camera sensitivity), and white balance to get the look you want.
- Focus on composition: Follow simple guides like the grid and look for natural frames to keep your photos balanced.
- Try editing apps: Add filters and tweak colors to bring out the best in your photos.
- Change your view: Experiment with unusual angles to make your shots more lively.
- Explore abstract ideas: Look for unique or odd subjects that give your images an artistic twist.
- Highlight details: Zoom in on small features to uncover textures you might miss otherwise.
- Embrace trial and error: Keep testing new ideas to develop your own style over time.
Using these techniques, you can move past basic snapshots. Whether your focus is on nature or city life, these tips give you a simple set of tools to make your mobile photography truly stand out.
Composition Strategies for Creative Mobile Photography Techniques
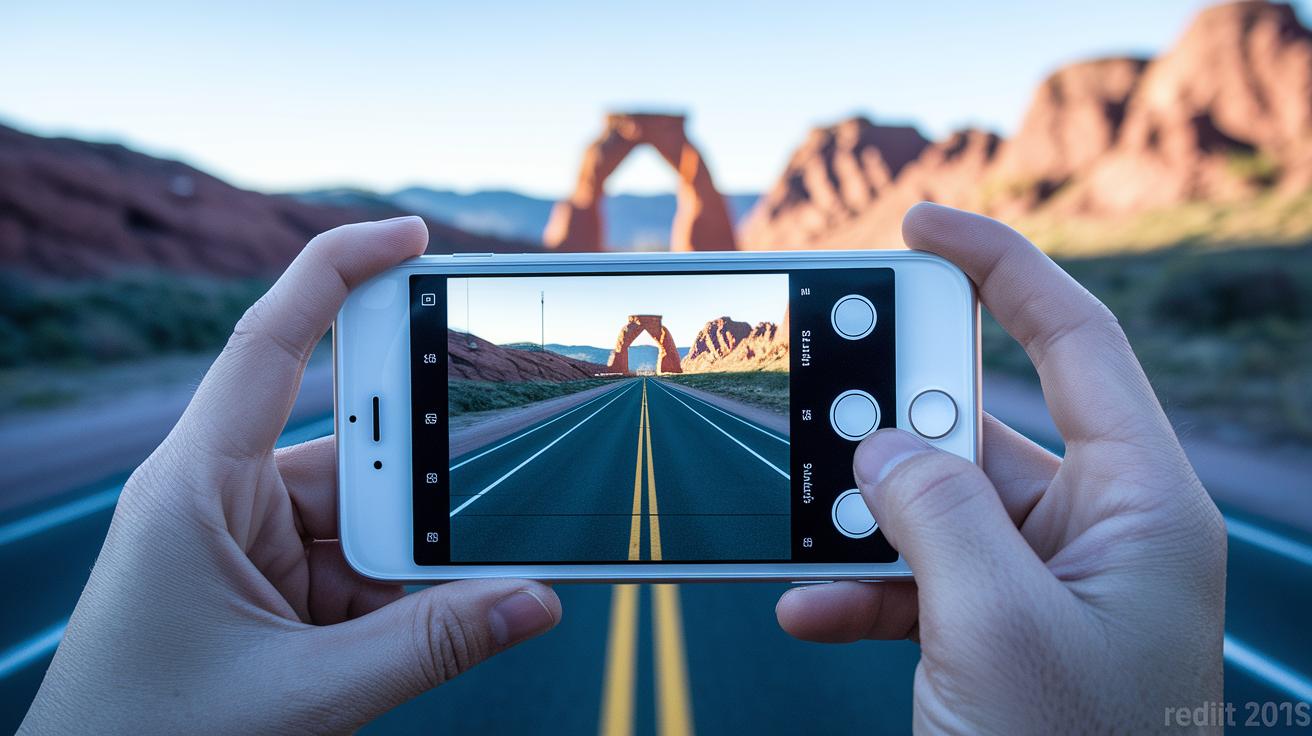
A strong photo starts with solid composition. It directs your eye, sets a mood, and turns ordinary snapshots into real stories. With your smartphone in hand, you can use simple tips to make your images more captivating.
Rule-of-Thirds Application
Turn on your grid overlay to help place key subjects along the intersecting lines. This grid divides your frame into nine equal parts so you can balance your shot. For example, line up a subject’s eyes where the lines cross to achieve a natural focus.
Leading Lines and Natural Frames
Keep an eye out for natural lines in your scene, like roads, fences, or arches. These lines guide you to the main subject while the background acts as a frame. Give this a try today and let your eye decide what works best.
Negative Space and Depth
Sometimes, less is more. Leaving plenty of open space around your subject can isolate it and add a sense of depth. Think of it like setting a stage for your subject to perform, it makes the main element truly stand out.
Symmetry and Rule-Bending
Using symmetry, like mirror reflections, can create visuals that grab attention right away. But don’t be afraid to break the rules. Centering or shifting subjects can add creative tension and give your photo a fresh look. Experiment with classic rules and then try bending them to see what unique shots you can capture.
Lighting and Exposure Techniques in Creative Mobile Photography Techniques
Smartphone cameras give you control over exposure so you can adjust bright spots and shadows in your photos. You can use simple ambient light tricks to capture moments when natural light creates a stunning effect. This quick method can instantly lift your shots.
Try different lighting setups to get bold images even when the light is tricky. For instance, shooting during the golden hour can help you capture warm, soft silhouettes. When the sun is high, change your angle to ease harsh glare. For mixed lighting, shoot in RAW (a file type that holds a lot more detail) and tweak the white balance later to even things out. Check out these quick tips:
| Lighting Scenario | Recommended Technique |
|---|---|
| Golden hour backlighting | Create silhouettes with manual exposure |
| Low-light scenes | Increase ISO and steady your grip |
| Midday glare | Adjust angle to reduce direct light |
| Mixed lighting | Use RAW capture for better white balance |
| Artificial studio light | Apply flash effect methods for controlled shots |
By learning these light manipulation tips and ambient hacks, you can handle nearly any shooting condition. Using clever flash effects and playing with shadows not only improves your exposure but also fuels your creative eye. Every shot will tell a story.
Editing and Post-Processing for Creative Mobile Photography Techniques
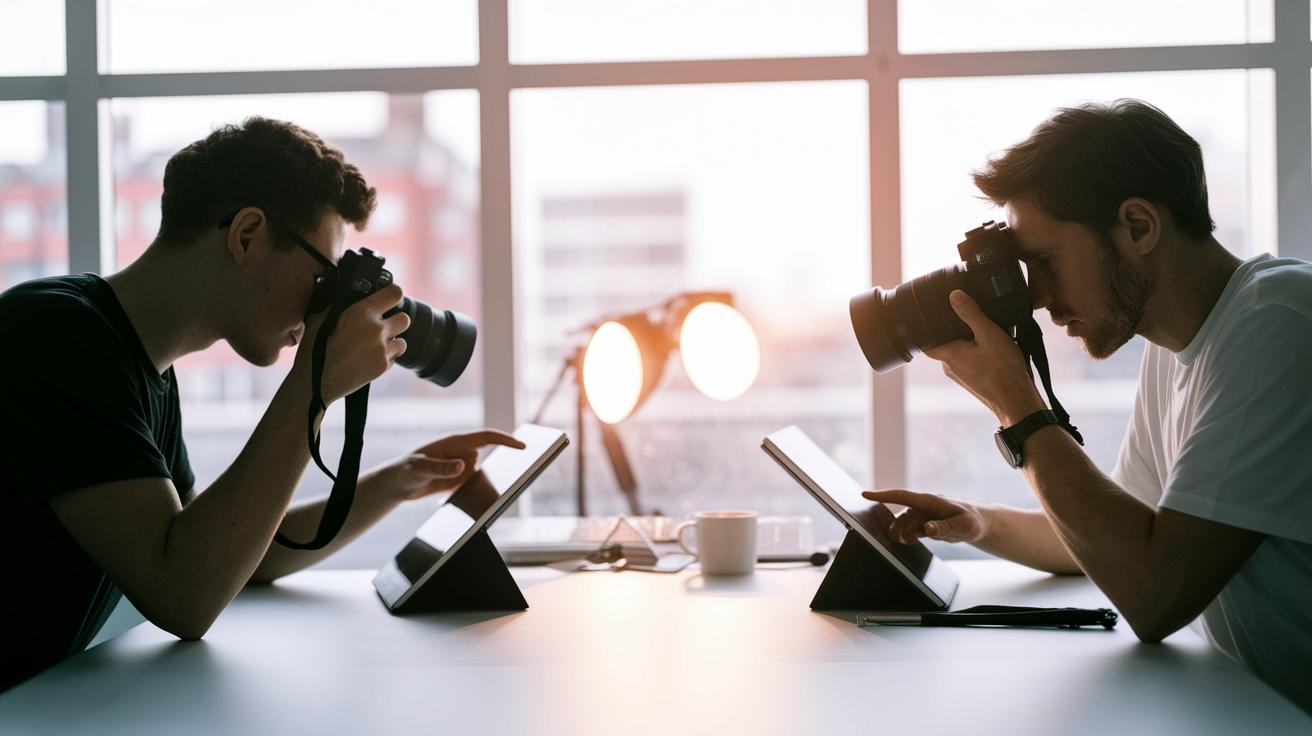
Finding the right editing apps turns your raw photos into art. Many apps let you adjust settings on RAW images and work with layers for precise changes. For example, Lightroom Mobile has tools to adjust curves and use color lookup tables (LUTs), while Snapseed lets you carefully mask parts of your image. VSCO comes with preset workflows that speed up your process. These tools let you try new styles until you find the one that fits your creative vision.
Color grading sets the mood of your shots. Tweak the hue (the actual color), saturation (the color intensity), and lightness (brightness) using simple sliders to highlight details and add strong contrast. Adding a soft vignette in post-processing draws the viewer's eye to the main subject. With modern color grading, you can balance tones and give your images a consistent look. A small color tweak can make a plain scene feel more cinematic and lively.
Layering creative filters adds the final artistic touch. You can overlay textures, light leaks, or soft glows to add depth and personality. Simple drag-and-drop templates and presets make it easy to experiment with different effects. This method not only sharpens your image's look but also helps you express your unique style without wasting time in post.
Perspective and Angle Techniques in Creative Mobile Photography Techniques
Your smartphone can do more than just snap simple photos. Try playing with different views and angles to make ordinary scenes look fresh and fun. Mixing shots together can spark new ideas and help you tell a story in a unique way.
Panorama Illusion Creations
The panorama mode on your phone lets you join several photos into one wide image. This method shows you a bigger view than a single shot. For example, snapping a cityscape this way can reveal details that are hard to see in one photo.
Pretend Adventure Framing
Frame your shot by using a doorway, tent, or any small space to give it an adventurous feel. This trick combines the cozy look of an indoor spot with the excitement of being outside. It makes your photo feel like a mini-journey.
Height and Depth Illusions
Try taking photos near the edge of a building or other high places to boost the look of height and depth. A small change in angle can turn a plain snapshot into a dramatic scene that feels much larger.
Canvas Mirror Timelapse
A canvas-style timelapse adds life to your images by capturing the slow change of light and moving clouds. It blends motion with the scene, giving your photo a smooth, painterly feel that shows the passage of time.
Water Reflection Mirages
Look for water surfaces that can create strong reflections. Aligning your main subject with its image in the water makes your picture feel almost magical. This simple trick turns an everyday scene into something special.
Advanced Experimental Effects in Creative Mobile Photography Techniques
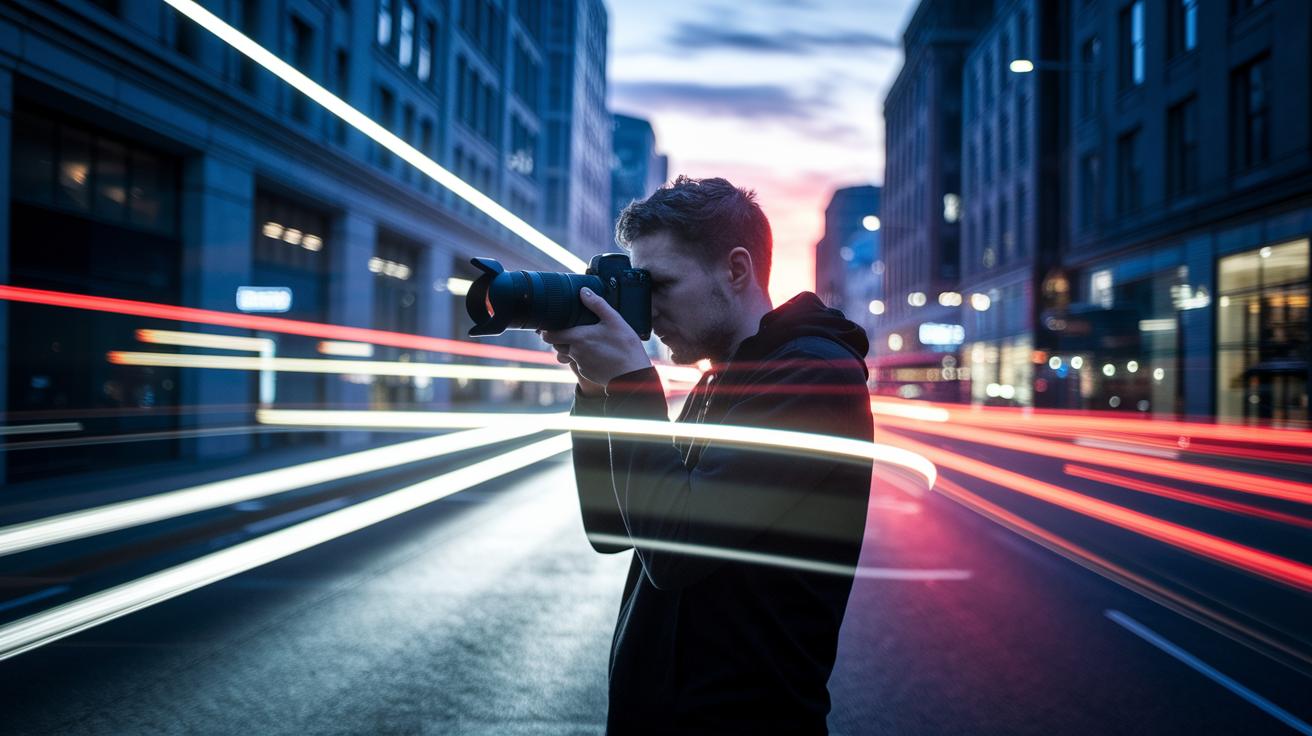
Try long exposures to capture light trails that turn quick moments into art. With a manual app, set your camera's exposure time longer so moving lights create smooth, glowing streaks. This method blurs motion and gives your photos a vibrant, surreal feel.
Use creative bokeh techniques to focus on a main subject while softening the background. Adjust the aperture (the opening that controls light) and focus to blur unwanted details and draw attention to your subject. This simple trick adds a dreamy charm to your images.
Merge separate scenes with artistic double exposure. Many apps let you overlay two images to form one striking composite. This layering method adds depth and mood, turning regular shots into complex, layered stories that invite a closer look.
Experiment with reflective surfaces like mirrors or glass. Using these items can create abstract, eye-catching reflections. Combine these reflections with layered textures, and you'll add a strong sense of dimension. These mobile photography trends are easy to try in-camera or with editing apps, giving you endless creative options.
On-the-Go Practical Tips for Creative Mobile Photography Techniques
When you're out and about, having the right gear can make all the difference. A tiny tripod or a clip-on lens (macro for close-ups, wide-angle for more scene) helps you get sharp shots every time. Quick RAW capture lets you preserve every detail, while custom presets make your photos look the same every time. These simple tools help you be ready when that perfect moment pops up.
A short shot list keeps your ideas clear and on track while you travel. It turns everyday sights into a cool visual story. Plus, checking the histogram (a graph that shows your image's light balance) helps you nail perfect exposure, even in tricky light. This step not only makes your images clear but also gives you a guide for trying out new angles.
Once you've caught that great moment, modern editing apps let you quickly fine-tune your photos. You can adjust colors, crop the image, or add a touch of effect before posting. These practical tips blend creative ideas with smart tech, turning ordinary snaps into art you can easily share.
Final Words
In the action, we explored creative mobile photography techniques from RAW shooting to inventive framing and light adjustments. The post outlined eight key tactics:
- RAW: max detail
- Manual: full control
- Composition: balanced shots
- Editing: quick fixes
- Framing: guide focus
- Lighting: set mood
- Perspective: fresh angles
- Effects: add style
We also reviewed editing workflows, practical tips, and dynamic compositions to boost everyday shots. Mix these strategies to sharpen your creative mobile photography techniques and capture moments that matter.
FAQ
What creative mobile photography techniques are available for beginners?
Creative mobile photography techniques for beginners help kick-start your skills by using basic composition, manual controls, and free online guides that explain different approaches to capture striking images with your phone.
Where can I find free guides and PDF tutorials for mobile photography?
Free resources like mobile photography PDFs and online tutorials offer step-by-step instructions on techniques, editing, and composition, making it easier for beginners to improve their phone photography skills.
What are some simple mobile photography tips to improve my photos?
Simple mobile photography tips include experimenting with manual mode, adjusting lighting and angles, and using editing apps. These actions boost photo quality and help you capture more dynamic images.
What is the 20 60 20 rule in photography?
The 20 60 20 rule in photography suggests placing key subjects in 20% of the frame, using 60% for supporting elements, and leaving 20% as negative space to create balanced and visually engaging compositions.
What is the 1/3 rule in photography?
The 1/3 rule, or rule-of-thirds, recommends aligning key subjects along gridlines that divide the image into thirds. Doing so creates balanced compositions that naturally guide the viewer’s eye.
How can I achieve professional mobile photography with my phone?
Achieving professional mobile photography involves using manual settings, embracing focused lighting, and applying advanced editing techniques along with smart composition strategies like the rule-of-thirds.
How can I do the best mobile photography on my device?
Doing the best mobile photography involves mastering manual controls, exploring creative angles, and using powerful editing apps. These methods allow you to enhance image quality and capture more vivid scenes.